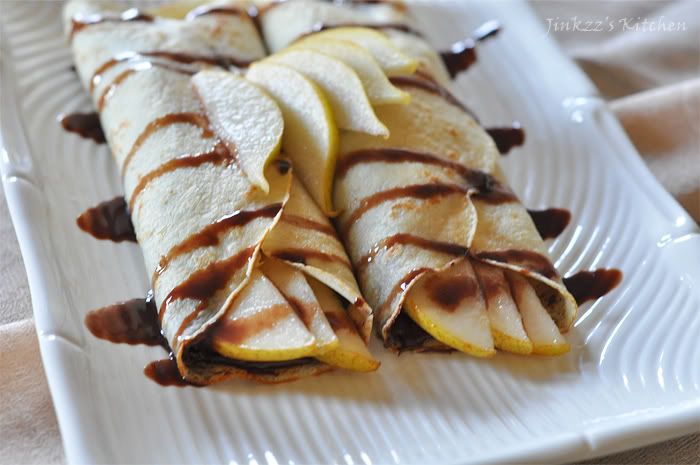
Woke up really early (730 am) this morning though it isn't much of a surprise since I went to bed rather eraly last night. NOw, that is shocking considering I don't normally go to bed until the wee hours of the morning..hahaha! Anyways, I woke this morning craving for some crepes so I whipped up a batch. I filled it with both sweet and savory (will post recipe next time)fillings. I swear, I am weird sometimes.
Basic crepes are actually easy to make and just requires a few ingredients which are found in most household's pantry. To make, all you need is flour, egg, water, salt, and butter. There is really no special equipment needed although having a crepe pan certainly helps but if you don't have any (most household don't own one, I am sure), you can just use the small frying pan. Preferably lightweight and non-stick so it is easier to lift and swirl the batter around as well as prevent it from sticking to the pan. Since I do not normally use a non-stick frying pan since I use my trusty calphalon cast iron pan for frying, I had to search for the blasted frying pan amidst all the kitchen gadgets, pots, and pans in the cupboard. I was actually mildly surprised to find a crepe pan hidden underneath the mountain of kitchen gadgetry. Ha! that is so like me to forget that I have these things. Gosh I do not even remember when the last time I used this thing...hahaha. Well, that was much better than the frying pan I was thinking of using.
When cooking the crepe, make sure that the pan is hot and lightly oiled. Do not placetoo much oil because it will make the crepes soggy or oily and not light. I use a little bit of Pam spray instead of oil as it works for me better. I also use about quarter of a cup of the batter and spread (swirl) it as thin as possible. It does not take a long time to make crepes, about 1-2 minutes. You will know that it is ready because the edges starts to come off the pan. Read on for the complete recipe.
Ingredients:
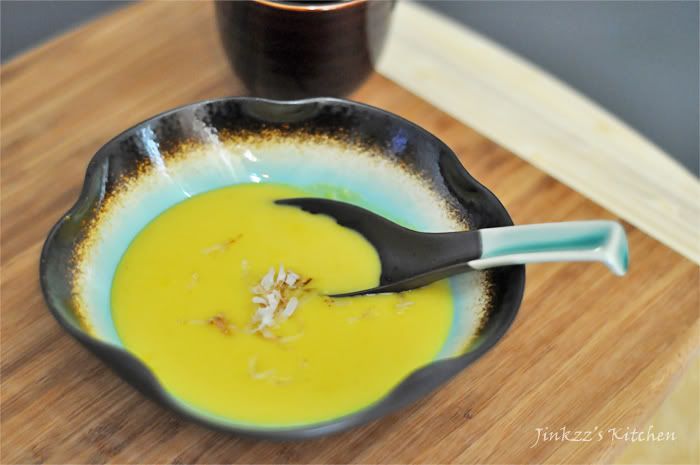
Chocolate sauce:
1 cup chocolate chips, semi-sweet
3/4 cup heavy cream
1. Using a double boiler or heat proof bowl over a pan with water, place the crean on the bowl and heat gently until warm.
2. Add chocolate chips and stir until mixture is smooth and glossy.
3. Remove from heat and cool while you cook your crepes.
Filling:
Nutella spread
1 ripe pear- cored and sliced thinly
1 tsp sugar
1. Mix sliced pear and sugar making sure that all the pieces is coated with sugar.
2. Let is stand for 15-20 minutes while you make your crepes.
Basic crepes
1 cup all purpose flour, sifted
2 eggs, slightly beaten
2/3 cup milk
1/3 cup water
2 Tbsp butter, melted
a pinch of salt
Pam spray
1. Place slightly beaten eggs in a large bowl. Add flour and mix until slightly incorporated (Batter, at this point will be very thick)
2. Mix milk and water in a separate container.
3. Drizzle milk mixture slowly into the flour mixture while whisking it. Mix until incorporated. (notice that the batter will be thin at this point)
4. Add salt and butter and mix well.
5. Using a fine mesh strainer, strain mixture to remove solid or undissolved ingredients. (This step is important so the batter will be smooth and free from lumps)
6. Heat crepe or frying pan over medium heat.
7. Lightly spray pan with Pam spray or lightly oil it.
8. Take 1/4 cup of the batter and place it on the pan. Spread it around using a swirling motion. Make sure to spread it as thin as possible.
8. Cook for about 1-2 minutes or until the edges starts to come off the pan and slightly golden in color.
9. Repeat until all of the batter has been used up.
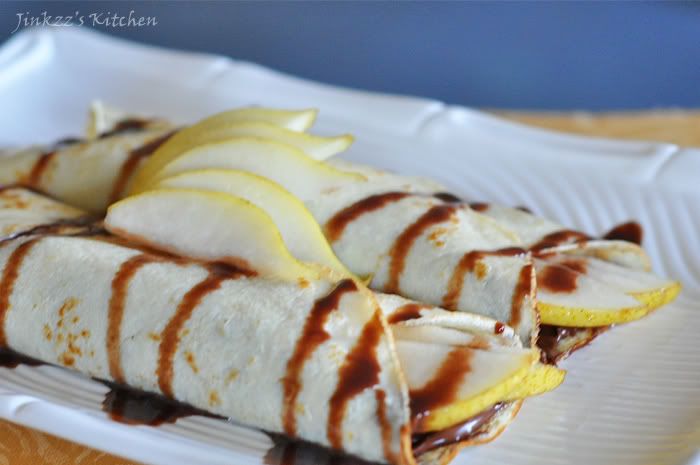
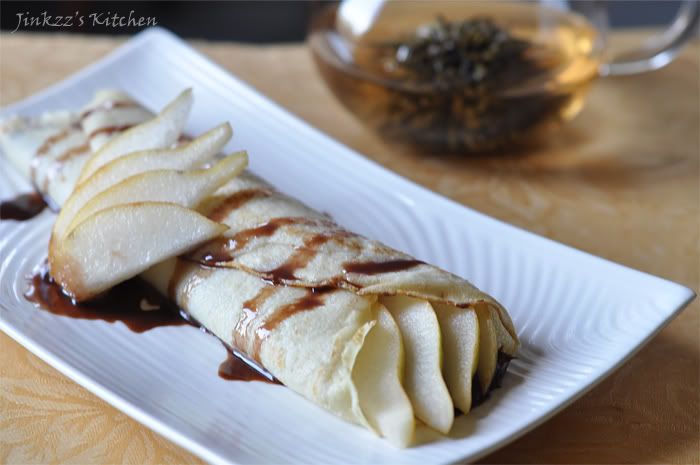
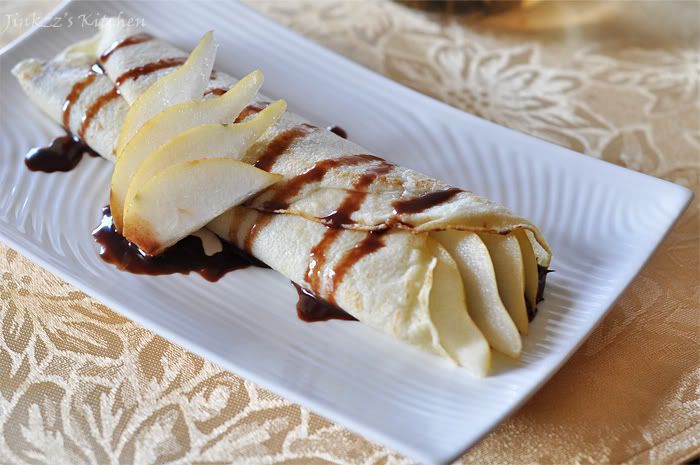
To assemble:
1. Take one crepe, spread nutella in the middle area.
2. Assemble pear slices on top of nutella spread.
3. Take one side and fold over the nutella-pear mixture. Do the same with the other side.
4. Top with chocolate sauce and serve.