Showing posts with label cream. Show all posts

Sunday, September 18, 2011

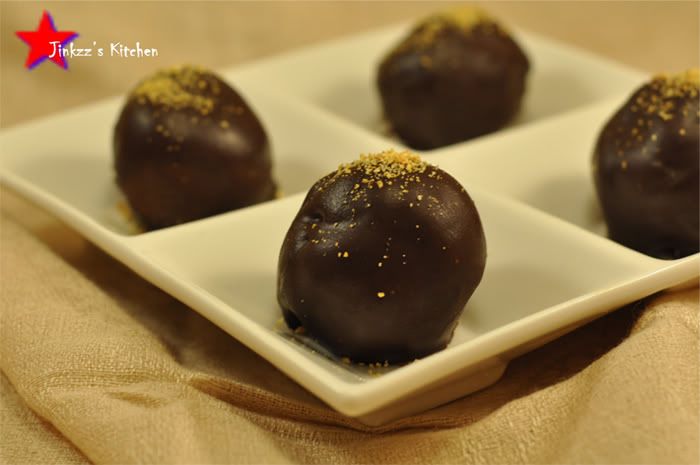
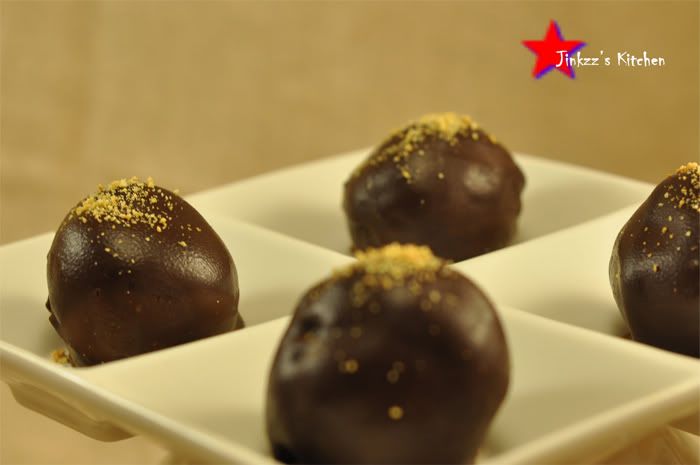
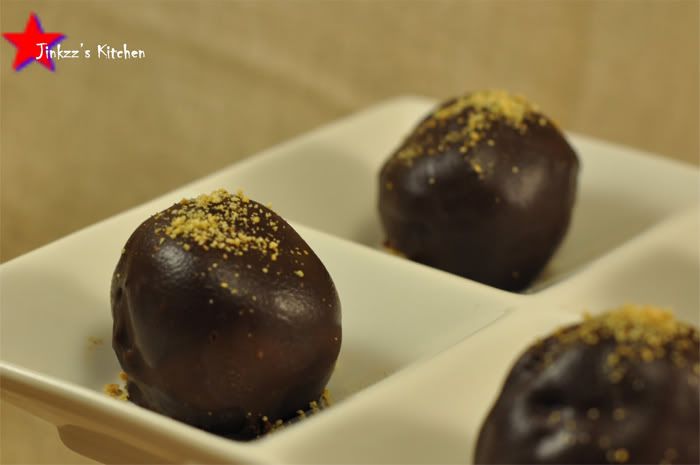
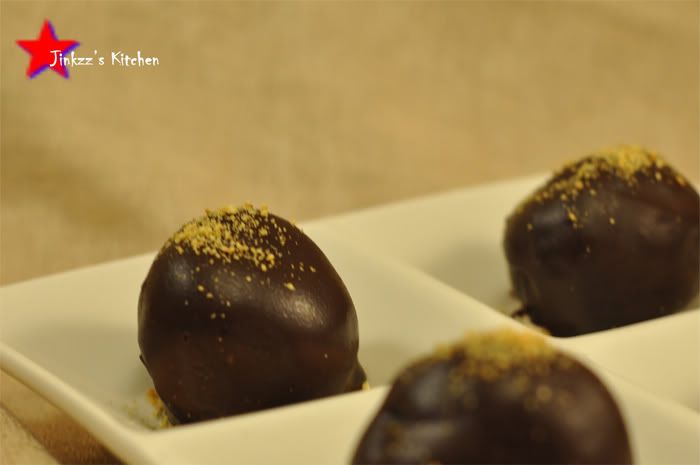
Chocolate Cake Truffles

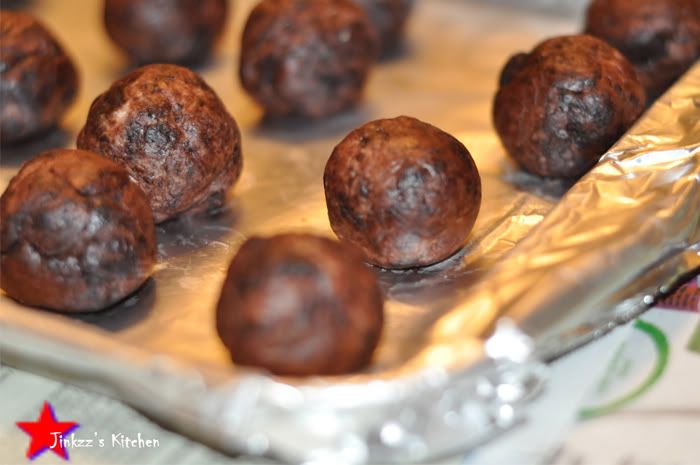
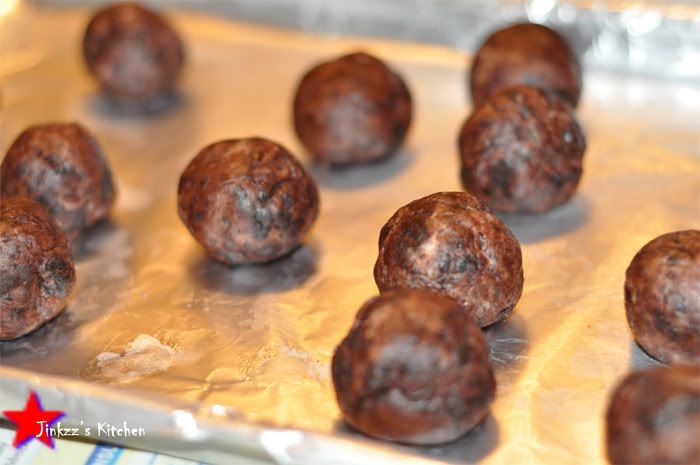
This is such an easy recipe which was born as a result of me making chocolate cake for hubby's birthday. I had leftover ganache and the top of the cake layers that I trimmed off to make it flat and even so they sit on top of each other. Making this truffle was so much fun as it feltlike playing with play-doh because you have to squish ingredients together to form the balls. It has been a long time simce I made cake-based truffle that I have honestly forgotten how easy and fun they were to make, Be warned though as they will be messy, sticky, and gooey. It was a good thing that I planned ahead and lined my table with newspaper to catch any of the crumbs that falls off the bowl as well as any ganache that dripped. The formed balls has to be frozen for a little bit though to help form them together but that didn't take very long, maybe around 15 minutes...just long enough to help it harden a little then off to an even messier task of coating it with ganache...oh, what a joy it was...hahaha...BY the way, I used disposable kitchen gloves when I was forming the balls together to prevent it from sticking to my hand so the balls weren't as perfect as it would have been if I used bare hand.


Ingredients:

2 cups Chocolate Cake, broken into crumbs (recipe here)
1/2 package of Cream cheese, softened
Chocolate gganache: recipe here

1. Mix chocolate cake crumbs with softened cream cheese and mix well. (NOTE: hand mixing it works best for me, I use disposable kitchen gloves because this could get sticky and messy)
2. Take a small piece and shape it into a ball. Alternatively, you can use a melo baller to make even rounds.
3. Once you have finished making the ball, refrigerate it until it firms up slightly (about 15 minutes or so)


4. Once they have harden slightly, remove them from the refrigerator and coat with the ganache. To make it easier to coat these, use fork to dip them in the ganache and let the excess drip through the fork tines.
5. Refrigerate again to help ganache to harden and form a shell around the chocolate cake balls. Serve when ready.


Friday, September 2, 2011

Mango Jelly Panna Cotta


Oh, darn I am in trouble now. This is my third panna cotta recipe since the other day...hehehe...my brain just keeps churning more and more ideas on what other flavors I can come up. The idea to this recipe came from Technicolor Kitchen blog. She had this passion fruit jelly panna cotta with the jelly in the bottom and panna cotta on top which looked really nice. Since passion fruit is not readily available here in the US (The last time I saw a passion fruit was eons ago), I used my favorite mango for the jelly instead.

I run out of regular whipping cream so I used a canned table cream which I got from the Filipino market. This cream is a lot thicker in consistency and taste creamier than regular whipping cream which taste much better, in my opinion. The color of the mango jelly really turned out nicely and provided a really nice contrast to the white color of panna cotta.

Note: this takes a little bit more work and wait time compared to the regular panna cotta since the jelly has to solidify first before you can prepare and pour the panna cotta over it. The taste though more than makes up for the wait and double work.


Ingredients:

Mango Jelly
1 large ripe mango (about 1/2 cup mango pulp)
1/3 to 1/2 cup sugar (depending on how sweet your mango is)
1 Tbsp unflavored gelatin
2 Tbsp + 1 1/4 cups water


.

1. Place 2 Tbsp of water in a bowl and sprinkle gelatin to soften. Let it stand for about 5-10 minutes
2. Peel mango then slice flesh into chunks.
3. Place mango in a blender and puree.
4. Add 1 1/4 cups water and sugar. Blend until smooth and sugar is dissolved.
5. Strain mango mixture and get rid of fibers.
6. Place mango mixture in a pan over medium low heat and simmer for about 5 minutes or until slightly thick.
7. Scoop some some of the warm mango mixture into the gelatin bowl and dissolve gelatin.

8. Add gelatin mixture into the mango mixture and simmer for a minute or two longer.
9. Remove from heat and let ti cool down a little bit before pouring into ramekins or servng dish.
10. Refrigerate for about 4 hours or more.

Panna Cotta

Ingredients:

1 cup cream
1 cup milk
1/4 cup sugar
2 tsp unflavored gelatin
2 tsp water

1. In a small bowl, sprinkle unflavored gelatin over water to soften it. Let it stand for 5-10 minutes.
2. Mix cream, milk, and sugar in a bowl until sugar is dissolved and cream has been mixed well with milk.
3. Transfer mixture to a pan and simmer over medium low for about 3-4 minutes
4.Scoop some of the cream mixture into the bowl containing gelatin and stir to dissolve gelatin.
5. Add gelatin mixture into the cream mixture and simmer for 2 minutes.
6. Strain cream-gelatin mixture and discard any particles.
7. Let it cool down before pouring over the mango jelly base.
8. After pouring the panna cotta into the jelly base, refrigerate for 4 hours or more.
9. You can serve as is or lossen from the cup and transfer into a serving dish. top with mango slices, if you want


Monday, August 22, 2011

Angel Hair in Creamy Kimchi Sauce

I have been wanting to create this dish but got sidetracked several times with my discovery of the no-knead bread recipes. Finally had a chance to make it last night. It was pretty good in my opinion especially since it was on the spicy side...just the way I like my food to taste.


Ingredients:

8 oz Angel Hair Pasta
1/2 cup cream
1/2 cup milk
1-2 Tbsp extra virgin olive oil
1/2 cup black pork belly, thinly sliced
* you can use regular pork belly if you like. As for me, I just love
the taste of black pork.
1 tsp Gochujang
1 small onion, chopped
1 Korean pepper, sliced diagonally and thinly
3 cloves garlic, chopped finely
1 medium tomato, finely diced
2 scallions, sliced diagonally and thinly
2 small green bell pepper, sliced thinly
salt and freshly ground black pepper, to taste
1-2 tsp crushed red pepper flakes


1. Cook pasta according to direction. Drain and set aside.
NOTE: Don't forget to add salt and oil on the boiling water.
Don't forget to save some pasta water.
2. Heat olive oil in sauce pan over medium heat. Add garlic and onion and cook until translucent.
3. Add Tomato and continue to saute.
4. Add pork and cook until it turns brownish in color.
5. Add kimchi and gochujang. Mix well and cook for about 2 minutes.
6. Add cream and milk. Lower the heat to medium low andcook until the sauce thickens slightly.
7. Add green bell pepper, korean pepper, red pepper flakes, and green bell pepper. Mix well.
8. Add pasta and mix.
9. Remove from heat and serve.