Showing posts with label filipino. Show all posts

Wednesday, June 13, 2012

Ginataang Langka with Dried Fish

Hmmm...is it the water? or, the air?  I really do not know the reason but somehow I have been on Filipino dish streak these past few days.  It is not just a desire to cook Filipino dishes but I have actually been craving for them.  That's a little strange since I normally crave for Korean fare instead of Filipino. Homesickness? maybe... it is almost a year since I went home to the Philippines ...

I really wish I can go home before this year is over but I guess the chances of that happening is almost nonexistent especially since I am not sure when I will be able to go back to work.  October will be here soon which means alumni homecoming...i guess I will have to pass on that one...ughhh... I want to go home... I really do...huhuhu


Okay, enough whining and back to regular programming...hehehe

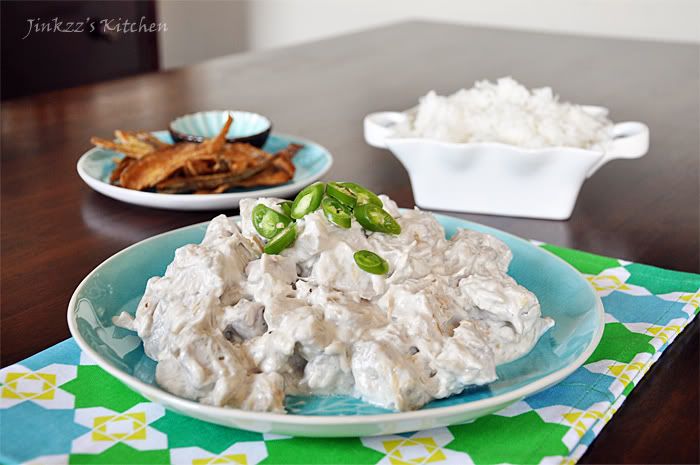
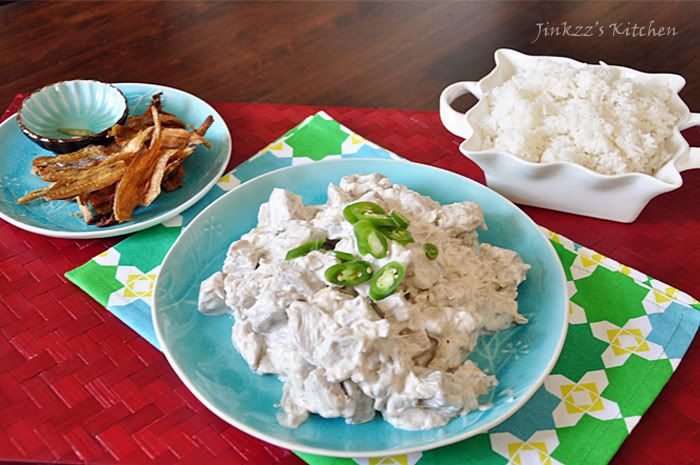
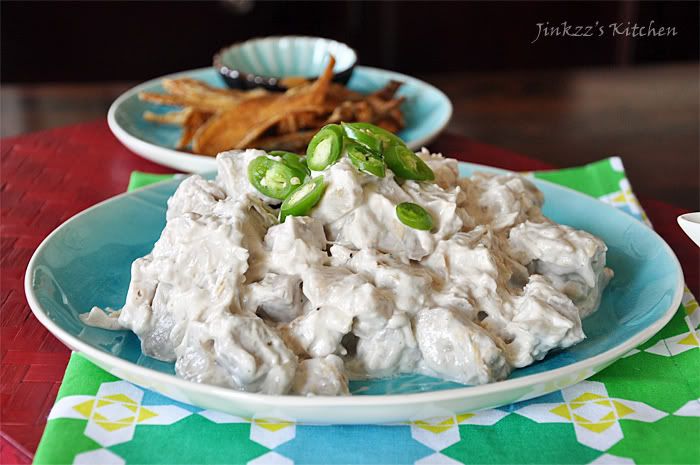
This dish is reminiscent of my homeland, the Philippines, and of Negros Occidental, the province where I am originally from.  We call this dish ensalada nga langka (Jackfruit salad) though it is actually a misnomer since this dish is hardly a salad but more like a stew. This dish is served as an accompaniment to main dishes such as pork and fish which, i guess, is the reason why it got its name.
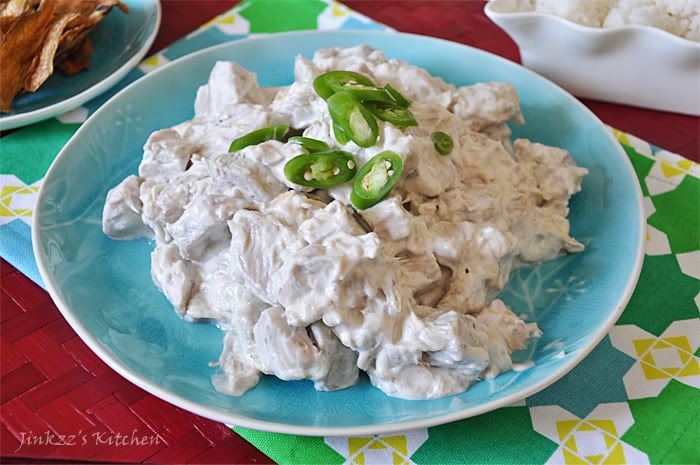


This way I make this dish is very rich since I use coconut cream (kakang gata) instead of coconut milk.  It is slightly different from what we were used to in the Philippines which is less richer than this one.  The dried fish that I am using is also not the same as the one that we use in the Philippines.  I used Jeprox which is more bony and  paper thin instead of pinakas (the one that we used in the Philippines) which is fleshier and bigger in size.  To give the dish an extra kick, I added a few hot chili.  If you do not want it to be too spicy, you can discard the seeds once you slice the peppers.

CAUTION:

Do not touch your face or eyes when slicing peppers as it may cause burning.

Also be careful when cooking and eating dried fish especially Jeprox as it has a lot of bones.
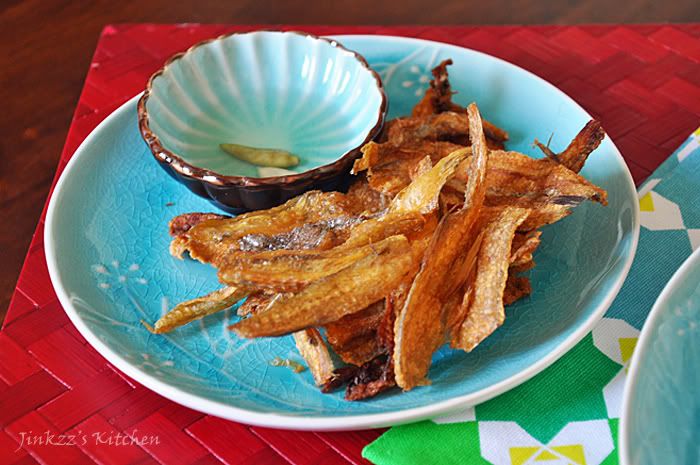


The picture above this post features fried Jeprox (dried fish)


Ingredients:

3 cans of young, unripe jackfruit, sliced into half an inch thickness

2 cans coconut cream (coconut milk, if you prefer)

4 jalapeno pepper, sliced thinly (remove seeds if you do not want it too spicy)

5-6 Jeprox (dried fish) or any dried fish that you prefer

salt and pepper, according to taste

onion, sliced thinly

oil for sauteing

1. Heat pan over medium heat. Add oil.

2. Saute onion until translucent.

3. Add jackfruit and dried fish then saute for a couple of minutes.

4. Add coconut milk/cream and simmer until jackfruit is soft.  Stir occasionally to prevent coconut milk from curdling and burning..

5. Cook until almost all of the liquid has evaporated.

6. Season with salt and pepper according to taste.  Add sliced pepper, mix and remove from heat.

7.  Serve warm.
Monday, June 11, 2012

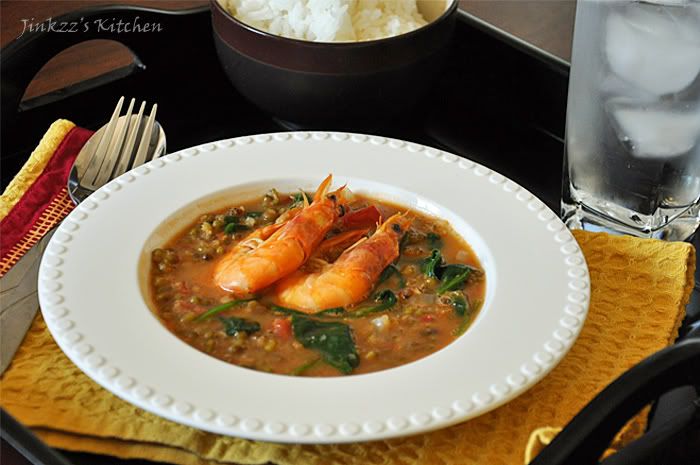
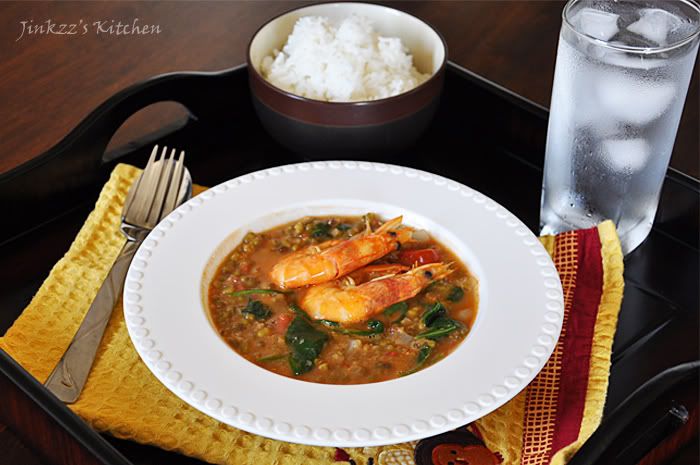
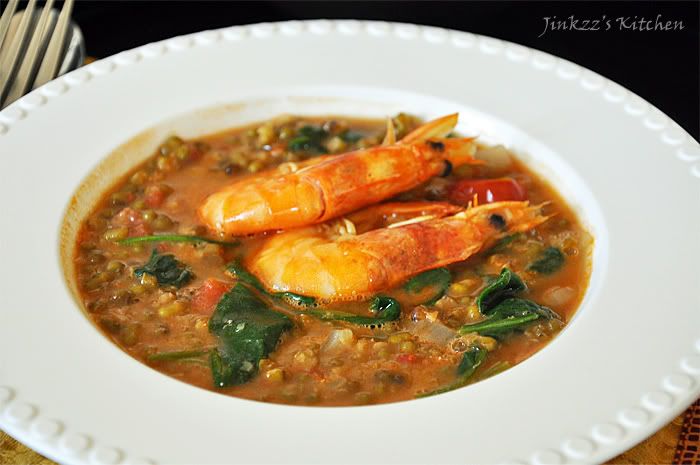
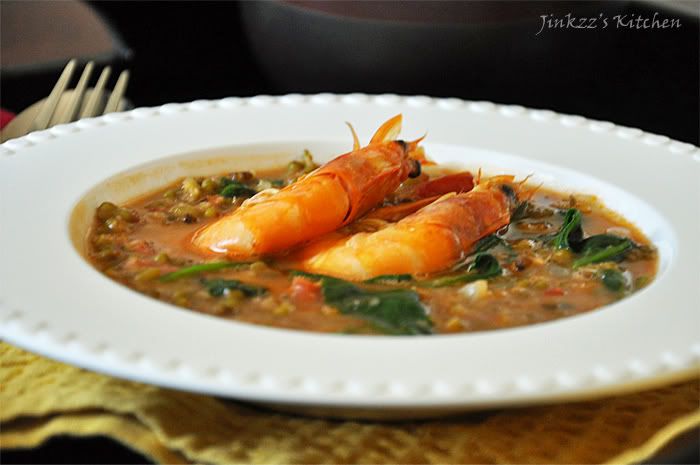
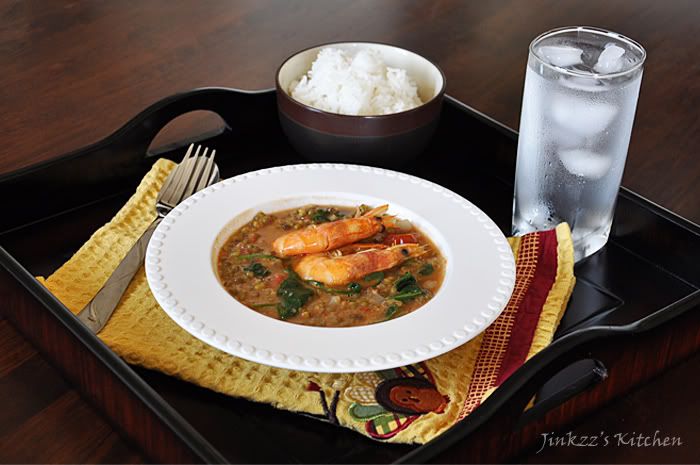
Sauteed Mongo Beans with Shrimp

Good day y'all.  Went to the Farmer's market at Third and Fairfax today.  Ate an early lunch of panini and salad from The French Crepe Factory.  The panini had sliced mozzarella, prosciutto, sliced tomatoes, and basil in it.  It was surprisingly good.  The meal came with a garden salad that had a mustard dressing.  The salad was okay but nothing spectacular.

The Farmer's market, being an LA landmark is always crowded with tourists and can get pretty noisy around lunch time.  The alleys and passageways are narrow and  usually congested with foot traffic.  Despite all that, I still like to go there because of Monsieur Marcel as well as La Surla Table and World Market.  I try to go early in the morning though before the lunch and tourist crowds arrive since trying to find parking can be a huge pain in the butt.


As  usual, my trip to the farmer's market isn't complete if I do not go to the usual stops.  Today, I stopped at Monsieur Marcel and picked-up some cold cuts and cheese (Havarti with dill, french ham, and oven-roasted turkey breast).  Although I can find these at the regular store, I prefer getting them from Marcel because the quality is better.  I also stopped by at La Surla and World market but didn't find anything that I liked.

From the farmer's market, I made a quick stop at home to drop off the cold cuts and the made my way to Glendale where I met with my friend.  We went to Glendale galleria and shopped a bit.  Finally, I was able to buy the bamboo matcha scoop/spoon that I wanted.  Hooray for that!!!


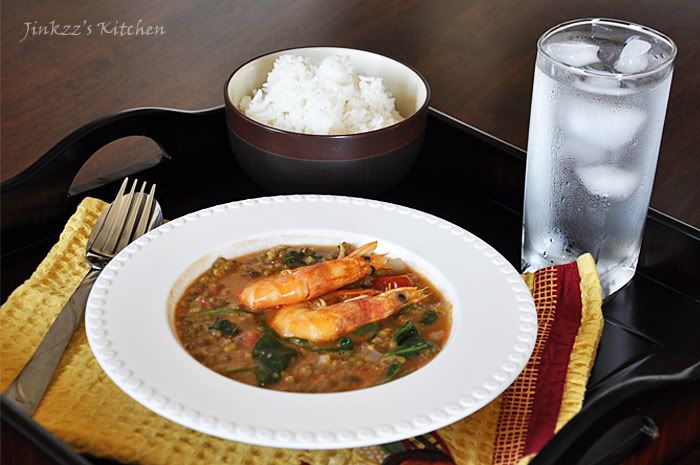
By the time I got home, I was starving again.  A quick inventory for ingredients yielded a bag of mung beans, shrimps, a bag of fresh spinach, tomatoes, and onions - things I needed to make sauteed munggo beans.  This dish is a childhood favorite which my mom used to cook for us.  I think I learned making this dish while watching/observing her cook the dish.

This is a simple, no-frill dish which can be prepared easily.  This is a dish which can probably be found in almost every places in the Philippines though there might be slight variation in the ingredients used or preparation.  Some people add sinigang mix to make it sour.  We usually use a different green vegetable but since it is not readily available here in the States, spinach is acceptable.


Cooking mung beans may take a long time so prepare the dish well in advance so that it will be ready when meal time  comes.  You boil the beans until it becomes soft, mushy, and liquid thickens.  If the water has evaporated before the beans softens, you can add more.  Also make sure that you stir it every few minutes as the bean could stick to the bottom of the pan and burn.  Aside from the fact that burnt mung beans do not taste good, it is also hard to clean a pan with burnt mung beans.


Ingredients:

1  cups of mung beans

1/2 lb shrimp (more if  you prefer), trimmed and deveined but leave the shells on

2 cups fresh spinach

1 onion, sliced

1 tomato, sliced

salt and pepper according to taste

oil

1 Place mung beans and water in a pan and simmer until soft and mushy. Set aside.

2. In another pan, add oil then sauteed onion and tomato until onion is translucent and fragrant

3. Add shrimp and lightly saute until it turns slightly orange.

4. add softened mung beans to the pot and cook until it boils and slightly thickens.  NOTE: add more water as needed

5. When soup thickens slightly, add spinach and cook for a minute or two.

6. Season with salt and pepper then remove from heat.

7. Serve warm.


Wednesday, May 23, 2012

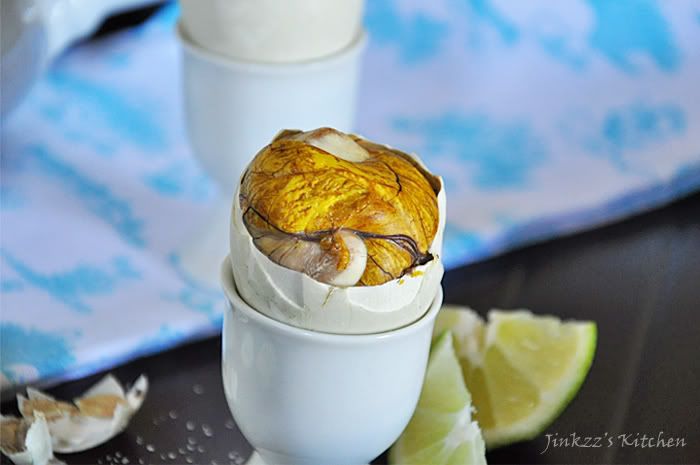
Balut: A Unique Culinary Experience

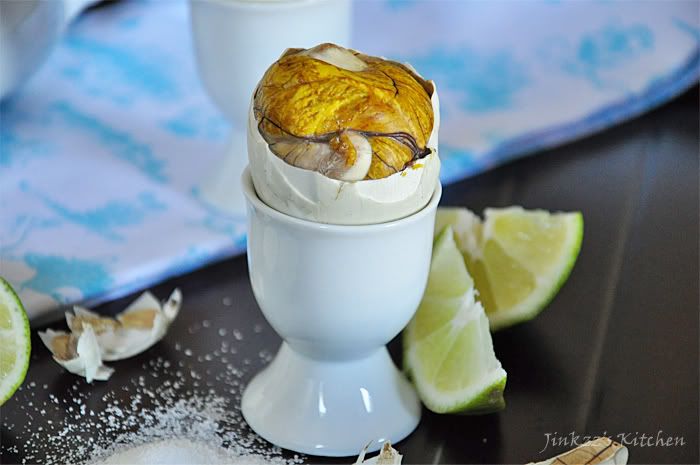
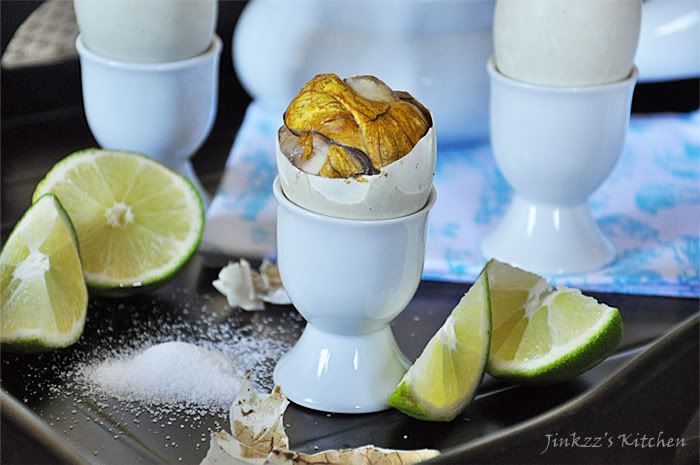
Balut is a fertilized duck egg that has been hard-boiled. The eggs have been incubated for approximately 14-17 days. Balut is a Filipino delicacy but it is also found in other Southeast Asian countries such as Laos, Cambodia, and Vietnam. It is best when eaten while it is still warm. The "sabaw" or liquid soup that is inside balut taste really good. To save the "soup", you need to make a small opening at one end of the balut then sip the soup before making a larger opening to get to the rest of the balut. In the Philippines, balut is usually eaten with a sprinkling of salt and as an accompaniment for beer. In some culture, balut is considered an aphrodisiac.


Balut is sold as a street food which is very popular to people form all walks of life. As popular as it is though, balut is an acquired taste largely in part to the fact that it contains a fully or partially developed chick. Yeah, that might scare even the bravest of the culinary adventurers...hehehe. I, for one, am not too fond of the chick but I do love balut egg yolk which is a lot tastier than a regular egg yolk in my opinion. I mostly eat the yolk and either discard or give the chick to someone else. The egg white in balut is not edible because it is hard and rubbery. This one I usually discard.


I have fond memories associated with balut not because I like eating them but because it evokes a warm and fuzzy feeling. Back in the Philippines, Thursdays usually meant payday for those who works at the sugar central where my father worked which also houses a housing compound for employees and their family. Payday also meant there are a few vendors who sells their goods such as balut, seasonal fruits, and other food items to employees who pick-up their salary from one of the office buildings. My dad will sometimes bring us with him when he picks-up his pay envelop and buy us goodies... ahhh, life was simple then but the happiness brought by such a simple gesture is so profound. I do sometimes long for those times when media put less emphasis on commercialism and more on family. Or, maybe I was just too young to know any better...hehehe... anyways, those are part of the happy memories that will remain with me for as long as I live :)

Ingredients:

uncooked balut

water for boiling

salt, vinegar, or chili sauce (if desired)

 1. Place balut in a sauce pan and cover with water.

 2. Bring water to a boil over medium heat and boil between 20- 30 minutes

**** NOTE: I am not really too sure about how long to boil the balut. I searched the net but got different info. I boiled mine for about 30 minutes just to make sure that everything is cooked. 

3. Remove form heat, let it cool down a bit before serving it warm with a side of salt, chili sauce, or vinegar.
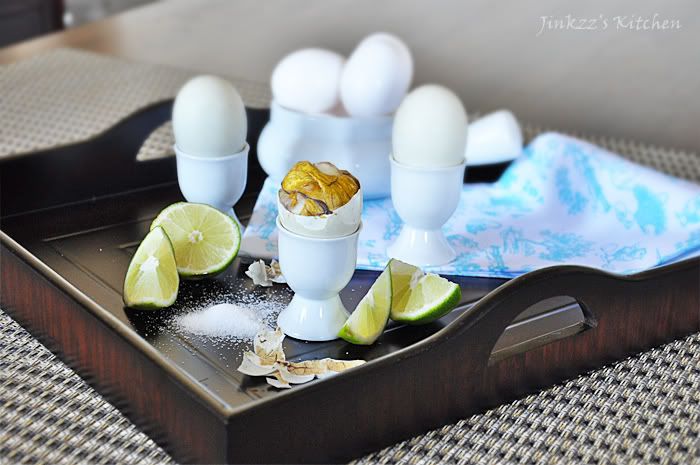
NOTE: I used pictures that are not graphic because I was scared that showing a full grown embryo in the balut might scare a lot of people. For a picture of balut with the full-grown embryo, you can refer to the ones posted at wikipedia. :)

Tuesday, May 22, 2012

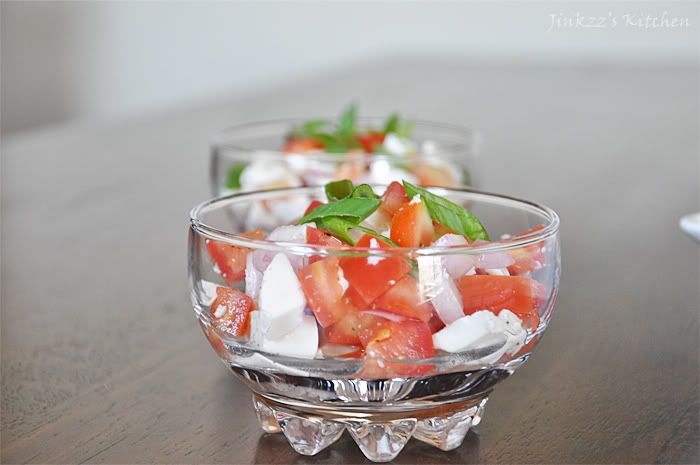
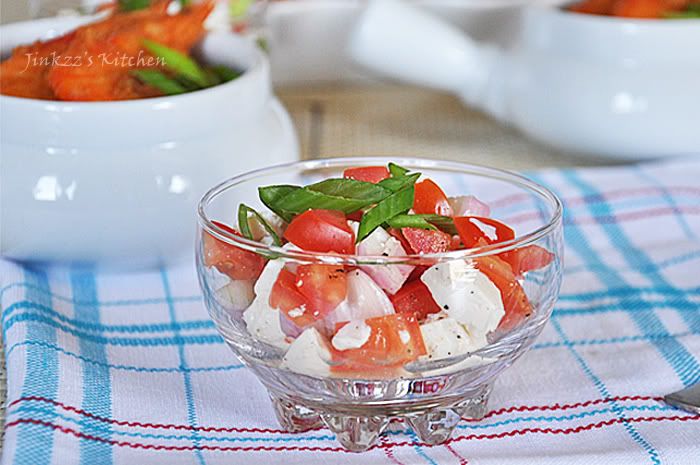
Salted Egg Salad

When I cooked shrimp in salted egg yolks, I ended up with tons of salted egg whites.  It was such a waste to discard them so I used them in a dish that can be served as an accompaniment to any meal. This dish is categorically not a "salad" but more of a side dish. For lack of a better term, I am using the word salad loosely for its name...hehehe

Salted eggs are either duck or chicken eggs that has been kept in a brine solution for about a month.  After a month, the eggs are removed from the solution then hard-boiled.  The hard-boiled salted eggs can be kept in the refrigerator until they are ready to be used.  As the name denotes, the eggs are salty when eaten by itself.  Filipino cuisine have a few dishes that makes use of these but they are commonly served as an appetizer by dicing them then adding diced tomatoes, shallots, and vinegar.  


Making this dish is very simple as it does not require exact measurement.  You can just go by feel and preference but I will, however, post the proportion that I used when I prepared this one.  Although I only used salted egg whites (since that was what I had on hand), you are supposed to use both the salted egg whites and egg yolks.  

This dish is great when served with grilled or fried pork, dried fish, seafood.  


Ingredients:

7 salted egg whites (whole salted eggs preferable), diced
2 large Roma tomatoes, diced
4 small shallots, diced
2 cloves garlic, chopped finely
2 stalks green onion, sliced thinly and diagonally
1/4 cup vinegar (adjust to your own preference)
sea salt and freshly ground pepper, to taste

1. Assemble all ingredients in a non-reactive bowl.
2. Season with salt and pepper according to taste
3. Mix well and let it stand for about 15 to 30 minutes before serving.

Saturday, May 19, 2012

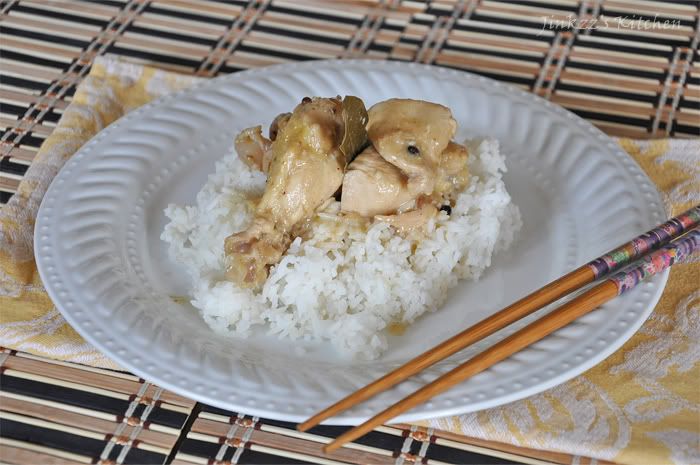
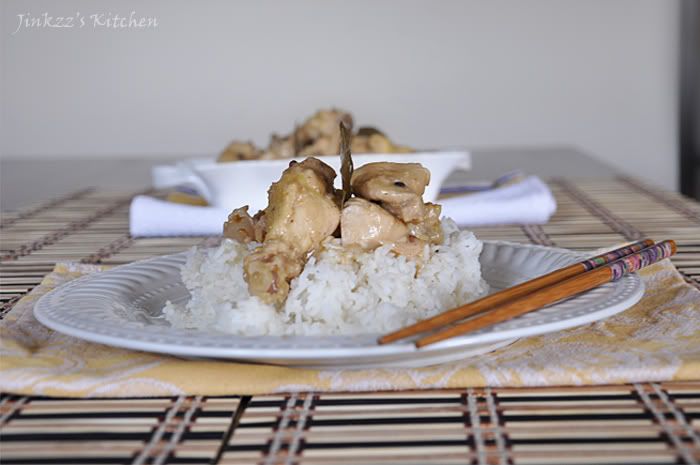
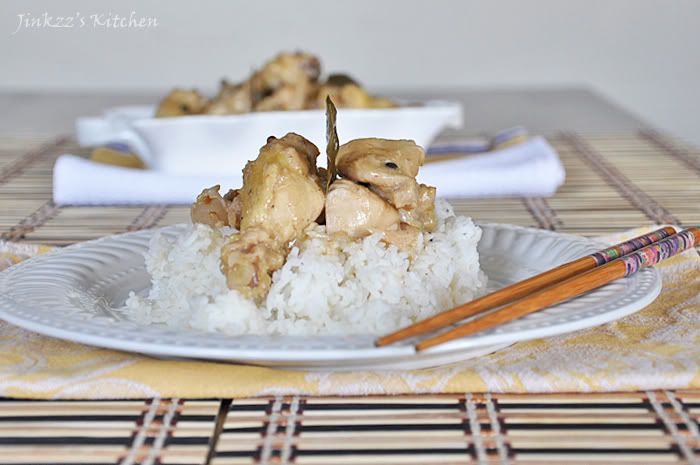
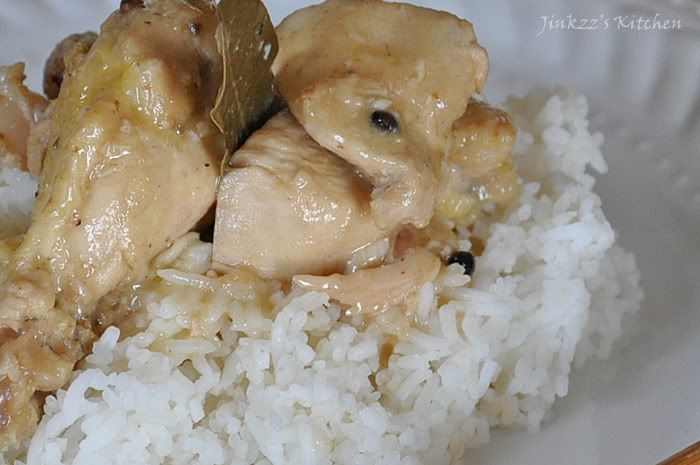
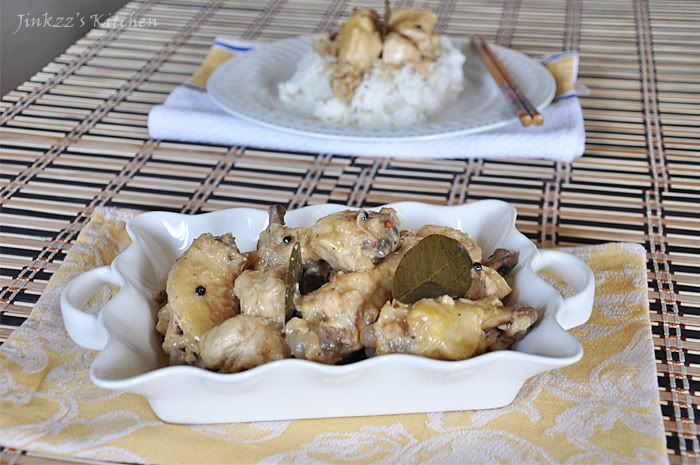
Chicken Adobo in Coconut Milk

Adobo is probably the most famous of all the Filipino dishes. Adobo is a spanish word which means seasoned or marinated dish. There have been so many variation of this dish as there are Filipino dialects. The way this dish is cooked, most often, is dependent on the geographical location where they originated. This is similar to the Korean kimchi which is representative of the Korean cuisine but the preparation, ingredients used, and method of preparation varies from place to place and region to region.


In the Visayan region (Negros Occidental province) of the Philippines where I am from, we usually use a lot of soy sauce to make chicken or pork adobo. Aside from chicken and pork, we also use seafood such as squid to create this dish. Another famous adobo variation that we have in Negros Occidental is apan-apan (in the Ilonggo dialect)or adobong kangkong (in Tagalog). Kangkong is known as swamp spinach in english. Apan-apan though is technically not a typical adobo dish since it uses shrimp paste or bagoong instead of soy sauce.


The dish that I made today is not a typical Visayan recipe since we do not use a lot of coconut milk in our cooking except for the different rice cake dishes. This dish, chicken adobo sa gata, originated from the Quezon province which is located in the upper portion of the country, the Luzon region. This dish is quite easy to make and can either be made spicy or not depending on your preference. The version that I made is a non-spicy variation. To make the dish spicy, you can just add Thai chillies. This dish is delicious with steamed rice.


Ingredients:

2 lbs chicken ( I used a combination of wings and boneless, skinless breast)

1 can coconut milk

1/2 cup white vinegar (you can use less if you prefer it less tangy)

1 medium shallot, finely chopped

3 cloves garlic, finely chopped

1 thumb sized ginger, peeled and sliced thinly

oil for browning

1/4 tsp whole pepper corn

sea salt and freshly ground pepper to taste

3 pieces of bay leaves


1. Slice chicken into bite size pieces.

2. Season with salt and pepper according to taste. Set aside.

3. Heat sauce pan over medium heat and add oil.

4. When oil is hot, add ginger, shallot, and garlic and saute until fragrant and translucent. Add chicken pieces and brown all sides.

5. Let all of the natural juices to evaporate before adding vinegar.

6. Let vinegar boil first before stirring to mix.

7. Add coconut milk, bay leaves, and pepper corn.  Lower the heat to medium low and let it simmer until chicken is tender.  Don't forget to stir occasionally to prevent the bottom from burning.

8. Let the sauce reduce and thicken before removing from heat.

9. Transfer to a serving dish and serve with steamed rice.


Tuesday, May 8, 2012

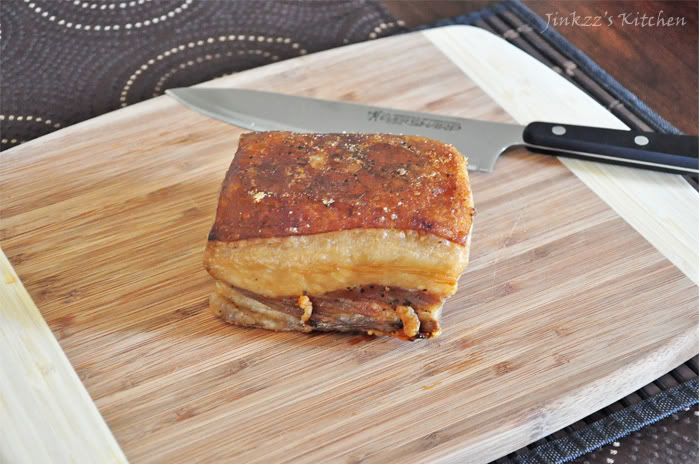
Apology and a New Recipe (Lechon Kawali)

My apologies for not being able to update my blog for several months. I underwent surgery for a work-related injury and the subsequent therapies (which I am still undergoing) and doctor's appointments kept me away from the kitchen for a while. The surgery also took me off school for several months which I am not too thrilled about since it means that graduation will have to wait a bit longer. Nevertheless, I am at a point where I am able to some of the things I used to do with some limitations as the surgical site is still tender and painful but it is getting better and better with each passing day. As my first entry after my long hiatus, I am posting a recipe for lechon kawali. This dish may not be for faint of heart and the fatty nature of the dish may make the cardiologists cringe in horror but I assure you that it is very tasty and delicious. Lechon sauce (or catsup, if you prefer) and a steaming hot bowl of rice are all you need with this dish.
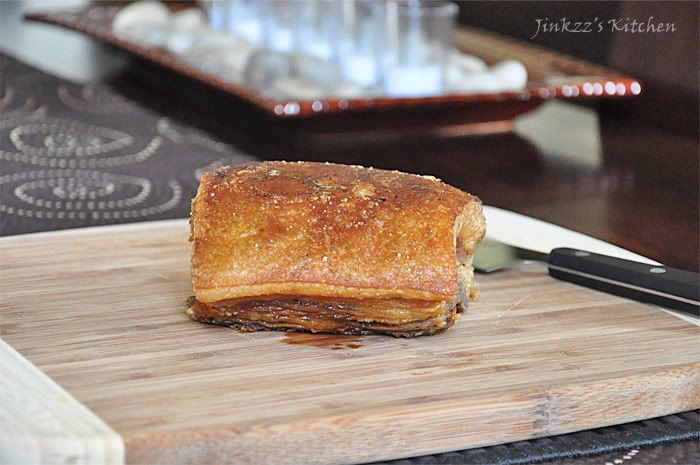
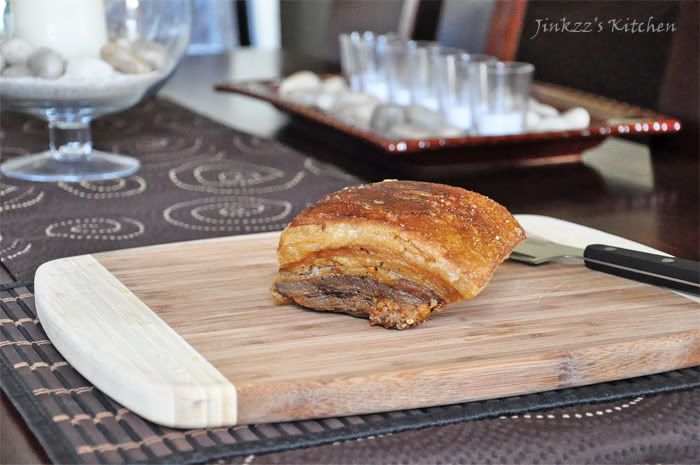
Lechon is a very well-known Filipino dish. It is usually a whole hog that is skewered in a whole bamboo and roasted in an open charcoal pit for several hours until the skin turns golden and crispy. It is a staple in almost every Filipino gathering. Crispy skin with the moist and tender meat makes this dish very tasty. I have previously posted a recipe for a variation of this dish known as Lechon sa Horno or oven-roasted pork. Lechon kawali, on the other hand, is cooked differently although the taste is similar to that of the traditional lechon. Instead of roasting the pork belly in the oven, it is boiled until tender then fried until the outer surface is brown and crispy. Although the outer surface is crispy, the insides are moist, tender and juicy. This is due to the fact that the meat is first boiled before frying. Like the original lechon, lechon kawali is best enjoyed with lechon sauce (or catsup) on the side and steamed rice.
Recipe: 2 lb slab of pork belly with ribs(available at most Filipino stores) salt to taste 1 tsp whole pepper corns 3-4 dried bay leaves water cooking oil lechon sauce (scroll down for recipe here) 1. Rinse pork belly and place in a large pot. 2. Add salt(according to your taste), whole pepper corns and bay leaves. 3. Add enough water to cover the pork and turn the heat to medium or medium high 4. Boil until tender then remove from heat and drain liquids. 5. You can blot the pork with paper towel to remove excess moisture. Cool and refrigerate overnight. (If you wish, you can skip refrigeration and just fry directly) 6. Heat a couple of inches of cooking oil in a pot large enough to hold the pork belly. 7. When oil is hot, add the whole pork belly and fry until golden brown. You may turn the pork belly over to fry and brown the other side. Cook until skin is crispy. WARNING: Oil is extremely hot and oil can splatter while you're frying so be very careful not to burn yourself. Use heavy lids or splatter guard. 8. Remove from heat and let it cool down a little bit before chopping into serving pieces. Serve with lechon sauce or catsup.

Saturday, November 26, 2011

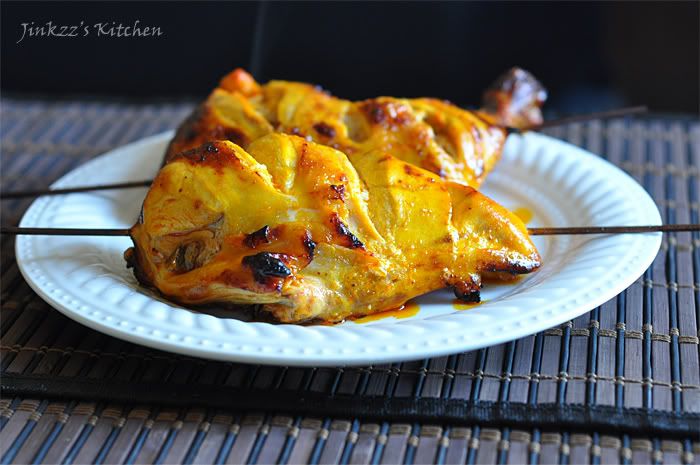
Bacolod -Style Chicken Inasal


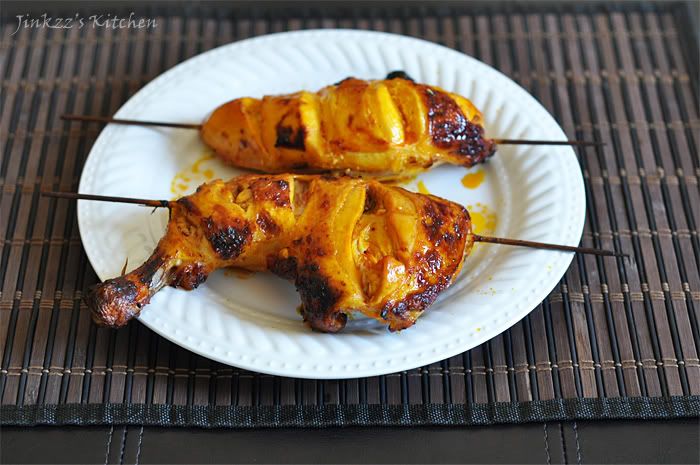
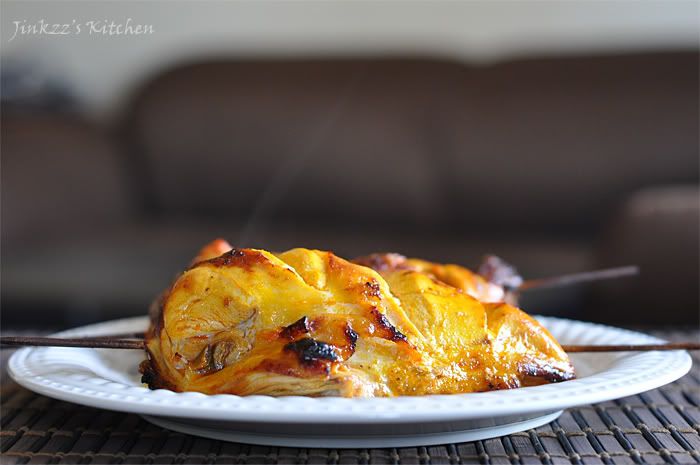
Chicken inasal is the quintessential Bacolod food that I can probably eat every single day when I am in Bacolod. There is just something about it that brings back tons of memories. The best chicken inasal,in my opinion, are those that are served at Manokan Country in reclamation area which is now fronting SM Mall. Ahhh...chicken inasal with kalamansi and soy sauce as sawsawan and eaten with rice that has been sprinkled with annatto oil and a little salt....yummy... especially if you eat it with your bare hands.

Bacolod-style chicken inasal is slightly unique from chicken barbeque found in other parts of the Philippines in the sense that it does not have any soy sauce in its marinade. Instead, the marinade is usually made up of 7-up, vinegar, salt, pepper, garlic, and lemon grass. The basting liquid is also unique as it uses annatto seeds, butter, and oil. The annatto seeds lends the dish its characteristic yellowish hue or coloring. One thing though that makes chicken inasal that are found in Bacolod better and cannot be replicated here in the States is the fact that they use native chickens. Native chicken are a lot less leaner than those that are sold in the regular US supermarket but despite its lean flesh, the taste is unparalled in the sense that it is a lot tastier than its plumpier American counterpart. Having said that, this recipe is as close as I can get to a Bacolod-Style chicken inasal without having to jump on the plane and spend caboodles of money everytime the craving for chicken inasal hits me :)

Ingredients:

2 chicken leg quarters
1 whole chicken breast, cut into half
4 bamboo skewers.

Marinade:

1 cup sugarcane vinegar
1 1/2 cups 7-up (or sprite, if you prefer)
2 inch sized ginger, peeled and sliced thinly
3-4 stalks of lemongrass (leaves and stalks), cut into 5-6 inches length then bruised using the back of a knife
3-4 cloves garlic, peeled and chopped finely
1/2 cup freshly squeezed Kalamansi (Philippine lime)juice
sea salt and ground white pepper, according to taste

1. Make several deep cuts into the chicken meat to ensure even marination.
2. Combine all the ingredients for marinade in a non-reactive container then add chicken.
3. Marinate for a minimum of an hour or overnight. Turn the meat over several times during the marination process.
4. When ready to cook, turn on the grill or preheat the broiler to high.
5. Soak the bamboo skewers in a pan of water for at least 15 minutes or more.
6. Skewer the chicken meat and baste with annatto oil basting liquid.
7. Place skewered chicken in the grill or broiler. Make sure you keep an eye on it to prevent meat from burning. Baste with basting liquid several times during the cooking process to prevent meat from drying out.
8. When one side is done, turn the other side over and cook until slightly golden in color, or until the internal temperature of the thickest part of the chicken meat reaches about 165F.
9. Remove from heat, let it cool slightly before serving. Place in a serving plate and serve with kalamansi-soy sauce dipping sauce


Basting liquid:

1/2 cups cooking oil
3 Tbsp butter (or less if you prefer)
salt, according to taste
2 Tbsp annatto seeds

1. Heat oil in asauce pan over medium heat.
2. Add butter until melted.
3. Add annatto seeds and stir until color is extracted (about 5 minutes).
4. Add salt according to taste and then remove from heat. Let it cool and transfer to a covered container and store until ready to use.
5. Use this to baste chicken inasal while cooking.

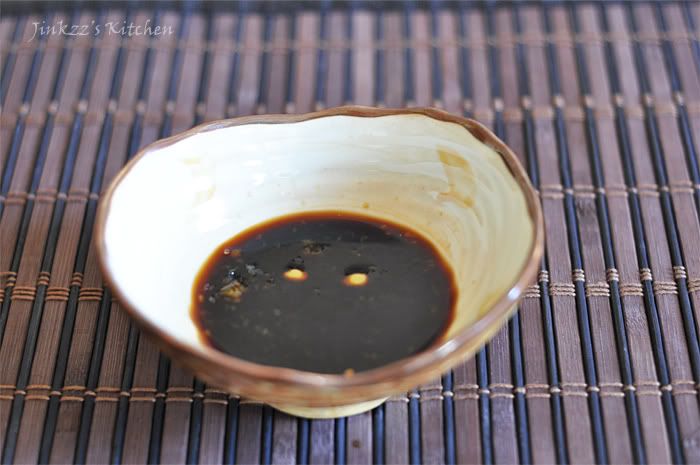
Dipping Sauce:

1 Tbsp Kalamansi juice
3-4 Tbsp soy sauce
1/2 Tsp spiced vinegar, optional

1. Combine all ingredients. Set aside until ready to use.
*** you may adjust the proportion according to your preference.

Friday, November 11, 2011

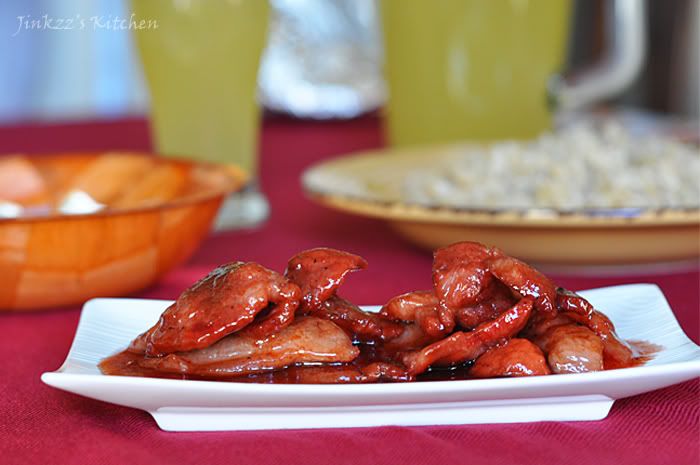
Pineapple Cured Pork (Pork Tocino)


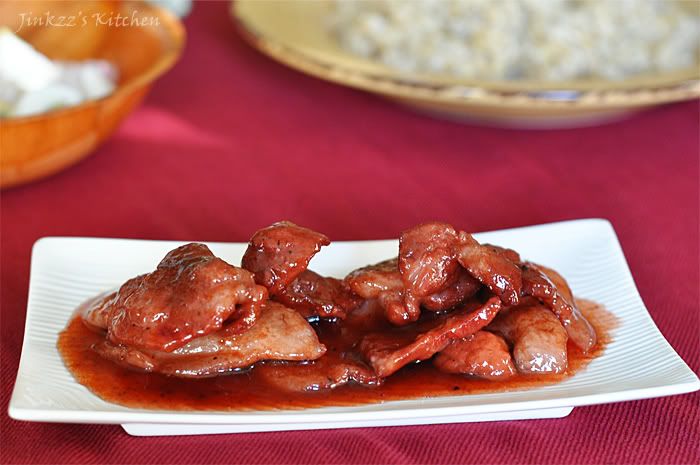
Pork Tocino is one of the typical dishes that is served for breakfast. It is part of the breakfast combo Tosilog or tocino, sinangag, itlog (tocino, fried rice, eggs). Again this is an easy dish to make and the ingredients can be doubled easily to make a big batch. They can be kept in the freezer until ready to cook.

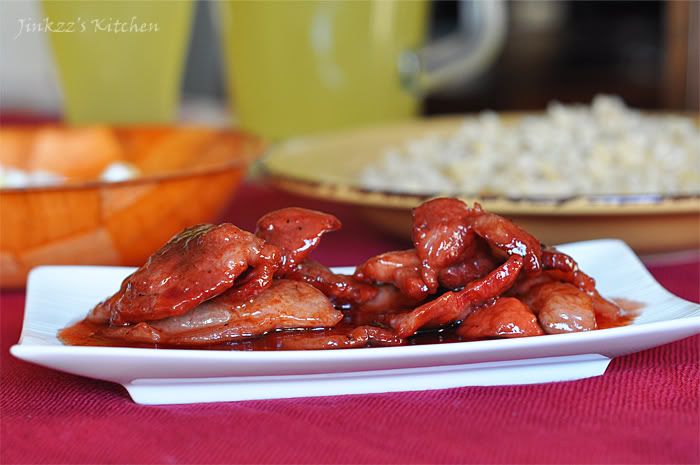
For this pork recipe, I used thinly sliced pork which I has the butcher sliced at the time I purchased it. I marinated it in a mixture of pineapple juice, 7-up, soy sauce, brown sugar, finely chopped garlic, salt, and pepper. I also added a few drops of red food coloring to give it that nice reddish color which is typical of tocino. I marinated the pork slices for about 12 hours before cooking it in a little bit of water and oil. The 7-up, pineapple juice and sugar gives it a nice sweet flavor as well as gives it a nice caramelized sauce. I only made a small batch using 1 pound of pork but I think I will have to triple the recipe next time since 1 pound didn't really last me very long.

Ingredients:

1 lb. thinly sliced pork shoulder or butt (I chose a portion that has a little bit of fat because it just taste better :)
1 cup pineapple juice
1/4 cup soy sauce, less if you prefer
1/2 cup 7-up or sprite
3/4 cup packed brown sugar
sea salt and pepper, to taste
3 cloves garlic, finely chopped
red food coloring, optional.

1. In a container with tight fitting lid, combine pineapple juice, soy sauce, 7-up, sugar, and garlic. Season with salt and pepper according to taste. Add food coloring, if desired.
2. Stir to mix well and dissolve sugar.
3. Add slices of pork and marinate in the refrigerator for 12 hours.
4. When ready to cook, heat pan over medium heat. Add about 1/2 cup water then add the pork sliced with some of the marinade and simmer until pork is tender.
5. When pork is tender and almost all of the liquid has evaporated, add about 1 Tbsp of oil and cook until it caramelizes nicely.
6. Remove from heat, transfer to a serving platter and serve warm.

Itlog na Maalat (Salted Eggs)


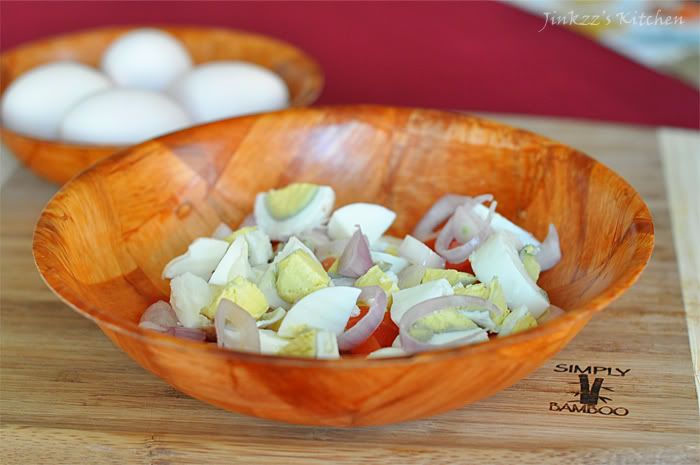
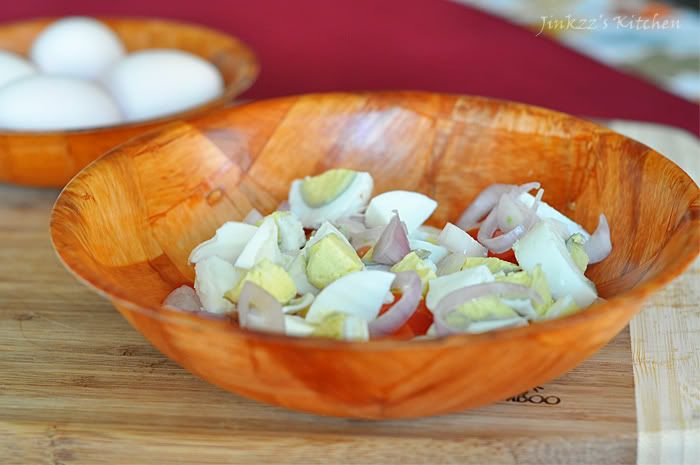
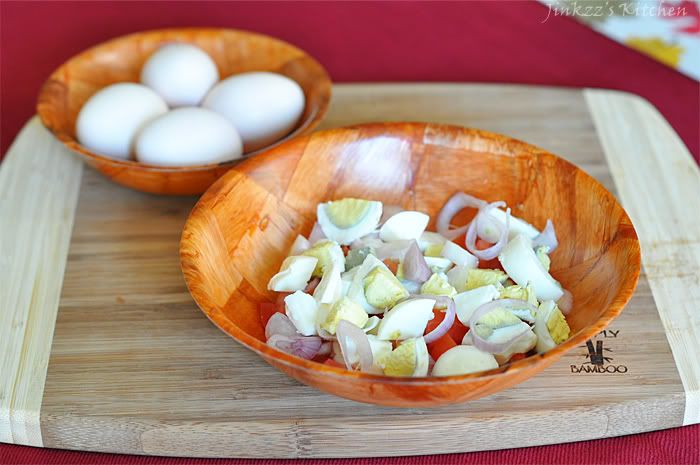
In a typical Filipino breakfast, you can also find a meat dish (tocino, chorizo, tapa, or hotdog) as well as fish or dried fish to go with the rice. Accompaniments include papaya relish (atchara) and/or sliced tomato. The other typical component of a Filipino breakfast is eggs which can be scrambled, fried, or boiled. Aside from these three, salted eggs or itlog na maalat is also very popular. I like mine sliced and combined with sliced tomatoes and shallots with a little vinegar...delish.

Salted eggs are actually easy to make. You just need eggs, water, and salt. Soak the eggs in the brine solution for a few weeks and then hard-boiled. Viola! salted eggs. Duck eggs are typically used for this recipe but you can use chicken eggs instead. These salted eggs are actually readily available at the Asian markets but I like to make my own. why? just because...hehehe. I kept mine in the corner of the cupboard where it is dark for about 4 weeks before I boiled them. Hard-boiled salted eggs can be kept in the refrigerator.

Salted eggs recipe:

1 dozen extra large chicken eggs
1 1/2 cups sea salt
4 cups water

1. Inspect eggs to make sure that none of them have any cracks.
2. In a non-reactive container, mix sea salt and water. Stir to dissolve.
3. Place eggs carefully making sure that they do not crack. Also ensure that they are submerged in the brine mixture.
4. Cover the container and store in a cool, dark spot for 4 weeks.
5. When ready, hard boil them. Cool and store in the refrigerator.
Combine all ingredients in a bowl and serve with rice and meat or fish


Salted Eggs with Tomatoes and Shallots.

2-3 hard-boiled salted eggs, chopped or sliced coarsely
2 medium sized Roma tomato, diced
2 small shallots, sliced into rings
1 Tbsp vinegar

Wednesday, November 9, 2011

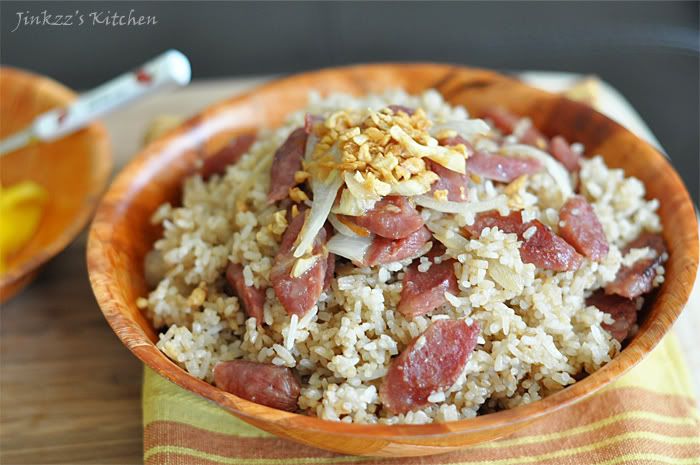
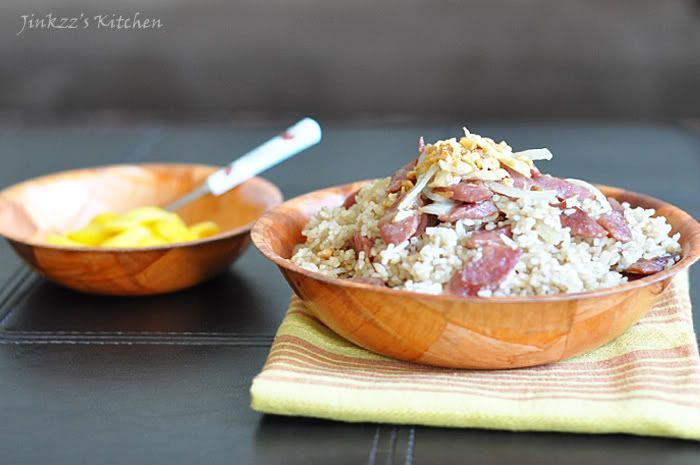
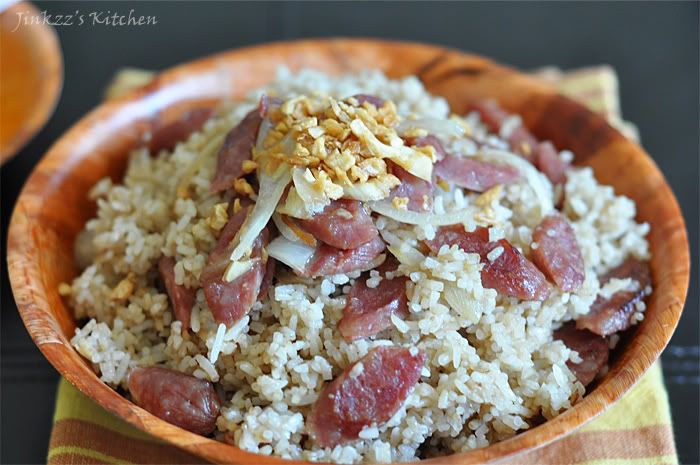
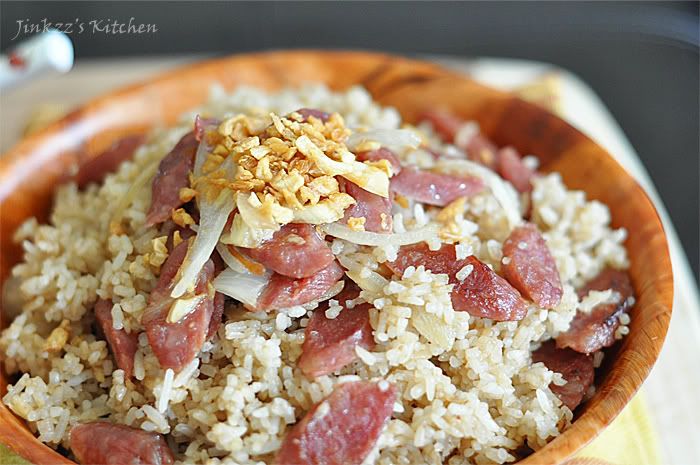
Morisqueta Tostada con Chorizo (Fried Rice with Chinese Sausage)


Ahhh...it has been a while since I last posted anything on this blog. I have been cooking and taking pictures though but have been really busy that I have not had found the time to post. I went back to work and school in the same week so my schedule has really been crazy but I promise to try to find balance and time to post all the dishes that I have cooked and recipes that I am working on.

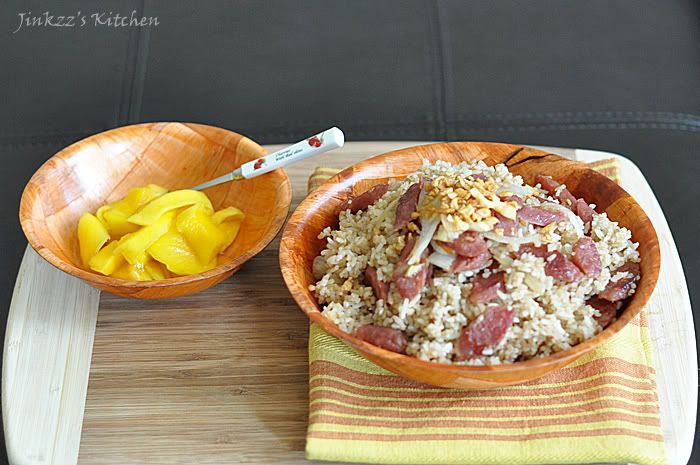
Morisqueta tostada con chorizo is nothing more than fried rice with Chinese sausage...simple and easy to make but really taste great. A complete meal by itself. I just used some leftover rice that I cooked the night before then added Chinese sausage. The sausage not only gives it a nice flavor but also makes it smell really good. Chinese sausage are sold in plastic packages and are readily available at most Asian supermarket. It is firm and looks dehydrated so I usually boil it in a little water to rehydrate it and make it fork-tender. The rest of the ingredients that I used are pretty much standard ingredients for Filipino-style fried rice- salt, soy sauce, onions, and garlic. I served this with pickled mangoes (burong mangga) to go with it...yummy!


Ingredients:

4 cups day-old steamed rice
3-4 Chinese sausage
1 shallot, chopped
3 cloves garlic, chopped
1 Tbsp soy sauce
salt and pepper to taste
2 Tbsp oil
2 tsp fried garlic as garnish

1. Slice Chinese sausage thinly and diagonally.
2. Heat pan over medium heat. Add oil then saute shallot and garlic until translucent.
3. Add Chinese sausage and saute for about 1-2 minutes then add about 1/2 a cup of water. Simmer until Chinese sausage is tender and all the fluids has been absorbed. Saute sausage for another 2-3 minutes.
4. Add rice and cook until slightly toasted. Make sure to stir frequently to prevent bottom from burning.
5. Add soy sauce and season with salt and pepper according to taste. Cook for another 1-2 minutes then remove from heat.
6. Transfer to a serving dish and top with fried garlic. Serve warm.

Wednesday, October 26, 2011

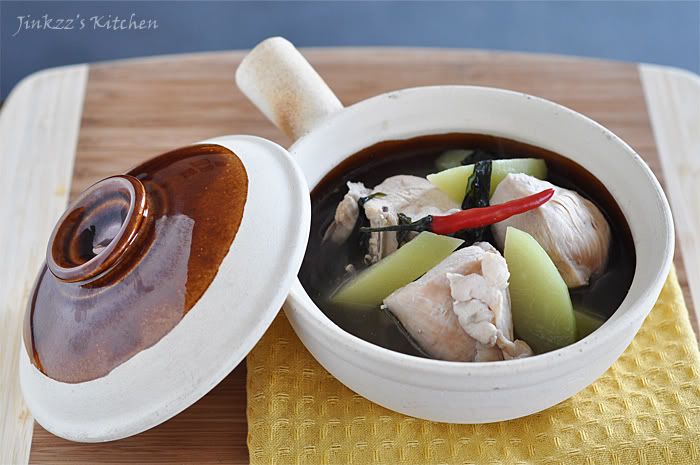
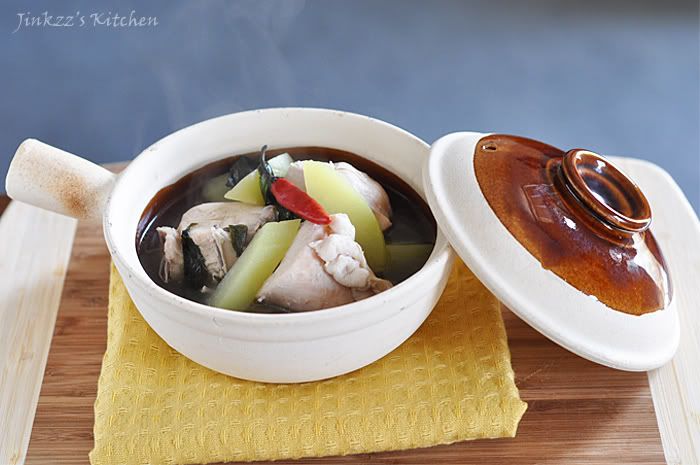
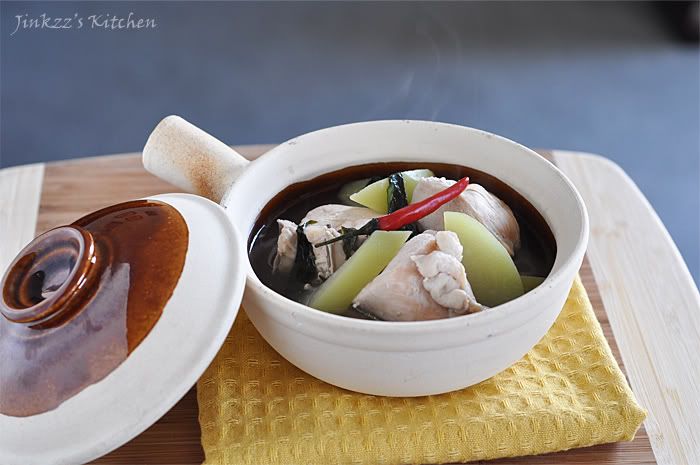
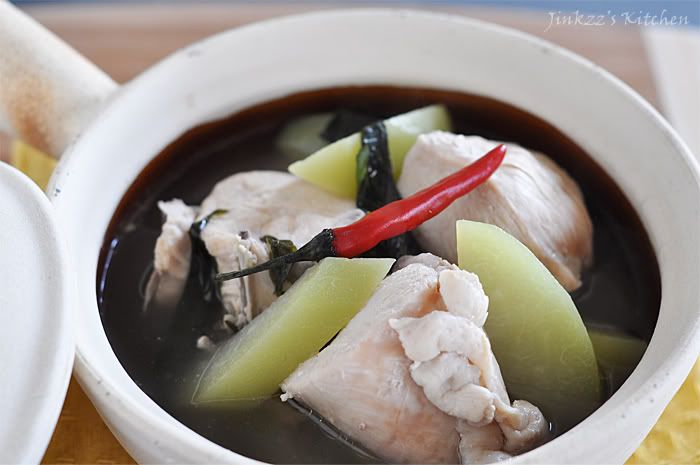
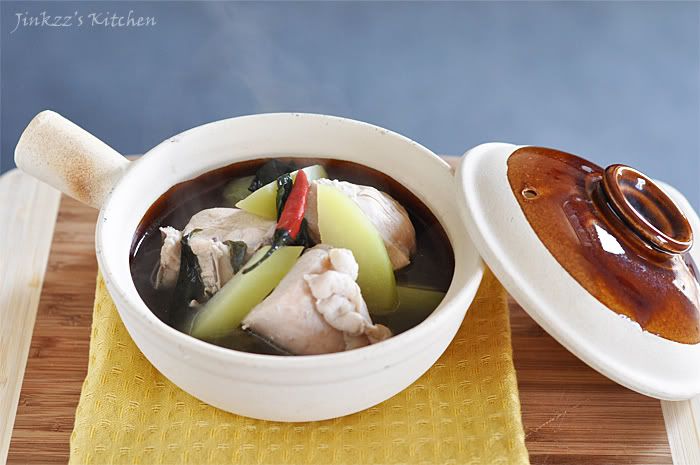
Tinolang Manok (Chicken with Papaya and Ginger)


Tinolang manok is a common Filipino dish that can be found in a lot of different islands of the Philippines. It is a soup mad up of chicken, green (unripe) papaya, pepper leaves, and ginger. Green or unripe papaya are available at most of the Asian markets. If green papaya is not available, you can substitute it with chayote which is readily available at the regular supermarket. You can also substiture pepper leaves with malunggay leaves. Both are usually available at the Filipino market in the freezer section. You can just thaw them out and add to the dish or do like I do, add it frozen while cooking the soup and let the heat thaw it out.
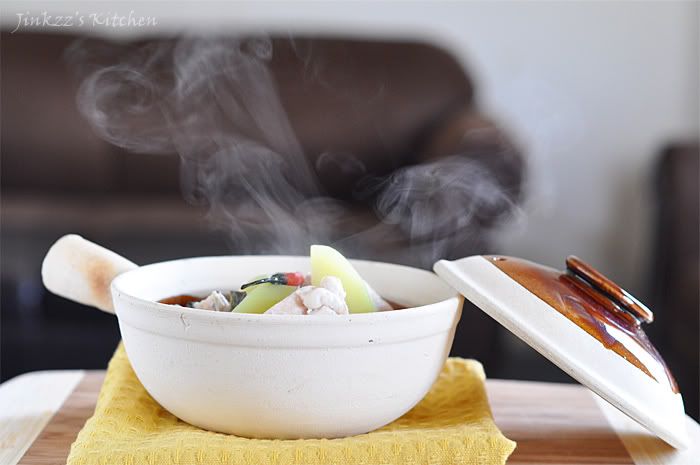
This is another dish that is appropriate for fall or winter because it will help warm you up. It is also healthy and nutritious as well as delicious. Filipinos usually eat this warm with piping hot bowl of rice...yummy...Leftovers, if any, can be stored in the refrigerator and heated on the stove or microwave.

Ingredients:

2 - 3 lbs chicken, cut into serving pieces
1 small unripe (green) papaya or 2 chayote, peeled and seeded then sliced.
2 inch ginger, peeled and sliced thinly
1 small onion, sliced
3 cloves garlic, chopped
1 package frozen pepper leaves
3 Thai chillies, whole
salt and pepper to taste
1 Tbsp fish sauce
oil

1. Heat pan over medium heat then add oil.
2. Add ginger, garlic, and onion. Saute until translucent and fragrant
3. Add chicken and saute until brown.
4. Add enough water to cover the chicken then simmer until chicken is tender.
5. Add papaya slices and continue to cook until tender.
6. Add Thai chili and frozen pepper leaves and simmer until thawed or 2-3 minutes if already thawed.
7. Season with fish sauce, salt, and pepper then remove from heat.
8. Transfer to a serving dish and serve warm.