Showing posts with label fried. Show all posts

Sunday, June 24, 2012

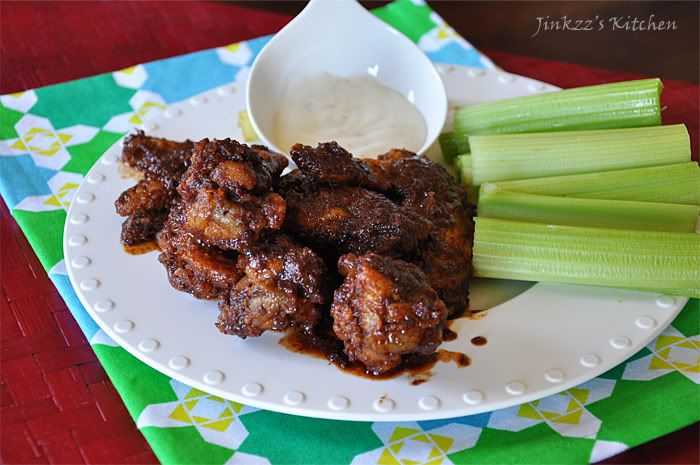
Chicken Wings in Cocoa-Hot Sauce

I like spicy chicken wings... I usually order a serving every time I place an order for pizza.  There is just something about it that can get very addicting and yummy.  They can be very messy to eat but I guess that is part of the charm in eating hot wings especially if you use your hands instead of the utensils :)

This recipe for chicken wings is based on a Good Housekeeping cookbook that my sister-in-law gave me recently.  I used cocoa powder instead of grated dark chocolate since I didn't have any in the house.  The result is a decadent variation of the classic hot wings that I do like very much.
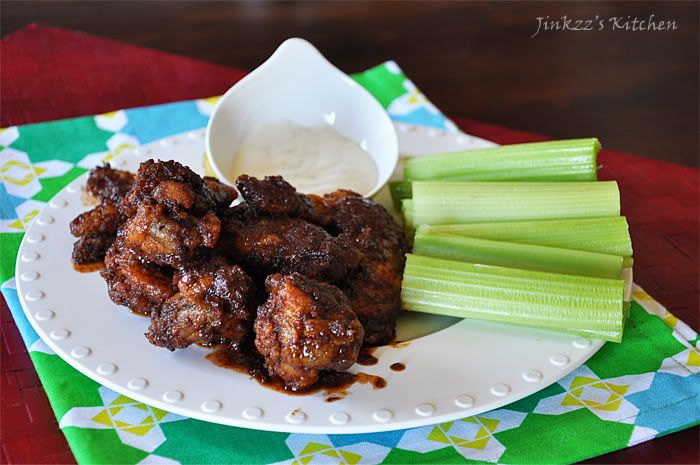

Cooking this takes a few steps and several cooking vessels so be prepared to wash a mountain of dirty dishes afterwards...hehehe. I used one cooking pot for frying the chicken wings and another for the sauce.  I also used several plates for the preparation which was my mistakes since I should have used a ziplock bag for dredging the wings in seasoned flour.  That would have saved me a little bit of time and fewer dirty dishes...

The recipe calls for a cup of butter but I cut it down to half and still got a good result.  I do not like my food too greasy anyway so it worked out well.  Instead of using a regular hot sauce to make the dish spicy, I used a combination of kochukaro (Korean powdered chili) and Sriracha (Vietnamese hot sauce).  The kochukaro don't dissolve well so the sauce can be a little gritty but I liked it anyway.  You can adjust the spices to suit your taste but the proportion that I used (1 Tbsp kochukaro and 2 Tbsp Sriracha) was good enough for me- not too spicy but with enough hint of spiciness. 
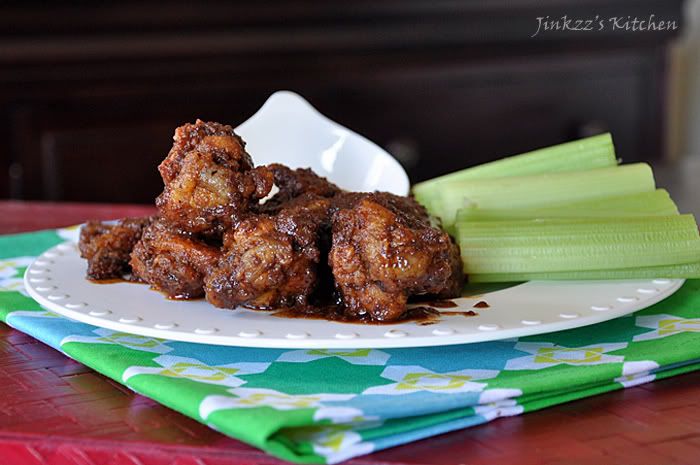

Dredging the chicken wings in seasoned flour before frying not only gives it a nice flavor but also makes it crunchy even after the sauce has been added.  I think that if you do not dredge the chicken wings in flour prior to frying, the wings will become soggy once the sauce is added.  The addition of cocoa powder in the sauce gives it a darker color and deeper flavor than normal hot wing sauce.  

Ingredients:

2 lbs chicken wings
3/4 All-purpose flour for dredging
sea salt and freshly ground pepper, according to taste.
1 Tbsp cocoa powder
2 Tbsp Sriracha hot sauce
1 Tbsp kochukaro (Korean chili powder)
1/2 cup butter, room temp
oil for frying

1. In a bowl, combine flour with salt and ground pepper.  Mix thoroughly

2. Dredge chicken wings in flour mixture, remove excess and set aside.

3. Heat oil in a deep pan.  Add a few chicken wings at a time and cook until done.  Remove from heat and place in a paper towel lined plate to absorb excess grease. Set aside.

4. Heat another pan over medium heat.  Add butter and cook until melted.

5. Add Sriracha and kochukaro. Cook for a minute or two then turn off the heat.

6. Stir in cocoa powder and mix until well incorporated.

7. Add wings to the hot sauce mixture and mix until every wing is coated with the sauce.

8. Transfer in a serving dish and serve with ranch dressing and slices of celery.

Monday, May 21, 2012

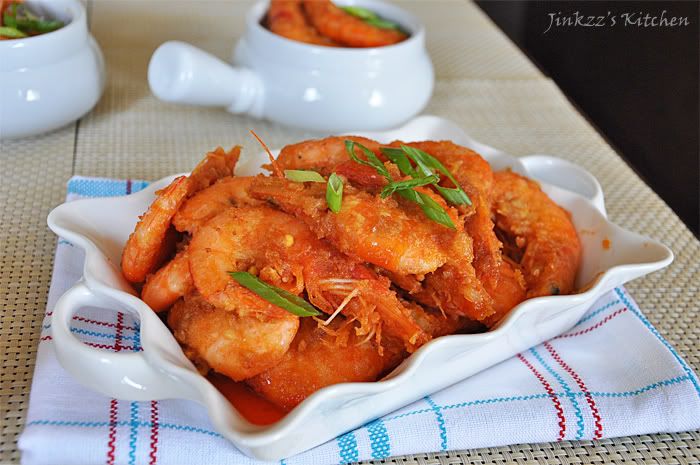
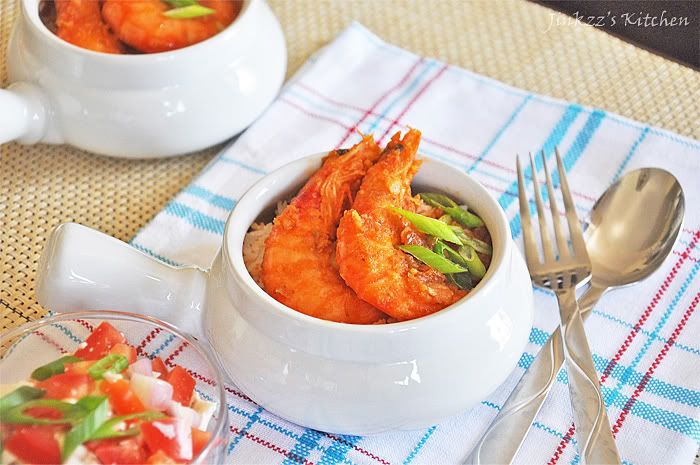
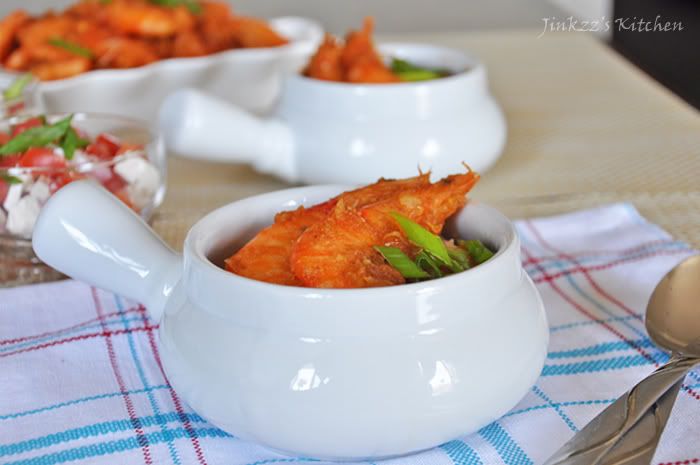
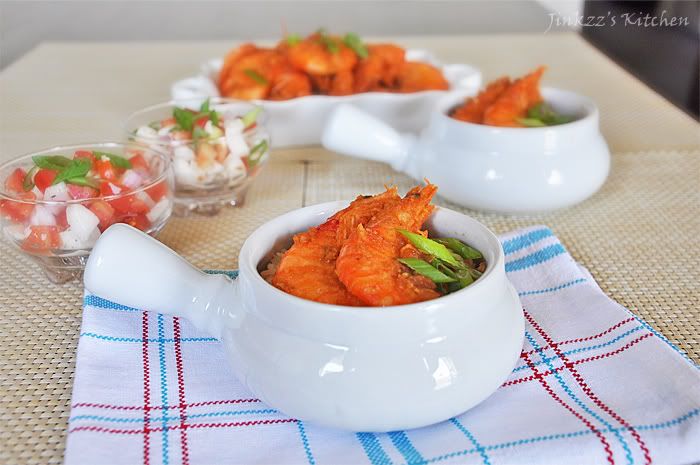
Fried Shrimp in Salted Egg Yolk

I hope everyone's weekend was way better than mine.  I was in pain all weekend long as a result of yet another steroid shot to my injured elbow ...Ughhh, being the fourth shot within the last six months, I think they have outlived their usefulness.  As a result, there has been no significant effect on the pain anymore.  It is still at the same intensity as it was before the last one...they need to find a better treatment regimen for me... 


On the bright side, I cooked an excellent dish today.  Cooking is like my oasis in the desert that helps to keep me going when things are not going as they should.  It helped keep me sane when I went through a rough patch and still does help keep my brain occupied now since I do not use it as much as I did when I worked... another added advantage is that it helps exercise my elbow and hand to keep it moving....hehehe... okay, enough about my problem and moving on to the good part...

This dish is Chinese in origin but uses ingredients that are commonly used in Asian cooking.  One of the main ingredients which, in my opinion, takes this dish to an entirely different level is the addition of salted egg yolks into the sauce.  The salted egg yolks just makes the sauce creamy and tasty.  Although salted egg yolks were used in the dish, surprisingly, it is not salty at all so do not be afraid of seasoning your shrimp or adding salt to the cornstarch or all-purpose flour used in dredging the shrimp prior to frying.  


Serve this with a piping hot bowl of steamed rice and use your hands to dig in.  While that may sound barbaric or crude to a lot of people, I do think this is the best way to eat this dish...hehehe....that's just the Filipino way of enjoying a meal.  Of course, I have never been too good with using my hand to eat rice with but I definitely use my hands to peel the shells off the shrimps and dunk it in its sauce.  The shrimps are good but the sauce is divine... As the Kentucky Fried Chicken slogan goes, these babies are finger lickin' good

BTW, do not throw away the salted egg whites since that can be used in another dish which, in my opinion, is a great accompaniment to this dish.  Recipe will follow.


Ingredients:

1 1/2 lbs large shrimps

1/2 cup cornstarch

salt and pepper, to taste

1/4 cup oil

1/2 block butter

1 head garlic, peeled and finely chopped

6 hard-boiled egg yolks, mashed


1,  In a bowl, mix cornstarch, salt and pepper.

2. Lightly dredge the shrimp in cornstarch mixture, shake off excess.

3. Heat a non-stick wok over medium heat.  Add oil.

4, When oil is hot, add shrimp and lightly saute.  Cook until shrimp turns orange in color then immediately remove from heat.  Transfer shrimp to a paper towel lined plate to drain excess fat.

5. Add garlic to the oil and saute until fragrant and soft.

6. Add salted egg yolks and stir to dissolve.

7. Add shrimp back to the wok and stir to mix.

8. Remove from heat and serve.


Friday, May 18, 2012

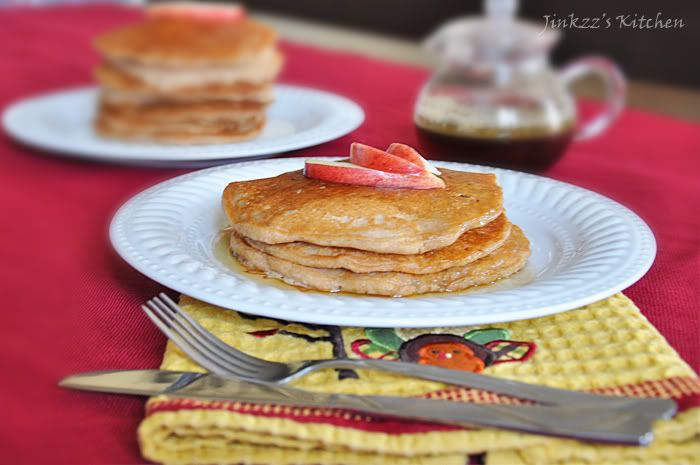
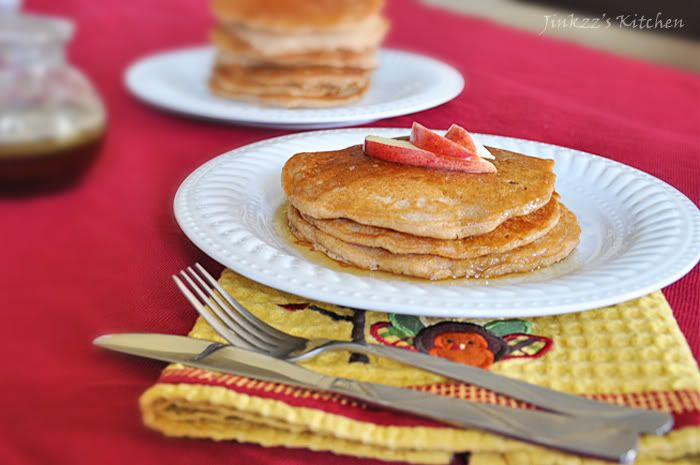
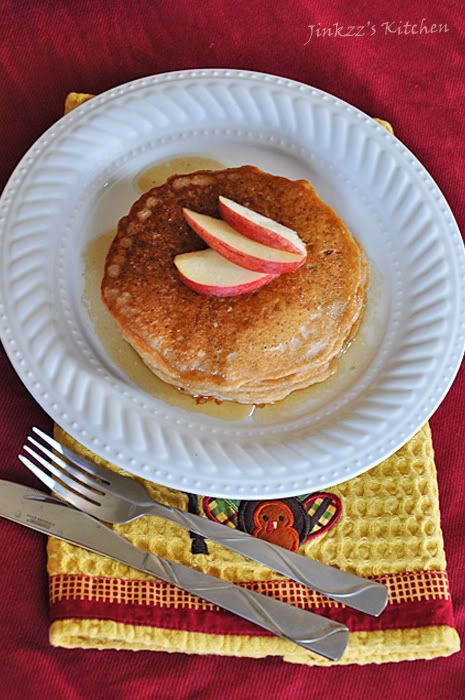
Apple-Cinnamon Pancake with Butter and Maple Syrup

This day started out all wrong. I was awoken by a phone call at a little past 8 am which was way too early for me to wake since I hardly had any sleep the night before and was tossing and turning. I think it was partly due to the pain on my left elbow and partly due to the fact that I took a nap late afternoon the day before. By the time I hang up the phone, I was wide awake and couldn't go back to sleep so I finally dragged myself out of bed, washed my face, brushed my teeth, and went to the kitchen to brew some coffee. I do not know if it was because I was still sleepy or maybe it was just the fact that I wasn't thinking straight but I forgot to place the coffee filter holder before putting the coffee filter and ground coffee on the coffee maker. I went to the living room to turn on the television and watch Gin Tama (Japanese anime series that I am currently watching)while I was waiting for the coffee to finish brewing. When I went back to the kitchen a few minutes later, I had a mess on the counter with brewed coffee and coffee granules splattered all over. Ughhh...not good way to start my day, indeed. Luckily, the mess was nothing that a roll of paper and a little elbow grease was able to take care of.


Ahhh... I am not much of a coffee drinker these days and have, for a few years now, been a tea drinker but every now and then I do reach for the coffee mug and trade my tea collection for a cuppa coffee. I think I should just stay on drinking green tea which is a far better choice than coffee...hehehe. Anyway, that incident set me back time-wise so instead of making homemade pesto for my intended chicken pesto panini, I reached for a package of pancake mix to save some time. Store-bought pancake mixes are great to use when you are crunched for time since they only need water addition and ready for cooking. I did, however, added a few key ingredients to make it taste homemade rather than generic. With the addition of grated apple and cinnamon, the taste improved significantly. I drizzled maple syrup with butter and arrange a few slices of apple on top...sinfully yummylicious!!


Ingredients:

2 cups pancake mix
1 1/2 cups cold water (per pancake mix manufacturer's recommendation)
1/2 tsp cinnamon powder (less if you prefer)
1 apple, cored and then grated oil for cooking


1. In a bowl, add pancake mix and cinnamon powder. Stir until well combined.

 2. Add cold water and mix to moisten ingredients. The batter may still be a little lumpy but try not to overmix.

 3. Stir in grated apple and mix until combined.

 4. Heat a griddle (or skillet) over medium heat.

 5. Grease the entire surface of the griddle or skillet with oil. Do not put too much oil though but just enough to cook the pancake.

 6. When the griddle and oil is hot, add about a quarter or half a cup of the batter into the griddle.

 7. Cook until you see some bubbles on the surface of the batter.

 8. Using a non-stick spatula or turner, carefully loosen the bottom of the pancake and then turn over to cook the other side.

 9. Cook until done which would probably take about a minute to a minute and a half.

 10. Continue cooking until you've used up all the batter. Add oil as needed to prevent the pancake from sticking to the pan.

 11. Serve warm with a few sliced apple arranged on top and drizzled with butter and maple syrup mixture.


Butter and maple syrup compound

Ingredients: 1 (240 ml) bottle of maple syrup

1/2 a block of butter

 1. Cut butter into an inch thickness.

 2. In a small sauce pan, add maple syrup and butter.

 3. Heat over medium to low heat and cook until butter melts.

 4. Stir until well incorporated.

 5. remove from heat and keep warm.

 6. Use this to drizzle over your pancakes or waffles.

Thursday, May 17, 2012

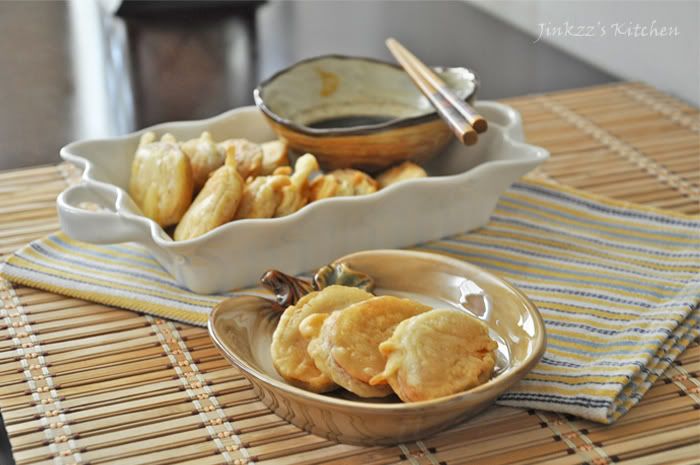
Goguma Twigim

I love Korean food...truth be told, I think I like it better than Filipino food which is something that I grew up with....Ha! how's that for being nationalistic huh?  But, then again, I do believe that in my previous lifetime I might have been Korean.  Crazy, huh?  For some reason I have always been drawn to everything Korean - food, culture, entertainment.  Heck, even my Korean friend tells me that I am, in some ways, more Korean than she is... fine by me.
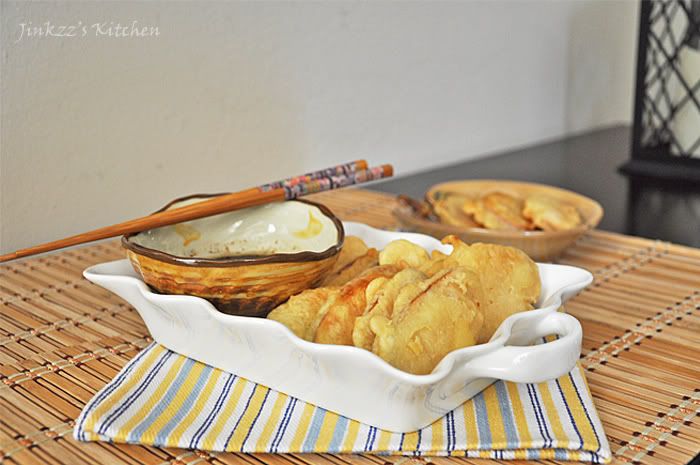
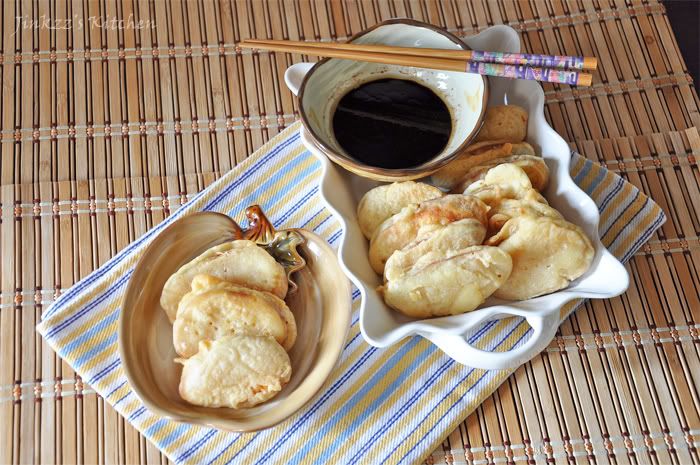
As I have mentioned I do love Korean food and am fascinated by their different dishes.  They have so many banchan (side disshes) that are being served at meal times that I often wonder how a regular Korean mom is able to prepared all of them while doing the rest of the household chores. Personally, I do like buying my banchan from the local market as it beats having to prepare each and every single one of them especially for those that requires extensive prep work as well and a mountain of dirty dishes.  Kimchi, for example, is not one of those side dishes that you prepare if you have a small family.  I think buying them from the market is a more practical alternative.  Every once in a while though I would get curious as to how some things are prepared that I would make them myself such as cabbage and radish kimchi but I do not think I will be making them again anytime soon.  Jjigae and main dishes though are a different matter since they taste better when they are freshly prepared as opposed to buying them from the market.  Goguma Twigim (fried sweet potato) is one of those that I can prepare at home and eat often.  They are really good as afternoon snack  and can be eaten as is or dipped in a soy sauce-rice wine vinegar-sesame oil dipping sauce.  

The preparation is actually quite simple which requires slicing the sweet potato into thin disks around 1/4 inch thick  then coating it with batter before it is deep fried in oil.  The good thing about this dish is that it requires just a few ingredients which can easily substituted from those that are found in the cupboard.  Don't forget to use ice-cold water as it is the secret to making the batter crispy when fried. Over the years, this has become one of my favorite as well as a comfort food as it conjure visions of home cooking.

Ingredients:

2-3 large sweet potatoes (Korean variety if you can get your hands on them)
3/4 cup of Korean frying batter mix ( can be substituted with all-purpose flour) + 1/2 cup for dusting/coating
1/2 cup ice cold water
1/2 tsp sugar
a pinch of salt
oil for frying

1. Wash sweet potato thoroughly making sure to remove any dirt on the surface of the skin then dry using paper towel.

2. Slice sweet potatoes into 1/4 inch thick round dish.  If you are using small sweet potatoes, slice it diagonally to get a bigger surface area.

3. Lay the potato slices in a single layer  and sprinkle with salt. Set aside while you prepare the batter.

4. In a bowl, mix water and 3/4 cup Korean batter mix.  Mix well until there are no lumps then set aside.

5. Transfer the sliced potatoes in a small ziplock back and add 1/2 cup of Korean batter mix.  Shake until every slice of potato is coated.  Shake excess and then coat each slice with the wet batter.

6. Fry in  heated oil until cooked and the outside turns golden in color.  Make sure that the fire is not too high that the batter burns before the potato slices are fully cooked.  Be careful not to burn yourself while frying.

7. Once cooked, remove from heat and then transfer to a paper towel lined plate to absorb excess oil.

8. Serve as is or with soy dipping sauce.

Soy sauce, Rice wine vinegar, and Sesame oil dipping sauce:

2 1/2 Tbsp Korean soy sauce
1 tsp sesame oil
1 tsp rice wine vinegar
1/2 tsp toasted sesame seeds
finely sliced scallion

1. Mix soy sauce, sesameoil, and rice wine vinegaer in a bowl.  Stir to mix well.

2 Top with sesame seeds and scallion.


Tuesday, May 8, 2012

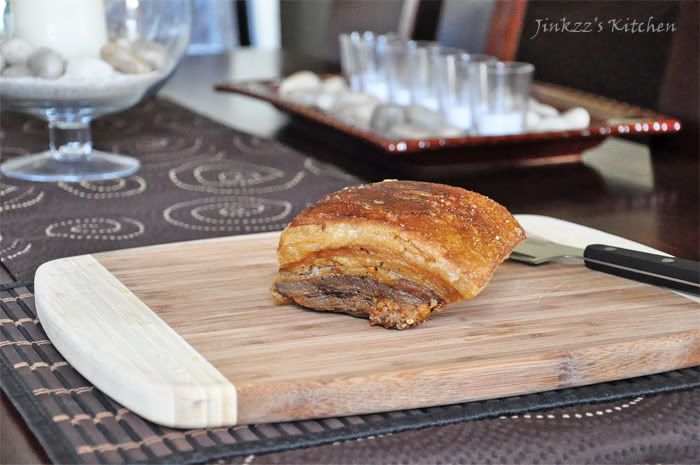
Apology and a New Recipe (Lechon Kawali)

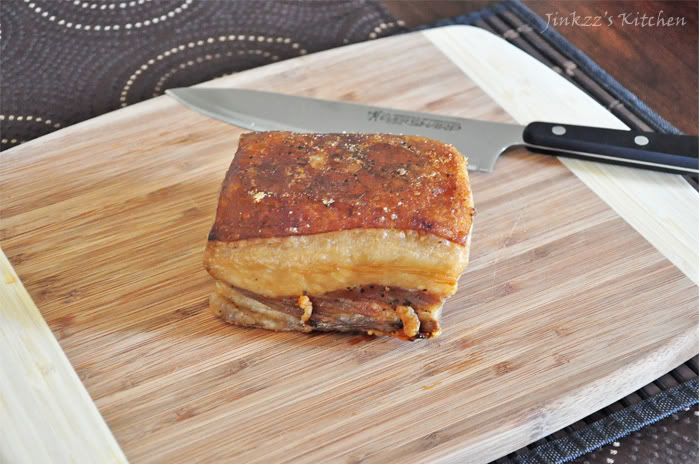
My apologies for not being able to update my blog for several months. I underwent surgery for a work-related injury and the subsequent therapies (which I am still undergoing) and doctor's appointments kept me away from the kitchen for a while. The surgery also took me off school for several months which I am not too thrilled about since it means that graduation will have to wait a bit longer. Nevertheless, I am at a point where I am able to some of the things I used to do with some limitations as the surgical site is still tender and painful but it is getting better and better with each passing day. As my first entry after my long hiatus, I am posting a recipe for lechon kawali. This dish may not be for faint of heart and the fatty nature of the dish may make the cardiologists cringe in horror but I assure you that it is very tasty and delicious. Lechon sauce (or catsup, if you prefer) and a steaming hot bowl of rice are all you need with this dish.
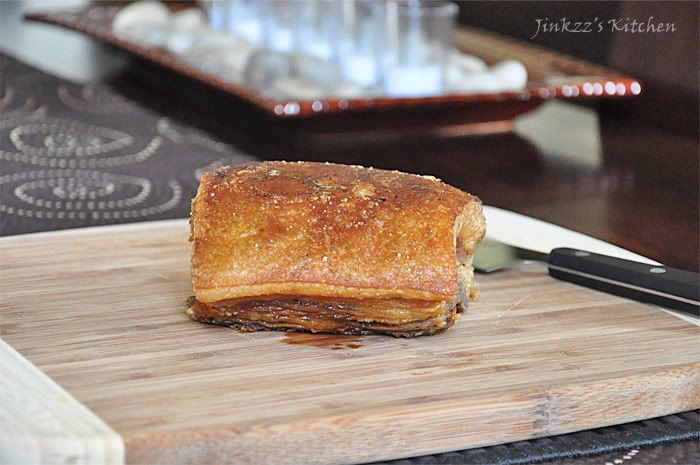
Lechon is a very well-known Filipino dish. It is usually a whole hog that is skewered in a whole bamboo and roasted in an open charcoal pit for several hours until the skin turns golden and crispy. It is a staple in almost every Filipino gathering. Crispy skin with the moist and tender meat makes this dish very tasty. I have previously posted a recipe for a variation of this dish known as Lechon sa Horno or oven-roasted pork. Lechon kawali, on the other hand, is cooked differently although the taste is similar to that of the traditional lechon. Instead of roasting the pork belly in the oven, it is boiled until tender then fried until the outer surface is brown and crispy. Although the outer surface is crispy, the insides are moist, tender and juicy. This is due to the fact that the meat is first boiled before frying. Like the original lechon, lechon kawali is best enjoyed with lechon sauce (or catsup) on the side and steamed rice.
Recipe: 2 lb slab of pork belly with ribs(available at most Filipino stores) salt to taste 1 tsp whole pepper corns 3-4 dried bay leaves water cooking oil lechon sauce (scroll down for recipe here) 1. Rinse pork belly and place in a large pot. 2. Add salt(according to your taste), whole pepper corns and bay leaves. 3. Add enough water to cover the pork and turn the heat to medium or medium high 4. Boil until tender then remove from heat and drain liquids. 5. You can blot the pork with paper towel to remove excess moisture. Cool and refrigerate overnight. (If you wish, you can skip refrigeration and just fry directly) 6. Heat a couple of inches of cooking oil in a pot large enough to hold the pork belly. 7. When oil is hot, add the whole pork belly and fry until golden brown. You may turn the pork belly over to fry and brown the other side. Cook until skin is crispy. WARNING: Oil is extremely hot and oil can splatter while you're frying so be very careful not to burn yourself. Use heavy lids or splatter guard. 8. Remove from heat and let it cool down a little bit before chopping into serving pieces. Serve with lechon sauce or catsup.

Wednesday, November 9, 2011

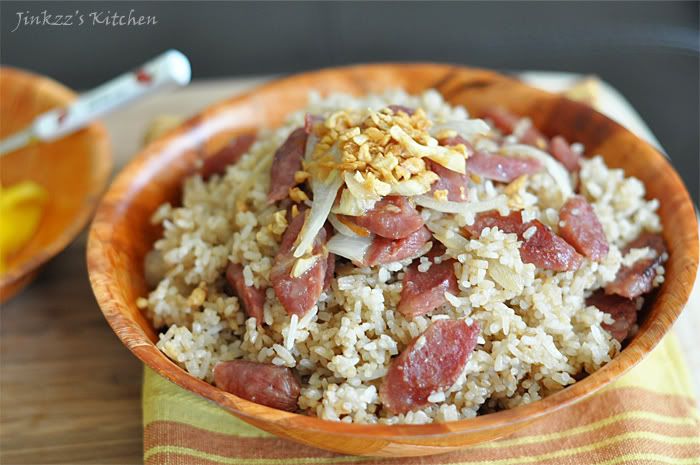
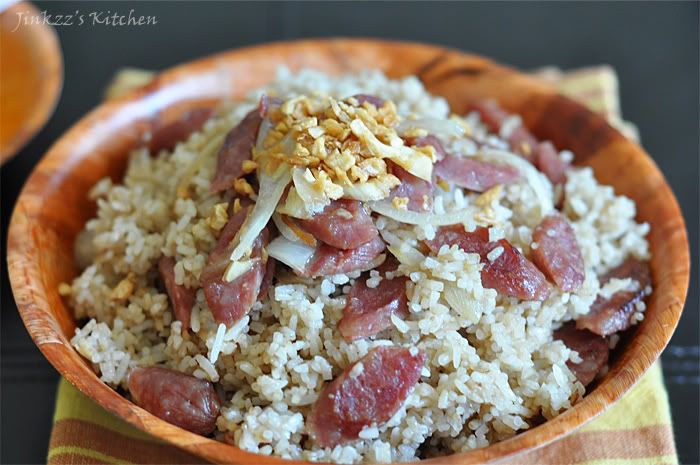
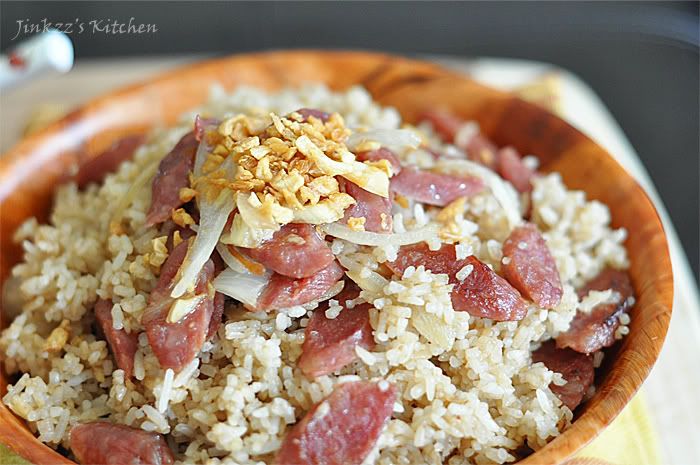
Morisqueta Tostada con Chorizo (Fried Rice with Chinese Sausage)


Ahhh...it has been a while since I last posted anything on this blog. I have been cooking and taking pictures though but have been really busy that I have not had found the time to post. I went back to work and school in the same week so my schedule has really been crazy but I promise to try to find balance and time to post all the dishes that I have cooked and recipes that I am working on.

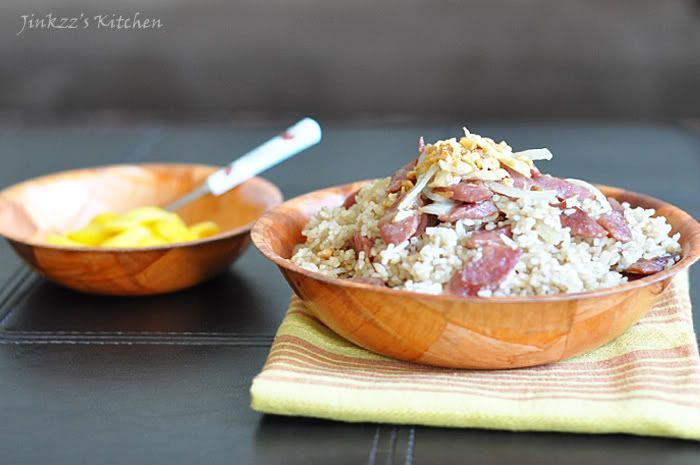
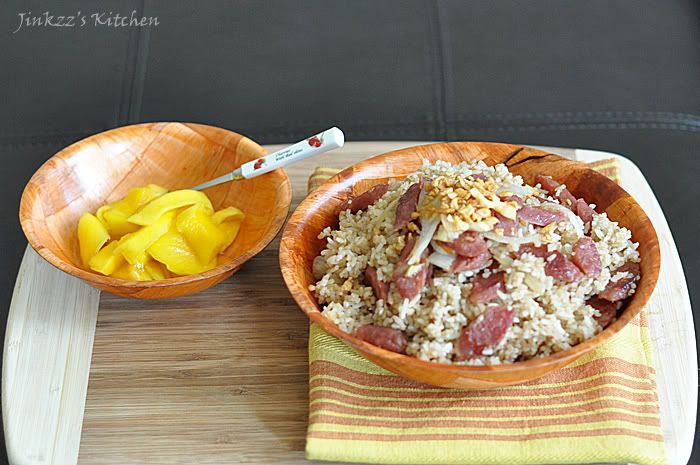
Morisqueta tostada con chorizo is nothing more than fried rice with Chinese sausage...simple and easy to make but really taste great. A complete meal by itself. I just used some leftover rice that I cooked the night before then added Chinese sausage. The sausage not only gives it a nice flavor but also makes it smell really good. Chinese sausage are sold in plastic packages and are readily available at most Asian supermarket. It is firm and looks dehydrated so I usually boil it in a little water to rehydrate it and make it fork-tender. The rest of the ingredients that I used are pretty much standard ingredients for Filipino-style fried rice- salt, soy sauce, onions, and garlic. I served this with pickled mangoes (burong mangga) to go with it...yummy!


Ingredients:

4 cups day-old steamed rice
3-4 Chinese sausage
1 shallot, chopped
3 cloves garlic, chopped
1 Tbsp soy sauce
salt and pepper to taste
2 Tbsp oil
2 tsp fried garlic as garnish

1. Slice Chinese sausage thinly and diagonally.
2. Heat pan over medium heat. Add oil then saute shallot and garlic until translucent.
3. Add Chinese sausage and saute for about 1-2 minutes then add about 1/2 a cup of water. Simmer until Chinese sausage is tender and all the fluids has been absorbed. Saute sausage for another 2-3 minutes.
4. Add rice and cook until slightly toasted. Make sure to stir frequently to prevent bottom from burning.
5. Add soy sauce and season with salt and pepper according to taste. Cook for another 1-2 minutes then remove from heat.
6. Transfer to a serving dish and top with fried garlic. Serve warm.


Friday, October 28, 2011

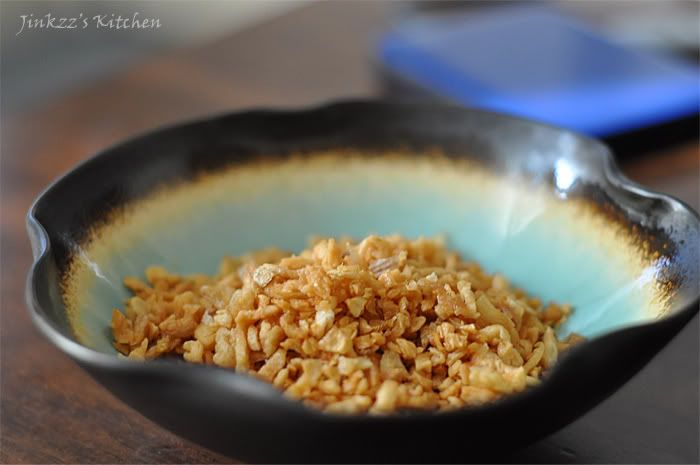
Fried Garlic


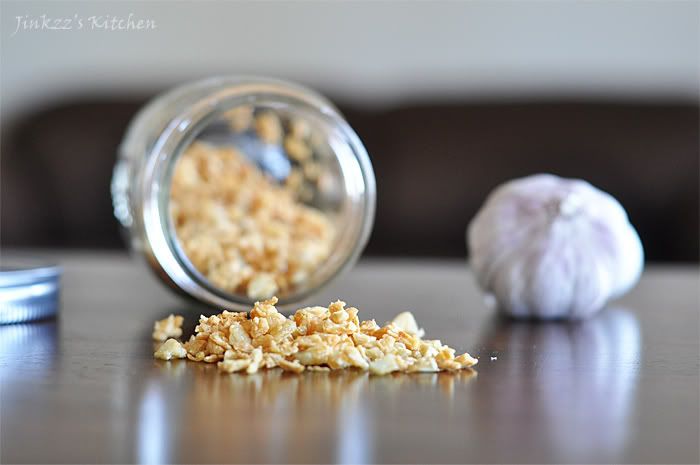
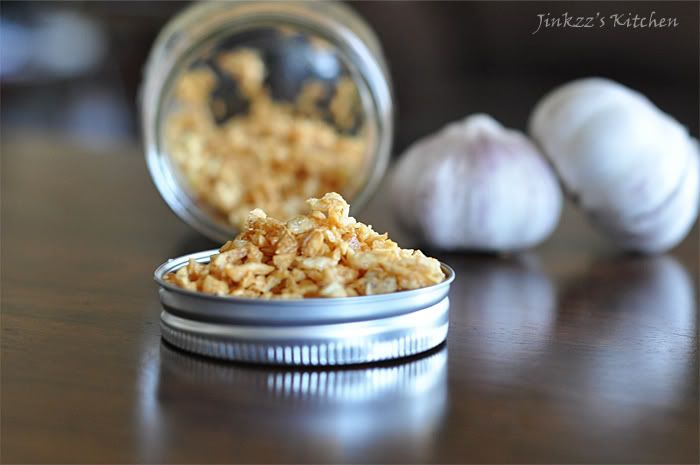
Fried garlic is one of the toppings that is frequently used in Filipino dishes...at least from the place that my family was from. We use it as topping for fried rice as well as soups and porridge. The smell is heavenly and permeates the whole house. It gives an impression of a lived-in, warm house. It also conjures up an image of a loving family gather together to share a meal prepared by a loving mom :) Ah, it makes me miss my mom and wish she is here with me right now but I am sure that she is happily looking down from up above.

This is a simple addition to any dish which gives it a nice extra flavor and dimension. It only takes a couple of ingredients and few minutes cooking time. You have to be careful though not to burn them as they will taste bitter and not fit to eat. I find that gently frying them works in making sure that they don't burn and stay crispy longer. They are actually readily available in the Filipino store but I like frying my own since they do not really take that much time and effort. I usually use a few bulbs of garlic at a time and them place them in airtight container to keep them crispy and ready for use anytime I need them. To save time, you can use a food processor to chop the garlic but make sure that they are chunky instead of finely chopped. I prefer to chop them by hand though.

Ingredients:

4 or more bulbs of garlic, peeled and chopped
1/2 cup oil

1. Heat saucepan over medium heat. Add oil and heat it gently.
2. When oil is moderately hot, add garlic and fry them until they turn golden in color. Make sure you stir them frequently while frying to prevent burning.
3. Remove from heat and place on a paper towel lined plate to absorb excess oil.
4. When they have cool down, transfer to an airtight container to store.

Sunday, October 23, 2011

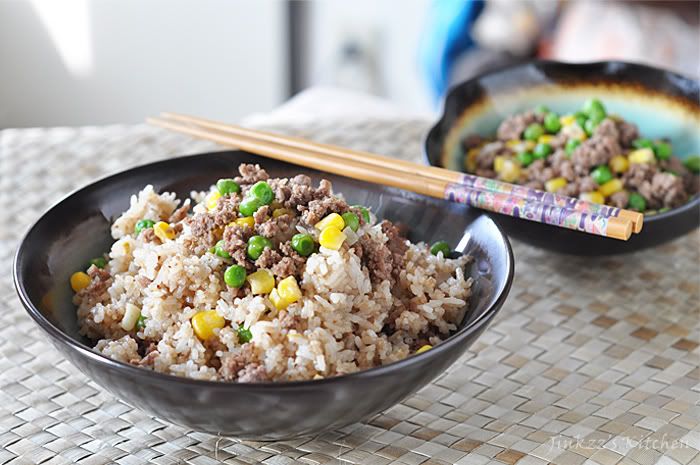
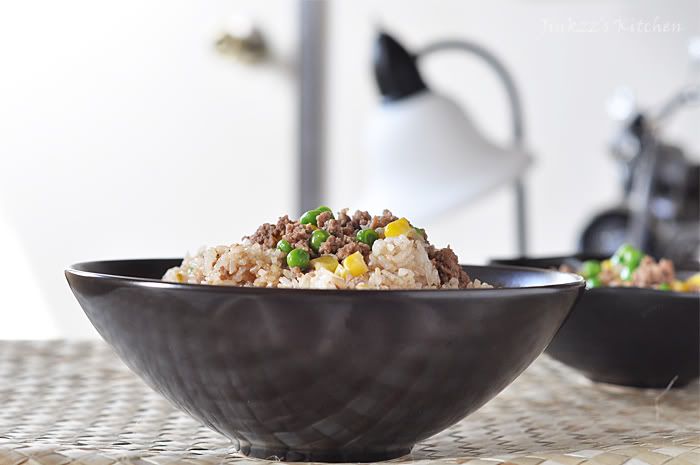
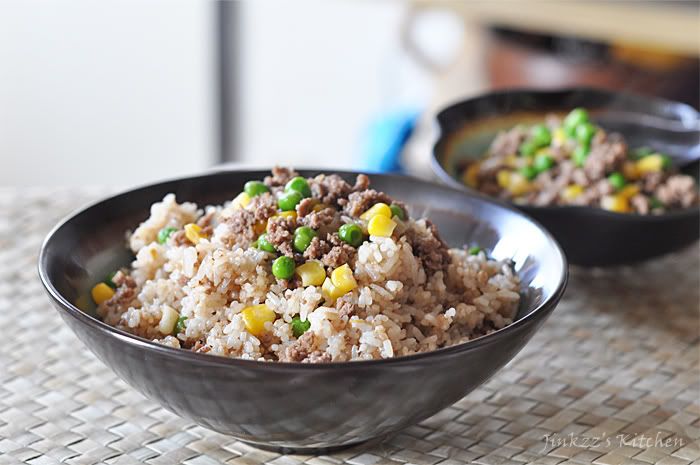
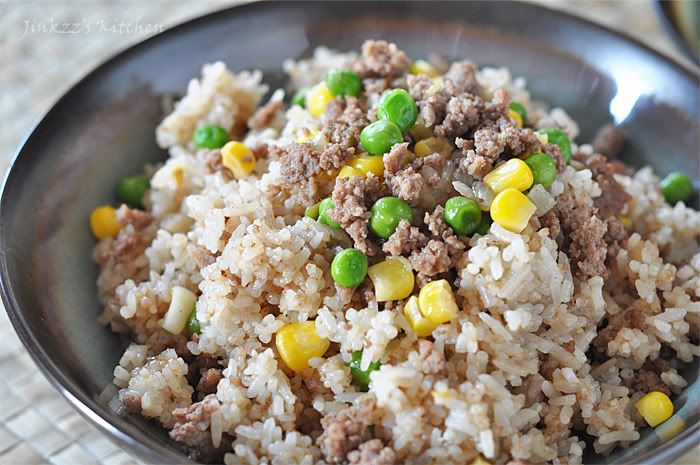
Ground Beef Fried Rice


The past two days has been an emotional roller coaster...it is that time of the year so it should be understandable...

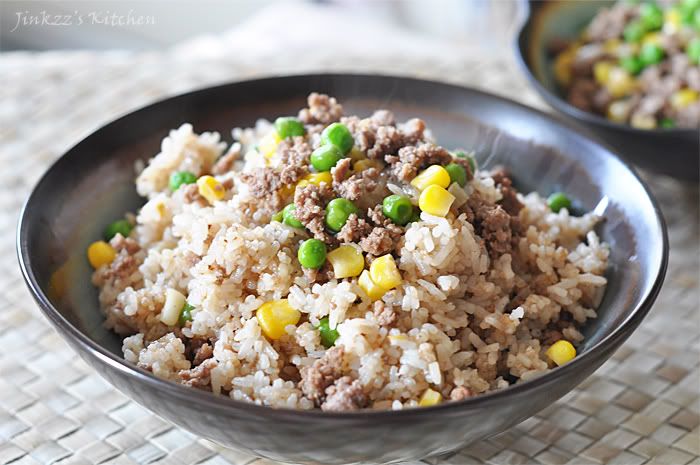
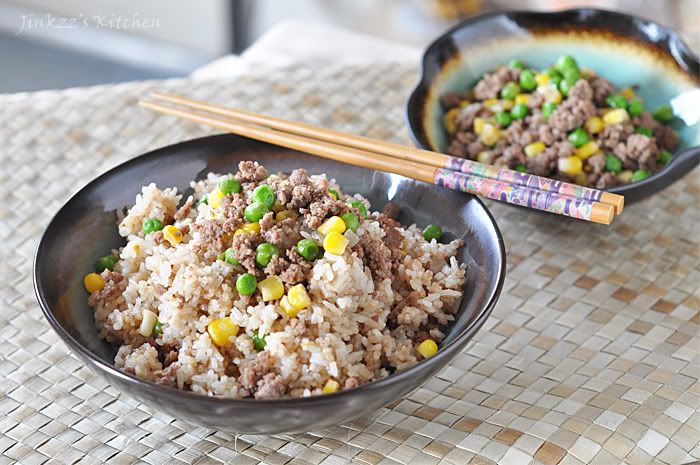
I cooked some fried rice with ground beef, corn, and peas. It is a simple recipe which was even made simpler because I used ingredients that are already cooked. I cooked the ground beef, corn, and peas the night before. It is actually a complete dish which I just added to the fried rice. The result is a complete, easy to make, one-bowl dish that taste really good.

Fried rice is actually an easy dish to make because there is no limit to what one can add to the dish. It can be served as a side dish or a main course depending on the ingredients that has been added into the dish. The seasoning can vary as well. It can just be seasoned with salt or whatever seasoning that you prefer. I prefer to add soy sauce on mine because that is what I have been accustomed to :) The most important thing with fried rice, in my opinion, is using day old steamed rice or rice that was cooked the day before. It is a little drier than freshly steamed rice which makes it perfect for the recipe.


Ingredients

1 cup Sauteed Beef with Corn and Peas (recipe here; just substitute ground beef for ground pork)
3 cups (day old) steamed rice
2 tsp soy sauce
1 shallot, finely chopped
3 cloves garlic, finely chopped
salt and pepper, to taste
1 Tbsp oil

1. Heat pan over medium heat. Add oil then saute shallot and garlic until translucent and fragrant.
2. Add rice and stir fry until warmed through.
3. Add prepared sauteed beef with corn and peas. Mix well and continue to cook. Make sure you stir the rice frequently to prevent burning the bottom.
4. Add soy sauce and mix well. Season with salt and pepper according to taste.
5. Cook for another 4-5 minutes then remove from heat and serve warm.

Monday, October 10, 2011

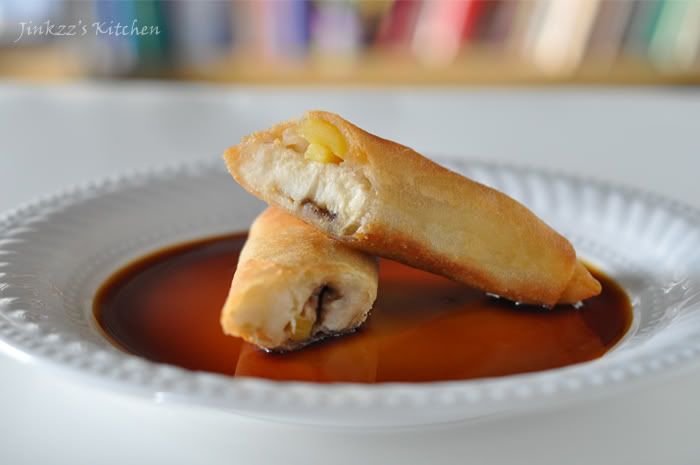
Turon (Banana and Jackfruit Wrapped in Spring Roll Wrapper)


It's just another manic monday...wish it were sunday...coz that's my fun day...hahaha...whoa! where did that come from? Gosh it has been a while since I heard that song which would probably clue you in on how old I am...hehehe...Ahhh, I think I am really getting old because there are a lot of things that I used to be alble to do that I can't do anymore. It's okay though because getting old can be compared to an old wine that only gets better with age...hehehe.

Today, I made turon which is a fried Filipino dish made of banana and jackfruit wrapped in spring roll wrapper then coated with syrup. This can either be served as dessert or snack. It is sometimes sold by street vendors usually around mid-afternoon. Ahhh, that brings back old memories...

The banana used in this recipe is saba (burro) banana which is commonly found in the Philippines. This variety has a thick peel and usually shorter than a regular banana found in the regular American supermaket. The taste and texture also differs from the regular banana. Jackfruit, on the other hand, is also common in the Philippines but it can also be found in other parts of Asia such as Bangladesh, India, Thailand, and Malaysia. It is a huge fruit which has several segments and each segment encloses a huge seed (about the size of a chestnut). It can be eaten raw once it has ripened or used in dishes when it is in its unripen stage. In the States, canned jackfruits are available in Asian markets. Frozen jackfruits can also be found in Filipino stores.


Turon coated with syrup
Ingredients:

6 ripe burro banana, cut into quarters lengthwise
1 can jackfruit, drained and then slice into thin strips
spring roll wrappers
brown sugar, according to desired sweetness
oil for frying

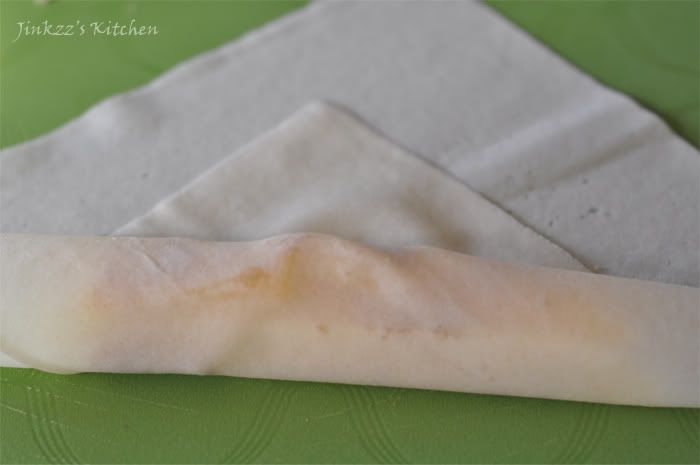
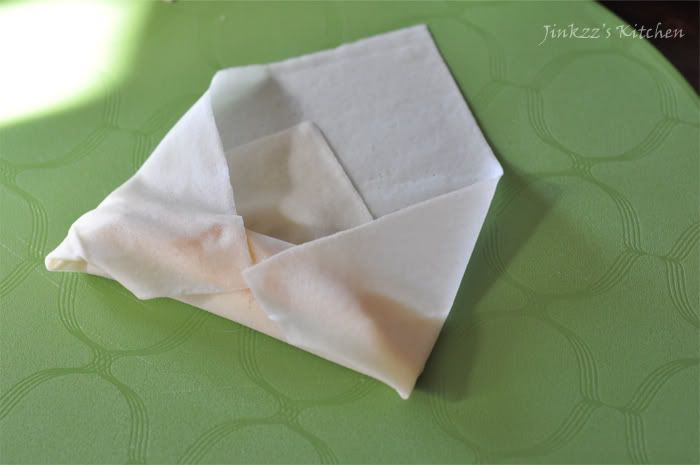
1. Take a quarter of banana and few slices of jackfruit. Place in the middle of a spring roll wrapper then sprinkle with a quarter of tsp of brown sugar.
2. Wrap as shown in the pictures. Moisten the end with water to secure.


3. Do this until all of the bananas and jackfruit has been used up.
4. To fry, heat oil in pan over medium heat. When oil is hot, add a few turon and fry until golden in color.
5. Transfer to a paper towel lined plate to drain excess oil.
6. Transfer to a serving platter and serve with muscovado syrup.

Muscovado syrup:
1 cup muscovado (or you can use brown sugar)
1/2 cup water

1. Place a pan over medium heat.
2. Combine muscovado and water and stir until dissolved
3. Cook until syrup thickens
4. Serve with turon.

Sunday, October 9, 2011

Cinnamon Fruit Pouch with Warm Cinnamon sauce


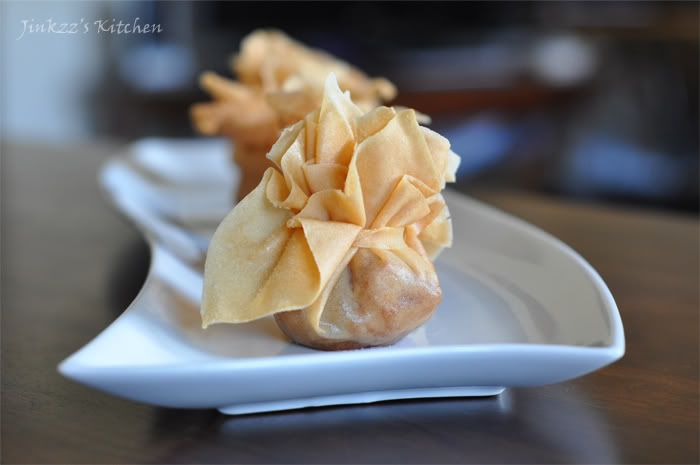
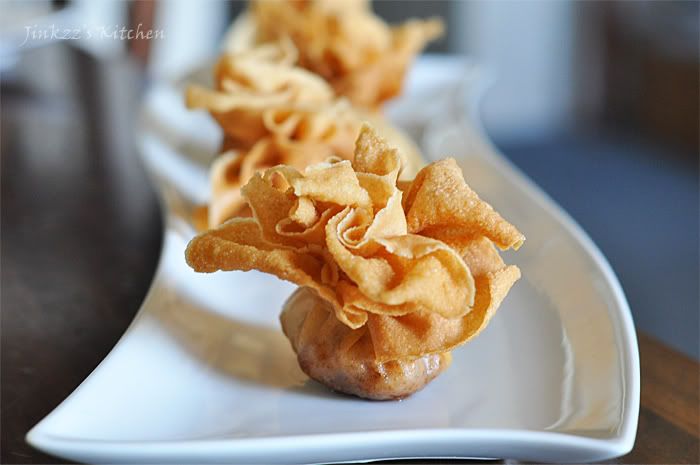
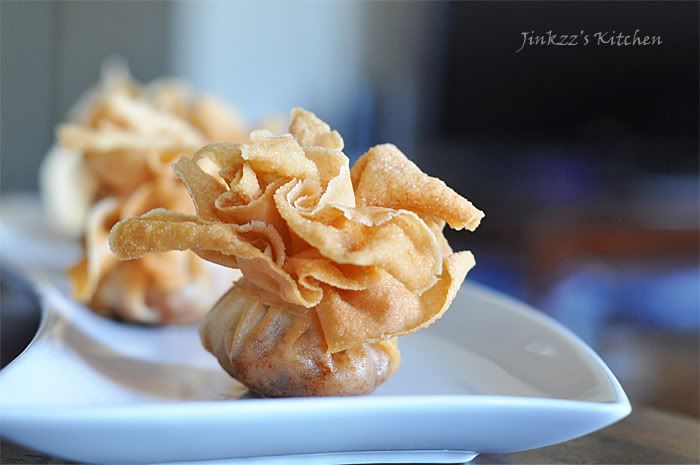
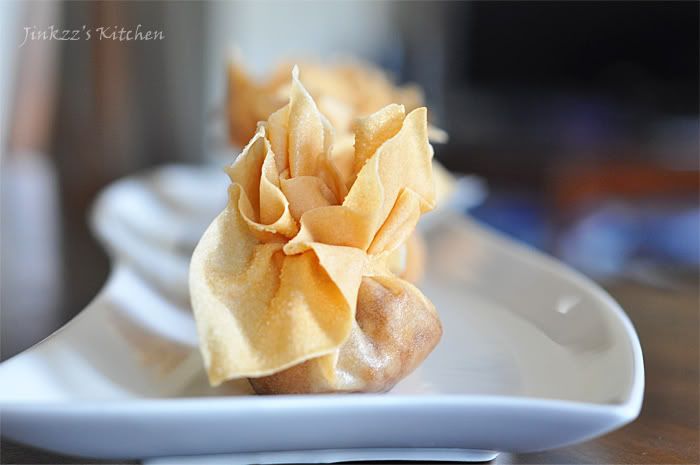
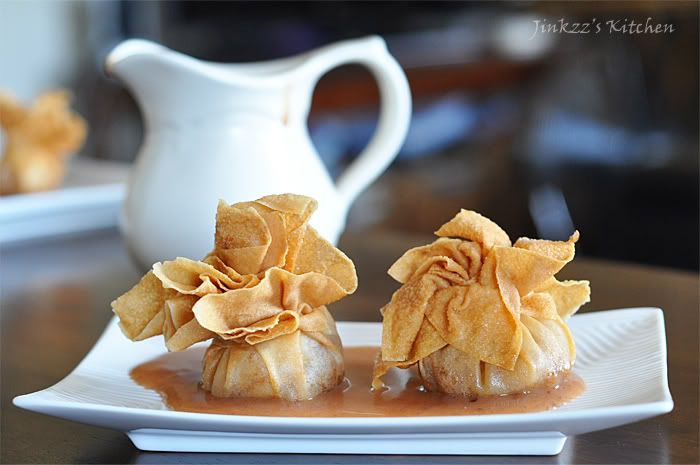
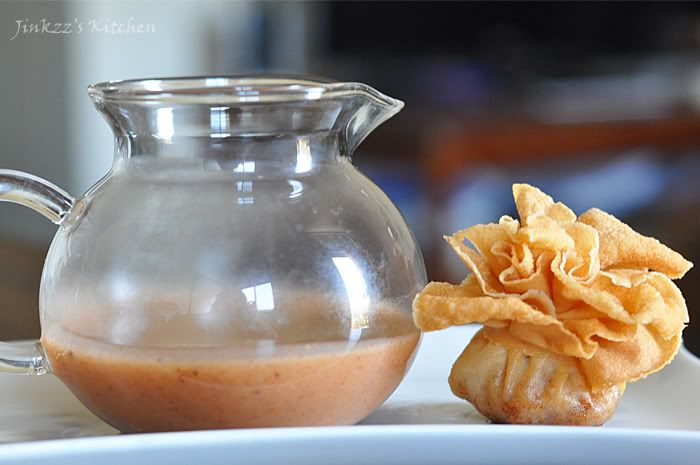
This is a variation of the spinach pouch that I posted a couple of days ago. This one is a sweet version which can either be served as a snack or dessert. I used apple, pear, and peach for this recipe which I sprinkled with cinnamon and brown sugar then wrapped in a wonton wrapper.

The fruits will produce liquid when sprinkled with sugar and makes it a little harder to wrap in wonton wrapper as it will tear easily. The trick that I used is to let the fruit and sugar/cinnamon mixture stand for about 15 to 20 minutes then I drained and discarded the liquid. Even after I drained the liquid, I noticed that the bottom of my pouches was becoming soaked with the liquid so I wrapped the pouches again in another wonton wrapper which seemed to do the trick. I also placed the pouches in the freezer for about 20 minutes just to harden any fluid that may have formed.


When frying these pouches, the temperature of the oil is very important. It has to be hot enough that the frying and browning of the wonton wrapper will only take a short time as this will help harden and make the wrapper crispy. Make sure not to overcrowd the pan so as not to lower the oil's temperature Be careful though when frying in hot oil as it may splatter and burn you. As always, use splatter guard to prevent the oil from splattering all over you and your kitchen.

Although the wonton wrapper stays crisp for a while once fried, it is better to serve these warm as the taste is not as good when it has cooled. The possibility of the bottom turning soggy is also higher the longer the pouches sits after it has been fried. I served these with warm cinnamon sauce. Too bad I did not have any vanilla ice cream...I think this would also go well with it.


Ingredients:

1 apple - peeled, cored, and diced finely
1 peach - peeled,cored, and diced finely
1 pear - peeled, cored, and diced finely
2 Tbsp brown sugar (adjust according to desired sweetness)
1/2 tsp cinnamon powder
wonton wrappers
oil for frying

1. 1 a large bowl, mix apple, peach, pear, cinnamon and sugar. Let is stand for 15 to 20 minutes
2. Drain any fluid that has accumulated.
3. Take a tablespoon full of filling and place in the middle of a large wonton wrapper. Gather the edges to form a pouch then twist slightly adn pinch to seal.
4. Take another wonton wrapper and repeat the same procedure. Use small strip of wonton wrapper to tie and secure.
5. To fry: Heat oil over medium high heat. Fry 3-4 at a time, making sure not to overcrowd the pan. Fry until golden in color.
6. Drain excess oil in a paper towel lined plate.
7. Transfer to a serving platter and serve with warm cinnamon sauce.


Warm Cinnamon Sauce

Ingredients:

1/4 cup sugar
2 Tbsp flour
1 cup water
2 Tbsp lemon juice
1 Tbsp butter
1 tsp cinnamon
1/4 tsp nutmeg
1/4 tsp allspice

1. Heat saucepan over medium low heat. Combine sugar, flour, water, and lemon juice. Mix until sugar and flour is dissolved.
2. Continue stirring and cook until it thickens.
3. Add butter, cinnamon, allspice, and nutmeg. Mix until dissolved and well incormporated.
4. Strain mixture to remove undissolved particles.
5. Serve warm


Sauce recipe adapted from here