Showing posts with label main dish. Show all posts

Wednesday, June 13, 2012

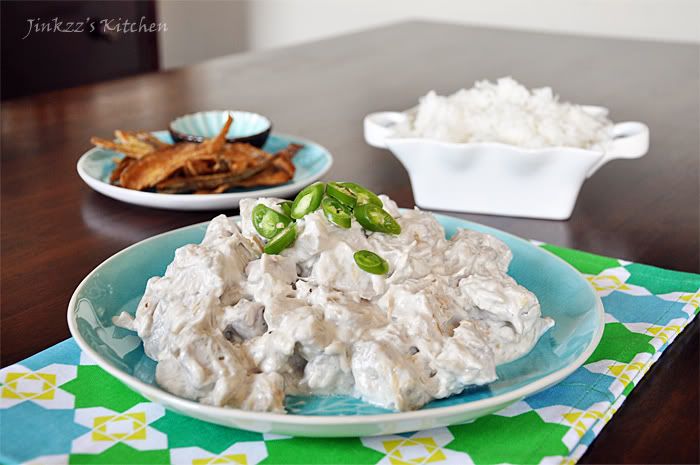
Ginataang Langka with Dried Fish

Hmmm...is it the water? or, the air?  I really do not know the reason but somehow I have been on Filipino dish streak these past few days.  It is not just a desire to cook Filipino dishes but I have actually been craving for them.  That's a little strange since I normally crave for Korean fare instead of Filipino. Homesickness? maybe... it is almost a year since I went home to the Philippines ...

I really wish I can go home before this year is over but I guess the chances of that happening is almost nonexistent especially since I am not sure when I will be able to go back to work.  October will be here soon which means alumni homecoming...i guess I will have to pass on that one...ughhh... I want to go home... I really do...huhuhu


Okay, enough whining and back to regular programming...hehehe

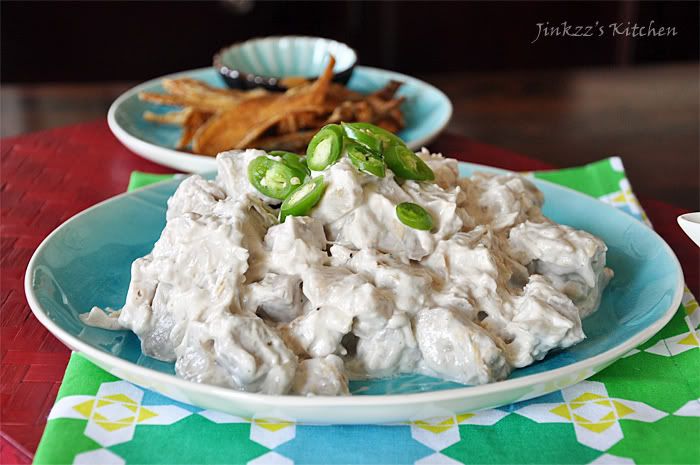
This dish is reminiscent of my homeland, the Philippines, and of Negros Occidental, the province where I am originally from.  We call this dish ensalada nga langka (Jackfruit salad) though it is actually a misnomer since this dish is hardly a salad but more like a stew. This dish is served as an accompaniment to main dishes such as pork and fish which, i guess, is the reason why it got its name.
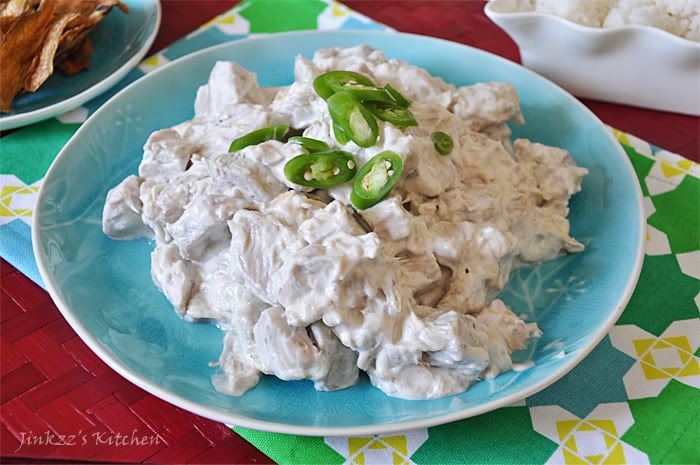


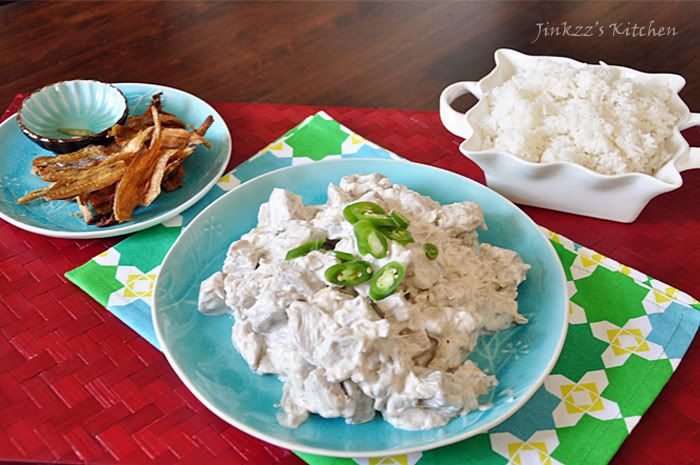
This way I make this dish is very rich since I use coconut cream (kakang gata) instead of coconut milk.  It is slightly different from what we were used to in the Philippines which is less richer than this one.  The dried fish that I am using is also not the same as the one that we use in the Philippines.  I used Jeprox which is more bony and  paper thin instead of pinakas (the one that we used in the Philippines) which is fleshier and bigger in size.  To give the dish an extra kick, I added a few hot chili.  If you do not want it to be too spicy, you can discard the seeds once you slice the peppers.

CAUTION:

Do not touch your face or eyes when slicing peppers as it may cause burning.

Also be careful when cooking and eating dried fish especially Jeprox as it has a lot of bones.
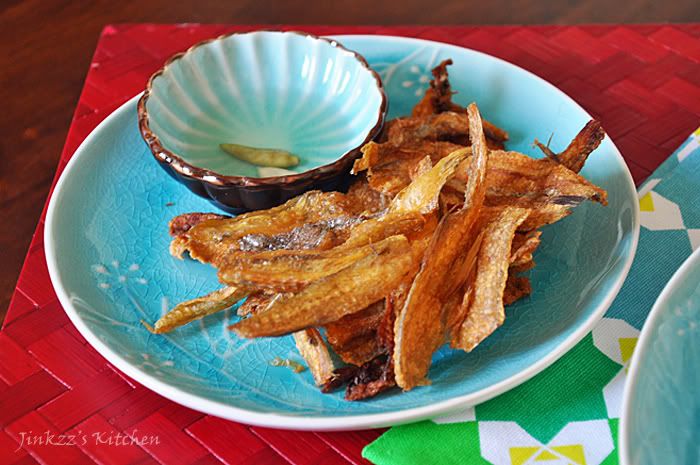


The picture above this post features fried Jeprox (dried fish)


Ingredients:

3 cans of young, unripe jackfruit, sliced into half an inch thickness

2 cans coconut cream (coconut milk, if you prefer)

4 jalapeno pepper, sliced thinly (remove seeds if you do not want it too spicy)

5-6 Jeprox (dried fish) or any dried fish that you prefer

salt and pepper, according to taste

onion, sliced thinly

oil for sauteing

1. Heat pan over medium heat. Add oil.

2. Saute onion until translucent.

3. Add jackfruit and dried fish then saute for a couple of minutes.

4. Add coconut milk/cream and simmer until jackfruit is soft.  Stir occasionally to prevent coconut milk from curdling and burning..

5. Cook until almost all of the liquid has evaporated.

6. Season with salt and pepper according to taste.  Add sliced pepper, mix and remove from heat.

7.  Serve warm.
Monday, June 11, 2012

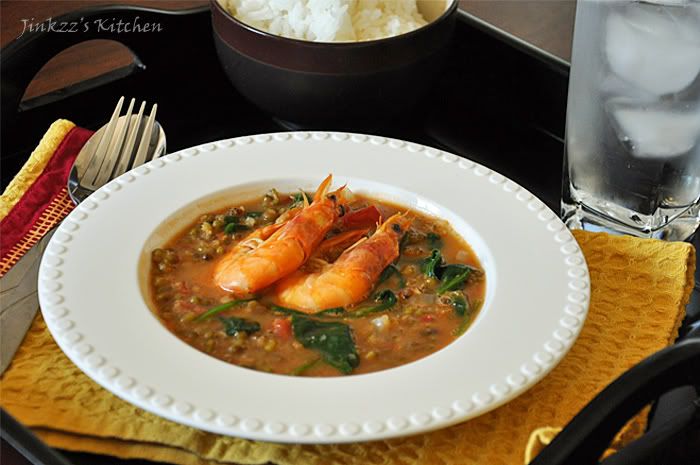
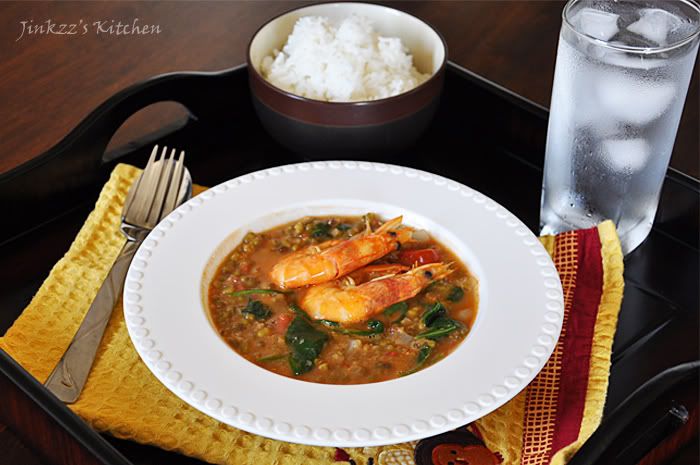
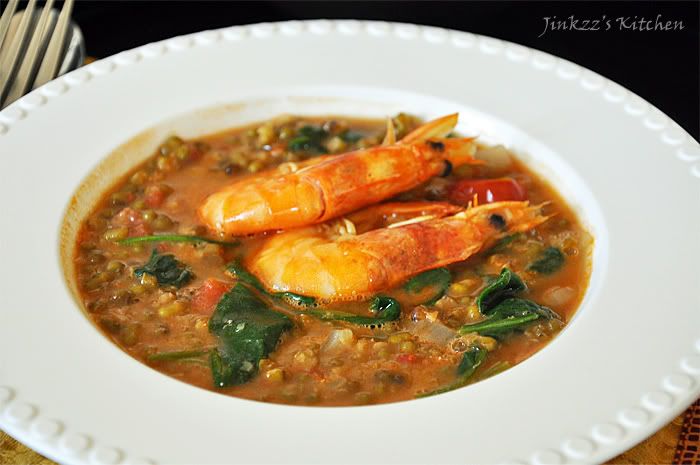
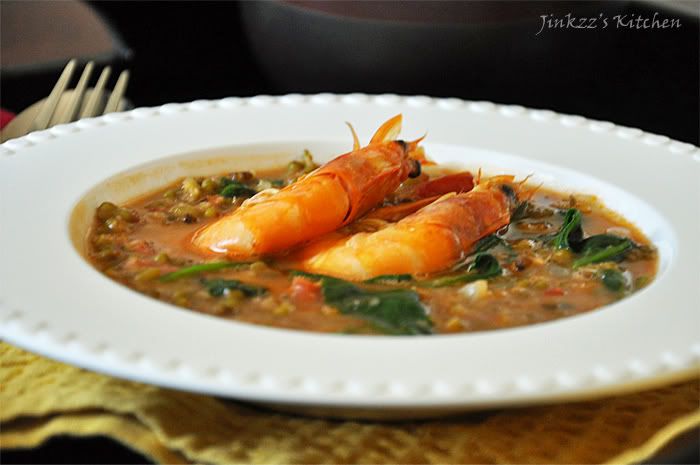
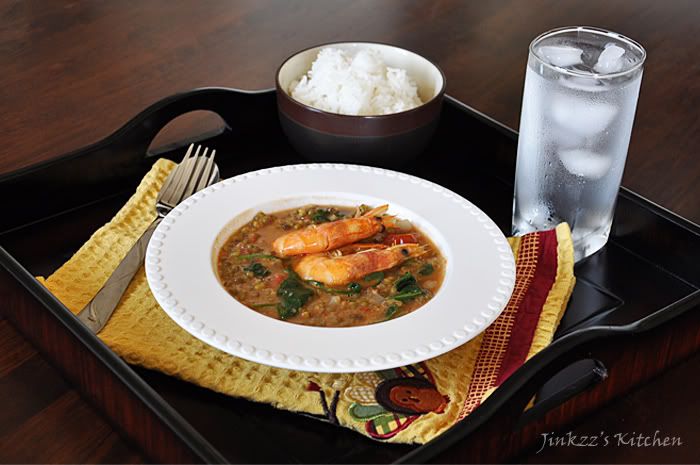
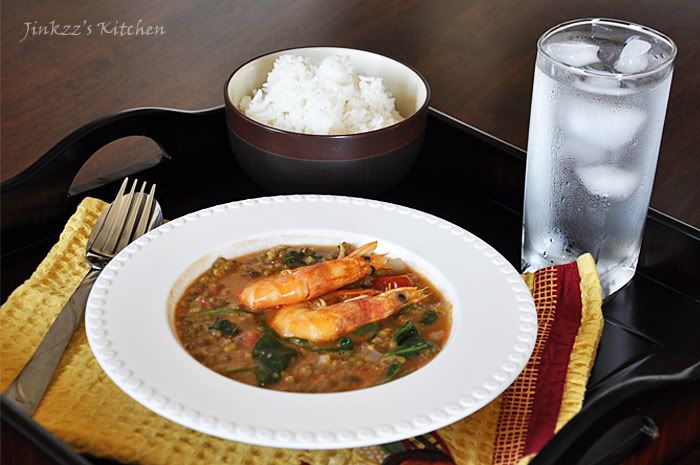
Sauteed Mongo Beans with Shrimp

Good day y'all.  Went to the Farmer's market at Third and Fairfax today.  Ate an early lunch of panini and salad from The French Crepe Factory.  The panini had sliced mozzarella, prosciutto, sliced tomatoes, and basil in it.  It was surprisingly good.  The meal came with a garden salad that had a mustard dressing.  The salad was okay but nothing spectacular.

The Farmer's market, being an LA landmark is always crowded with tourists and can get pretty noisy around lunch time.  The alleys and passageways are narrow and  usually congested with foot traffic.  Despite all that, I still like to go there because of Monsieur Marcel as well as La Surla Table and World Market.  I try to go early in the morning though before the lunch and tourist crowds arrive since trying to find parking can be a huge pain in the butt.


As  usual, my trip to the farmer's market isn't complete if I do not go to the usual stops.  Today, I stopped at Monsieur Marcel and picked-up some cold cuts and cheese (Havarti with dill, french ham, and oven-roasted turkey breast).  Although I can find these at the regular store, I prefer getting them from Marcel because the quality is better.  I also stopped by at La Surla and World market but didn't find anything that I liked.

From the farmer's market, I made a quick stop at home to drop off the cold cuts and the made my way to Glendale where I met with my friend.  We went to Glendale galleria and shopped a bit.  Finally, I was able to buy the bamboo matcha scoop/spoon that I wanted.  Hooray for that!!!


By the time I got home, I was starving again.  A quick inventory for ingredients yielded a bag of mung beans, shrimps, a bag of fresh spinach, tomatoes, and onions - things I needed to make sauteed munggo beans.  This dish is a childhood favorite which my mom used to cook for us.  I think I learned making this dish while watching/observing her cook the dish.

This is a simple, no-frill dish which can be prepared easily.  This is a dish which can probably be found in almost every places in the Philippines though there might be slight variation in the ingredients used or preparation.  Some people add sinigang mix to make it sour.  We usually use a different green vegetable but since it is not readily available here in the States, spinach is acceptable.


Cooking mung beans may take a long time so prepare the dish well in advance so that it will be ready when meal time  comes.  You boil the beans until it becomes soft, mushy, and liquid thickens.  If the water has evaporated before the beans softens, you can add more.  Also make sure that you stir it every few minutes as the bean could stick to the bottom of the pan and burn.  Aside from the fact that burnt mung beans do not taste good, it is also hard to clean a pan with burnt mung beans.


Ingredients:

1  cups of mung beans

1/2 lb shrimp (more if  you prefer), trimmed and deveined but leave the shells on

2 cups fresh spinach

1 onion, sliced

1 tomato, sliced

salt and pepper according to taste

oil

1 Place mung beans and water in a pan and simmer until soft and mushy. Set aside.

2. In another pan, add oil then sauteed onion and tomato until onion is translucent and fragrant

3. Add shrimp and lightly saute until it turns slightly orange.

4. add softened mung beans to the pot and cook until it boils and slightly thickens.  NOTE: add more water as needed

5. When soup thickens slightly, add spinach and cook for a minute or two.

6. Season with salt and pepper then remove from heat.

7. Serve warm.


Monday, May 21, 2012

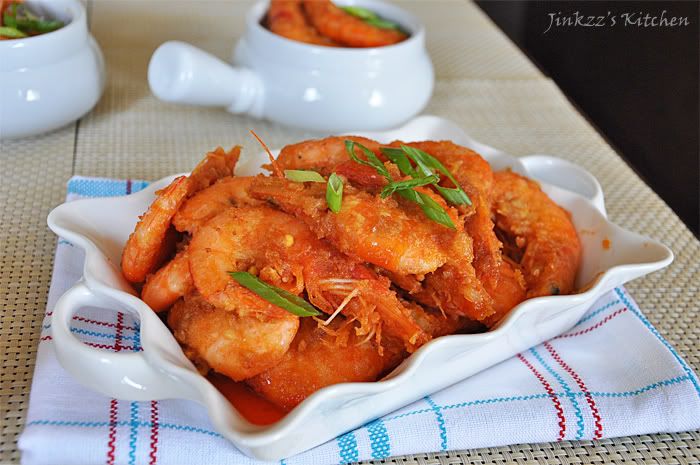
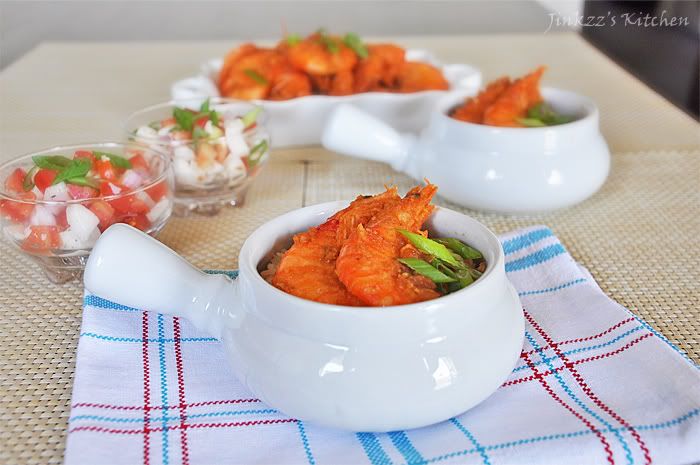
Fried Shrimp in Salted Egg Yolk

I hope everyone's weekend was way better than mine.  I was in pain all weekend long as a result of yet another steroid shot to my injured elbow ...Ughhh, being the fourth shot within the last six months, I think they have outlived their usefulness.  As a result, there has been no significant effect on the pain anymore.  It is still at the same intensity as it was before the last one...they need to find a better treatment regimen for me... 


On the bright side, I cooked an excellent dish today.  Cooking is like my oasis in the desert that helps to keep me going when things are not going as they should.  It helped keep me sane when I went through a rough patch and still does help keep my brain occupied now since I do not use it as much as I did when I worked... another added advantage is that it helps exercise my elbow and hand to keep it moving....hehehe... okay, enough about my problem and moving on to the good part...


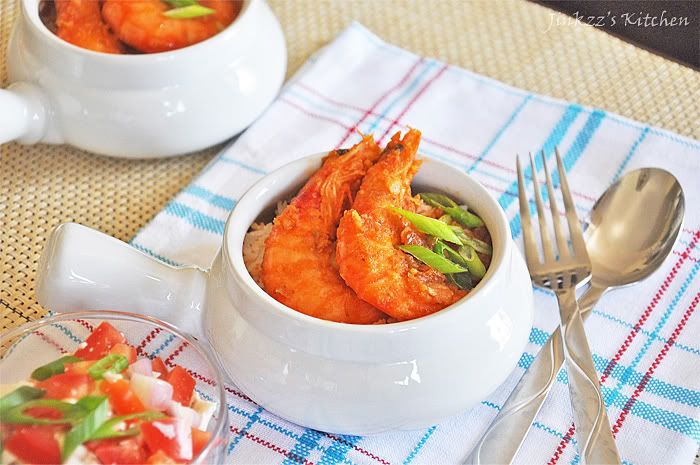
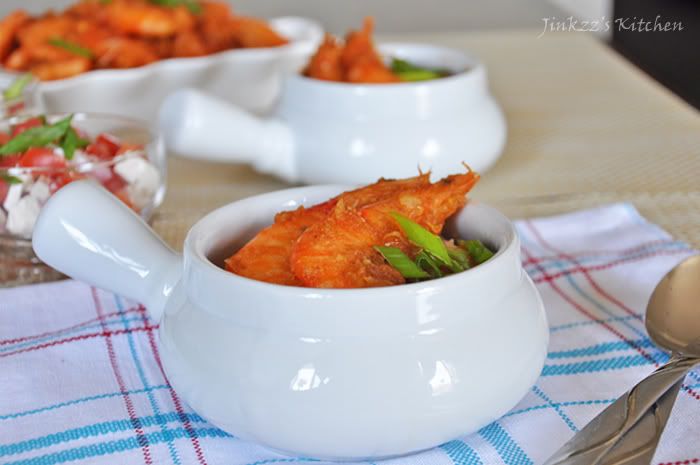
This dish is Chinese in origin but uses ingredients that are commonly used in Asian cooking.  One of the main ingredients which, in my opinion, takes this dish to an entirely different level is the addition of salted egg yolks into the sauce.  The salted egg yolks just makes the sauce creamy and tasty.  Although salted egg yolks were used in the dish, surprisingly, it is not salty at all so do not be afraid of seasoning your shrimp or adding salt to the cornstarch or all-purpose flour used in dredging the shrimp prior to frying.  


Serve this with a piping hot bowl of steamed rice and use your hands to dig in.  While that may sound barbaric or crude to a lot of people, I do think this is the best way to eat this dish...hehehe....that's just the Filipino way of enjoying a meal.  Of course, I have never been too good with using my hand to eat rice with but I definitely use my hands to peel the shells off the shrimps and dunk it in its sauce.  The shrimps are good but the sauce is divine... As the Kentucky Fried Chicken slogan goes, these babies are finger lickin' good

BTW, do not throw away the salted egg whites since that can be used in another dish which, in my opinion, is a great accompaniment to this dish.  Recipe will follow.


Ingredients:

1 1/2 lbs large shrimps

1/2 cup cornstarch

salt and pepper, to taste

1/4 cup oil

1/2 block butter

1 head garlic, peeled and finely chopped

6 hard-boiled egg yolks, mashed


1,  In a bowl, mix cornstarch, salt and pepper.

2. Lightly dredge the shrimp in cornstarch mixture, shake off excess.

3. Heat a non-stick wok over medium heat.  Add oil.

4, When oil is hot, add shrimp and lightly saute.  Cook until shrimp turns orange in color then immediately remove from heat.  Transfer shrimp to a paper towel lined plate to drain excess fat.

5. Add garlic to the oil and saute until fragrant and soft.

6. Add salted egg yolks and stir to dissolve.

7. Add shrimp back to the wok and stir to mix.

8. Remove from heat and serve.


Saturday, May 19, 2012

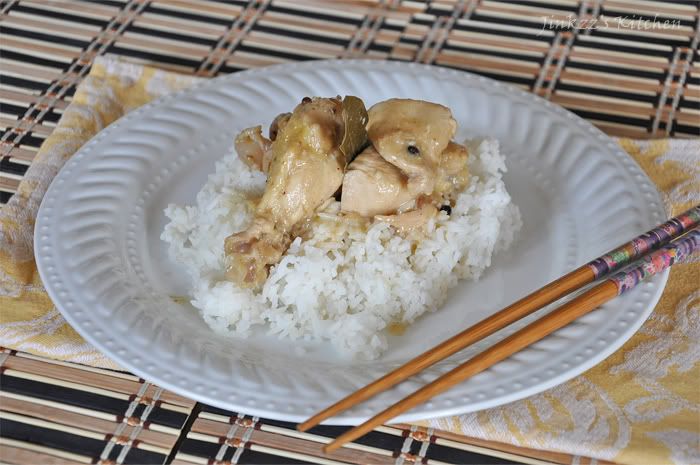
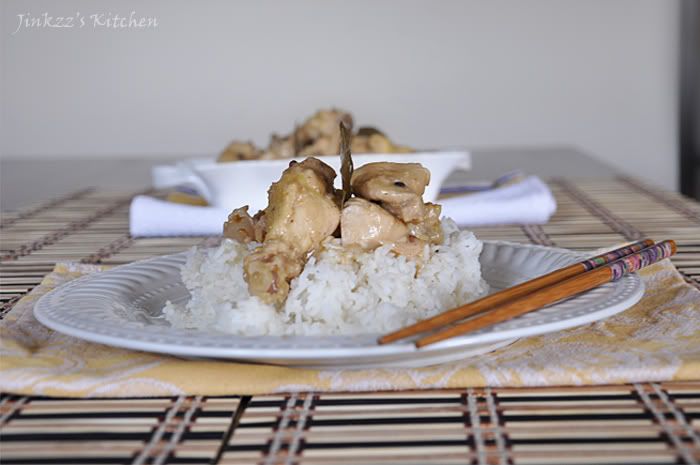
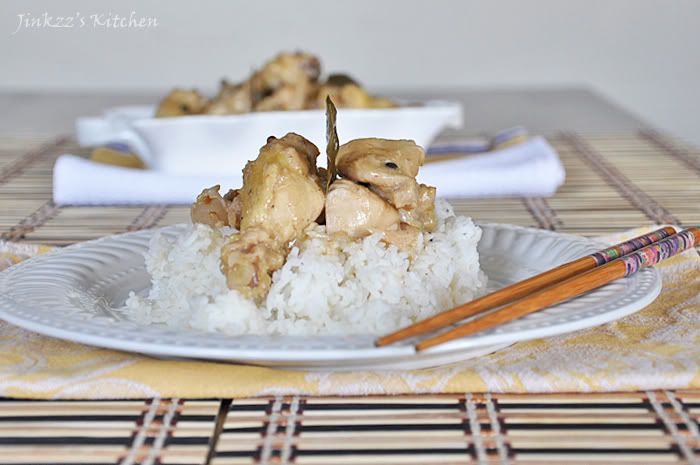
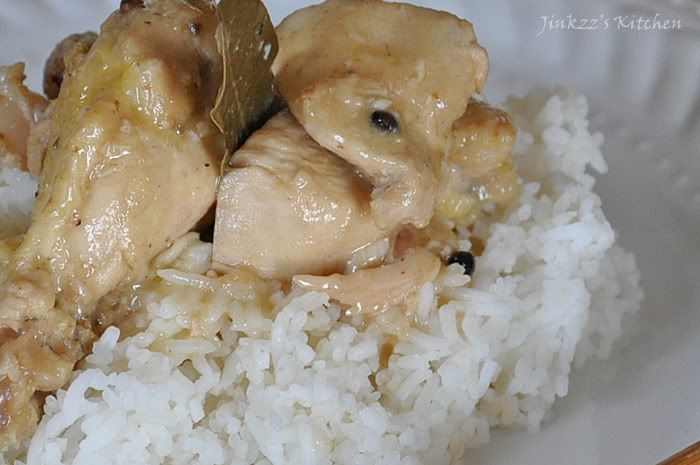
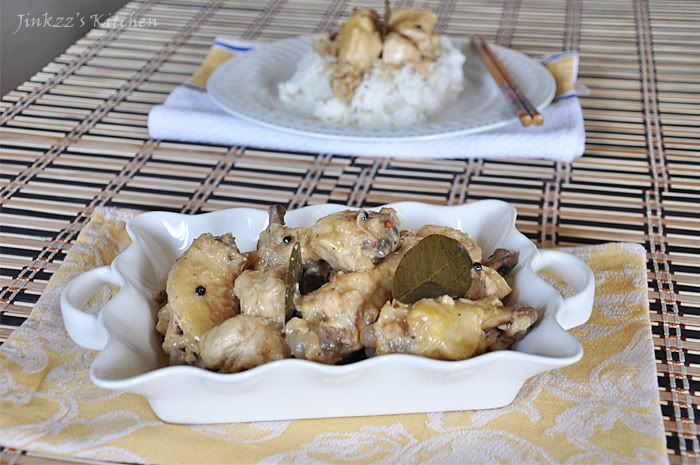
Chicken Adobo in Coconut Milk

Adobo is probably the most famous of all the Filipino dishes. Adobo is a spanish word which means seasoned or marinated dish. There have been so many variation of this dish as there are Filipino dialects. The way this dish is cooked, most often, is dependent on the geographical location where they originated. This is similar to the Korean kimchi which is representative of the Korean cuisine but the preparation, ingredients used, and method of preparation varies from place to place and region to region.


In the Visayan region (Negros Occidental province) of the Philippines where I am from, we usually use a lot of soy sauce to make chicken or pork adobo. Aside from chicken and pork, we also use seafood such as squid to create this dish. Another famous adobo variation that we have in Negros Occidental is apan-apan (in the Ilonggo dialect)or adobong kangkong (in Tagalog). Kangkong is known as swamp spinach in english. Apan-apan though is technically not a typical adobo dish since it uses shrimp paste or bagoong instead of soy sauce.


The dish that I made today is not a typical Visayan recipe since we do not use a lot of coconut milk in our cooking except for the different rice cake dishes. This dish, chicken adobo sa gata, originated from the Quezon province which is located in the upper portion of the country, the Luzon region. This dish is quite easy to make and can either be made spicy or not depending on your preference. The version that I made is a non-spicy variation. To make the dish spicy, you can just add Thai chillies. This dish is delicious with steamed rice.


Ingredients:

2 lbs chicken ( I used a combination of wings and boneless, skinless breast)

1 can coconut milk

1/2 cup white vinegar (you can use less if you prefer it less tangy)

1 medium shallot, finely chopped

3 cloves garlic, finely chopped

1 thumb sized ginger, peeled and sliced thinly

oil for browning

1/4 tsp whole pepper corn

sea salt and freshly ground pepper to taste

3 pieces of bay leaves


1. Slice chicken into bite size pieces.

2. Season with salt and pepper according to taste. Set aside.

3. Heat sauce pan over medium heat and add oil.

4. When oil is hot, add ginger, shallot, and garlic and saute until fragrant and translucent. Add chicken pieces and brown all sides.

5. Let all of the natural juices to evaporate before adding vinegar.

6. Let vinegar boil first before stirring to mix.

7. Add coconut milk, bay leaves, and pepper corn.  Lower the heat to medium low and let it simmer until chicken is tender.  Don't forget to stir occasionally to prevent the bottom from burning.

8. Let the sauce reduce and thicken before removing from heat.

9. Transfer to a serving dish and serve with steamed rice.


Friday, May 11, 2012

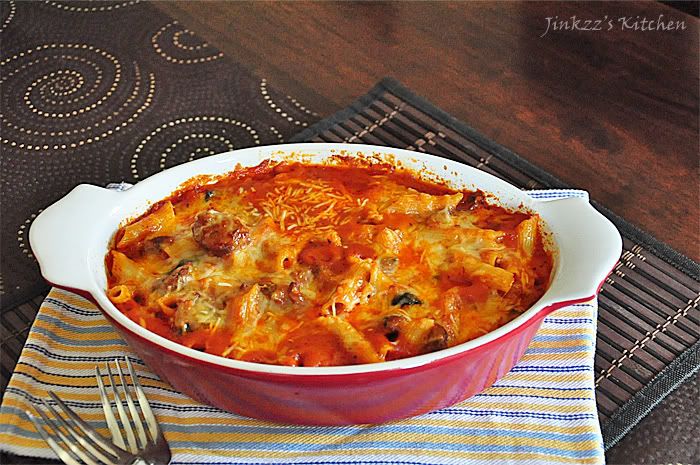
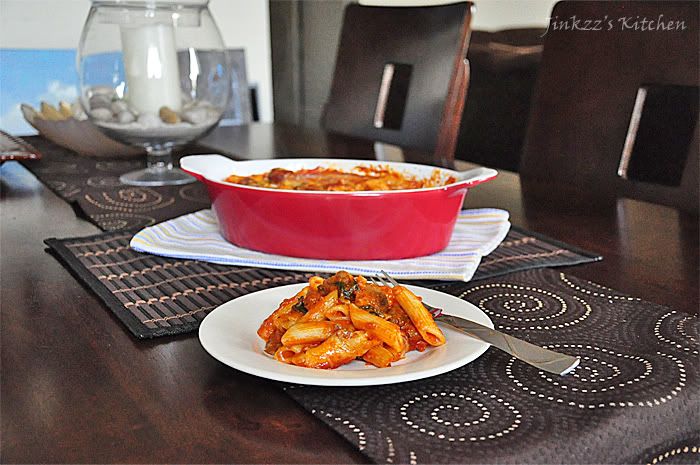
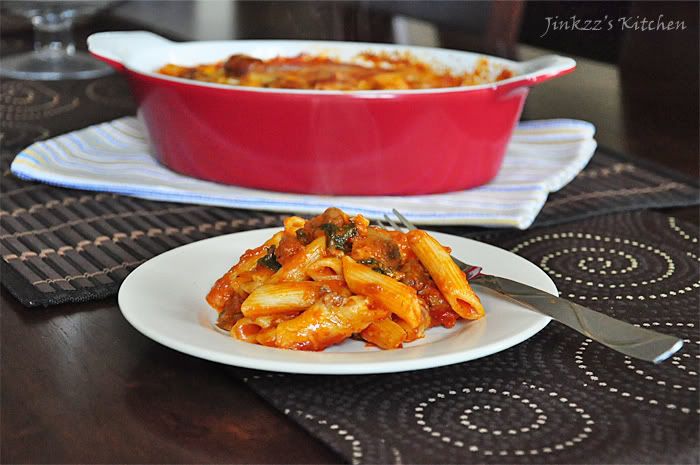
Three Cheese Baked Penne Rigate with Spinach

I was exploring google play on my Logitech Revue and found an app for Kraft foods. After I downloaded the app, I found out that it contained a lot of videos of recipes and cooking demo. In one of the video, I found a recipe for three cheese baked penne which got my attention so I played it and found myself drawn to how tasty the dish looked and how easy its preparation was. Before long, I was on my way to the grocery store buying the things I need for the dish. I modified it though to fit my taste and preference. I used Italian sausage instead of chicken as I am not really too fond of eating it. I also added a little sugar to sweeten it a little. What can I say? blame it on my Filipino palate that is more used to easing a sweeter version of Spaghetti as opposed to the original Italian version :) Nonetheless, you can skip adding the sugar if you wish.


The preparation was a breeze as well as the cooking and baking process. And soon I was able to taste it - my verdict: It's a keeper for me. An easy to prepare dish which can be easily multiplied to serve for an impromptu get-together or unplanned entertaining. By using store bought spaghetti sauce, you save a lot of cooking time. Of course, you are also free to make your own from scratch. Personally, I do prefer to make my own spaghetti sauce according to my preference but this time around I used the store bought variety.


Ingredients:

 2 cups Penne Rigate
 24 oz bottle of Spaghetti Sauce
 1/2 Lb Italian sausage, boiled and sliced thinly
 1 1/2 cups fresh baby spinach leaves
 1 small onion, chopped
 1/2 cup evaporated milk sugar to taste (optional)
 1/2 cup sliced portabello mushroom, sliced thinly
 1/2 cup grated cheddar cheese
 1 cup grated mozzarella cheese
 1/4 cup parmigiano reggiano


1. Boil penne according to manufacturer's instruction. Once penne is cooked, add spinach and cook until the spinach welt slightly then drain. Discard liquid.

 2. In a sauce pan, saute onions and italian sausage. Saute until onion is translucent then add mushroom. Saute for a couple of minutes.

 3. Add spaghetti sauce and simmer until mushroom is cooked.

 4. Mix in milk, cheddar cheese, and sugar (to taste). Simmer for 2-3 minutes then add the drained pasta. Mix well

 5. Add half of the mozzarella and mix thoroughly.

 6. Transfer to an oven-proof dish and cover with aluminum foil that has been sprayed with non-stick spray.

 7. Bake in a preheated 350 degree oven for about 15 minutes then remove the cover and bake for another 5-10 minuted until top browns slightly.

 8. Remove from heat and let it cool a little bit before serving.

Tuesday, May 8, 2012

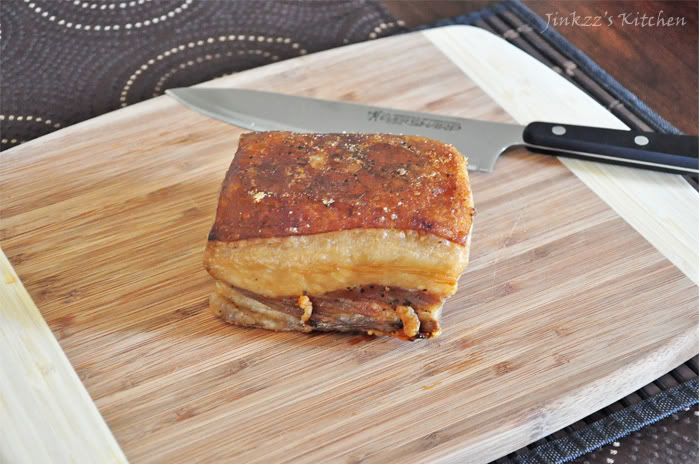
Apology and a New Recipe (Lechon Kawali)

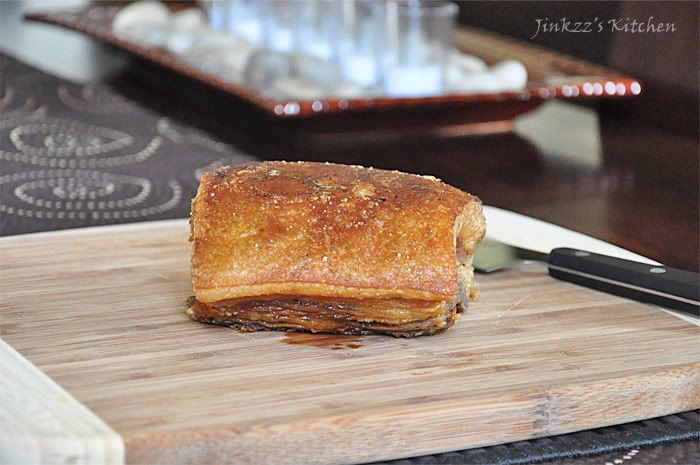
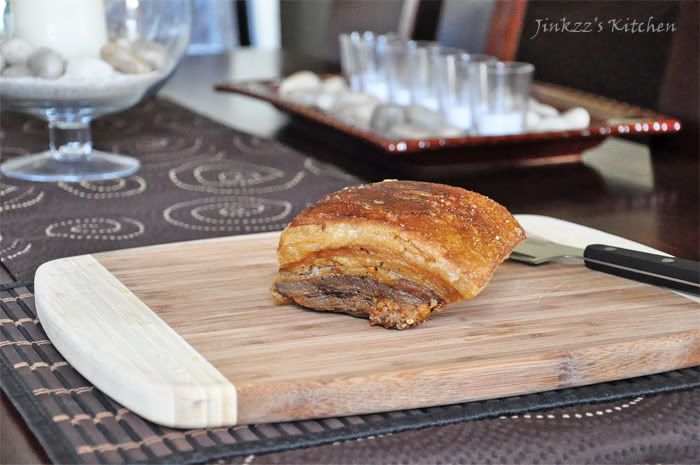
My apologies for not being able to update my blog for several months. I underwent surgery for a work-related injury and the subsequent therapies (which I am still undergoing) and doctor's appointments kept me away from the kitchen for a while. The surgery also took me off school for several months which I am not too thrilled about since it means that graduation will have to wait a bit longer. Nevertheless, I am at a point where I am able to some of the things I used to do with some limitations as the surgical site is still tender and painful but it is getting better and better with each passing day. As my first entry after my long hiatus, I am posting a recipe for lechon kawali. This dish may not be for faint of heart and the fatty nature of the dish may make the cardiologists cringe in horror but I assure you that it is very tasty and delicious. Lechon sauce (or catsup, if you prefer) and a steaming hot bowl of rice are all you need with this dish.
Lechon is a very well-known Filipino dish. It is usually a whole hog that is skewered in a whole bamboo and roasted in an open charcoal pit for several hours until the skin turns golden and crispy. It is a staple in almost every Filipino gathering. Crispy skin with the moist and tender meat makes this dish very tasty. I have previously posted a recipe for a variation of this dish known as Lechon sa Horno or oven-roasted pork. Lechon kawali, on the other hand, is cooked differently although the taste is similar to that of the traditional lechon. Instead of roasting the pork belly in the oven, it is boiled until tender then fried until the outer surface is brown and crispy. Although the outer surface is crispy, the insides are moist, tender and juicy. This is due to the fact that the meat is first boiled before frying. Like the original lechon, lechon kawali is best enjoyed with lechon sauce (or catsup) on the side and steamed rice.
Recipe: 2 lb slab of pork belly with ribs(available at most Filipino stores) salt to taste 1 tsp whole pepper corns 3-4 dried bay leaves water cooking oil lechon sauce (scroll down for recipe here) 1. Rinse pork belly and place in a large pot. 2. Add salt(according to your taste), whole pepper corns and bay leaves. 3. Add enough water to cover the pork and turn the heat to medium or medium high 4. Boil until tender then remove from heat and drain liquids. 5. You can blot the pork with paper towel to remove excess moisture. Cool and refrigerate overnight. (If you wish, you can skip refrigeration and just fry directly) 6. Heat a couple of inches of cooking oil in a pot large enough to hold the pork belly. 7. When oil is hot, add the whole pork belly and fry until golden brown. You may turn the pork belly over to fry and brown the other side. Cook until skin is crispy. WARNING: Oil is extremely hot and oil can splatter while you're frying so be very careful not to burn yourself. Use heavy lids or splatter guard. 8. Remove from heat and let it cool down a little bit before chopping into serving pieces. Serve with lechon sauce or catsup.

Sunday, October 16, 2011

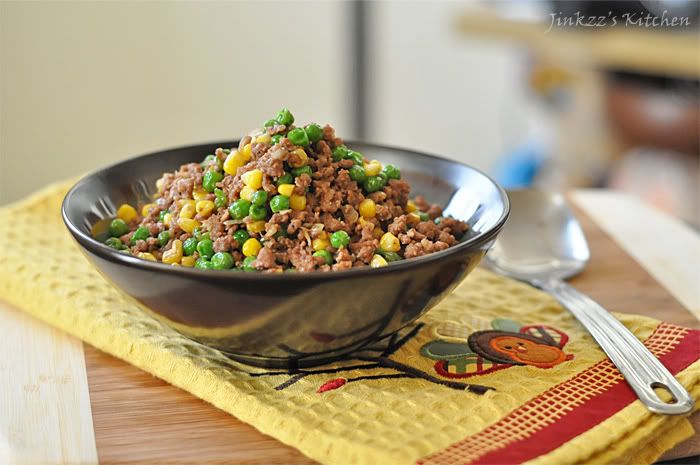
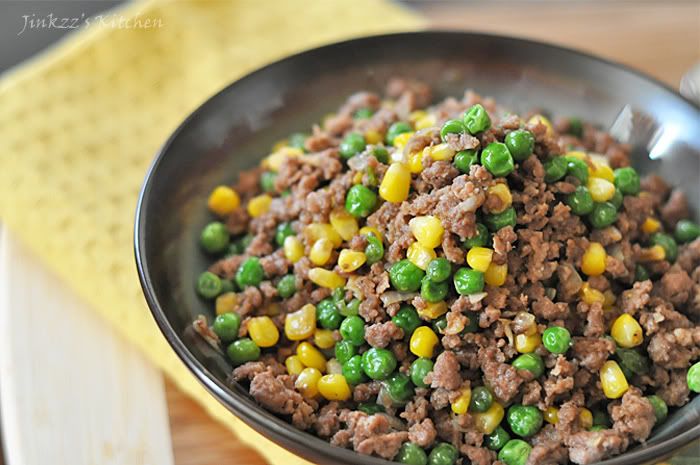
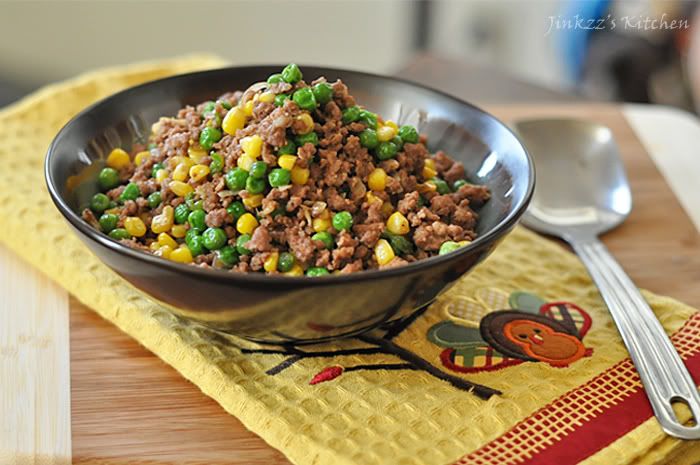
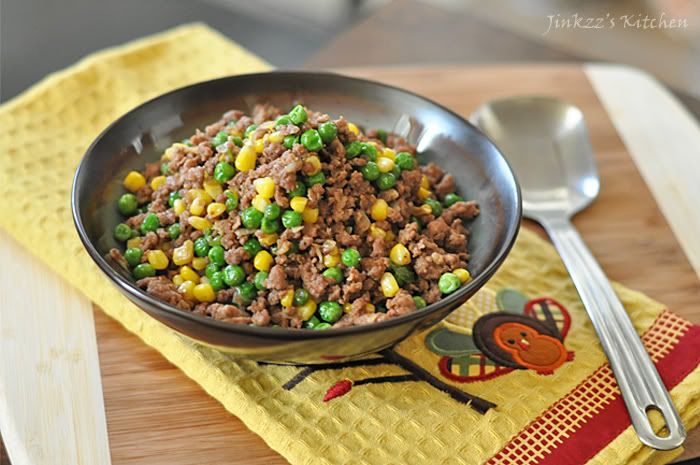
Sauteed Pork with Corn and Peas


Ughhh... I woke up with pain on my right shoulder this morning which means my old injury is acting up again. It is strange though because the weather is neither cold nor is it raining which are two of the reasons to cause my old injury to act up. This time though it seem really bad because I cannot move my neck towards any side of my shoulder. Arghh! I am no stranger to pain as I have had chronic pain for several years now as a result of work related injuries which I have undergone surgery for but I really hate it when my old injuries act up because it is usually worse than the last one. I had to take pain medicine for the pain which is not really a narcotic but it usually puts me to sleep. The problem is that it could not even make me go to sleep as the pain shoots up every single time I move in bed. I ended up sleeping on the floor which puts some pressure on the back thus keeping the pain level lower.

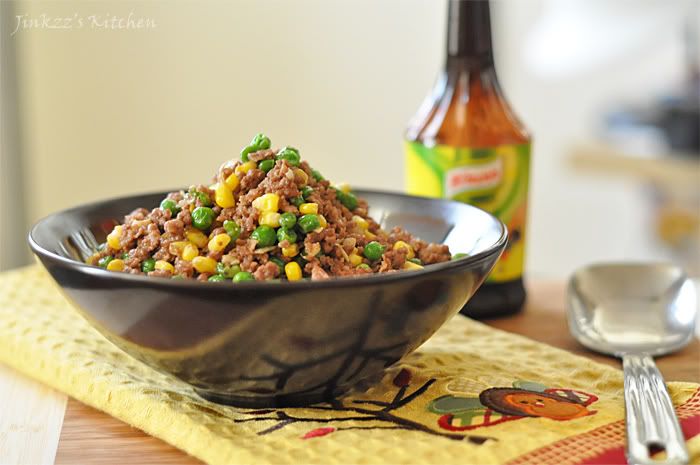
I was hungry though when I woke up this morning so I had to cook something before I went back to sleep again. it was a good thing that I ad ground pork defrosted in the refrigerator so I quickly sauteed it and added frozen peas and corn then season it some soy sauce, freshly ground pepper, and salt. The result was really good which made even tastier with a few drops of knorr liquid seasoning (commonly sold in Filipino stores). Here is the recipe of the dish I made today...

Ingredients:

1 lb ground pork (or ground beef, if you like)
3/4 cup frozen peas
3/4 cup frozen corn
3 cloves garlic, finely chopped
1 shallot, finely chopped
sea salt and freshly ground pepper, to taste
1 Tbsp soy sauce (you may use less if you prefer)
2 Tbsp oil for sauteing
Knorr liquid seasoning (optional)


1. Heat pan over medium heat then add oil and heat.
2. Add shallot and garlic and saute until fragrant and translucent.
3. Add ground pork and saute. Make sure you break up large piece.
4. Cook until brown and cooked well. Note: I did not add any water as the pork will produce its own liquid when sauteed which is usually enough to make it tender but feel free to dd water if it is not tender enough.
5. Cook until all of the liquid has been absorbed then add frozen peas and corn.
6. Cook until peas and corn has been heated through and defrosted then add soy sauce.
7. Season with salt and pepper according to taste.
8. Continue to saute until meat, peas, and corn is cooked well ( about 5 to 10 minutes.
9. Remove from heat and transfer to a serving platter. Serve warm.
10. Optional: may serve with knorr liquid seasoning by sprinkling a few drops according to taste.

Friday, October 7, 2011

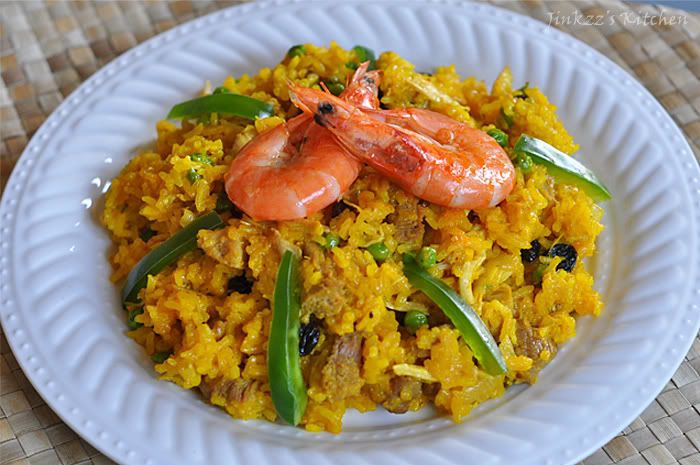
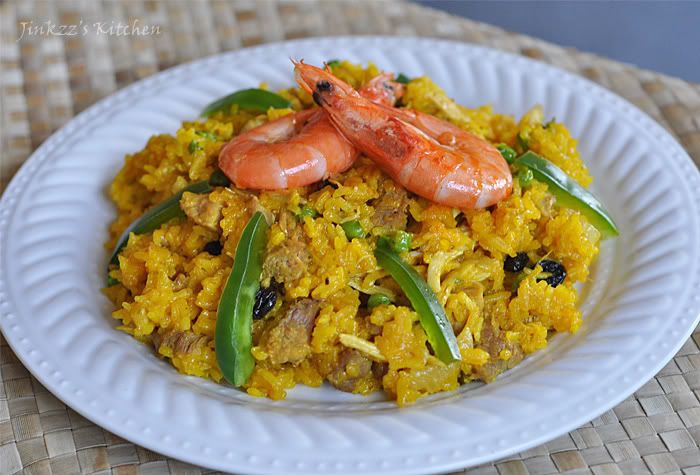
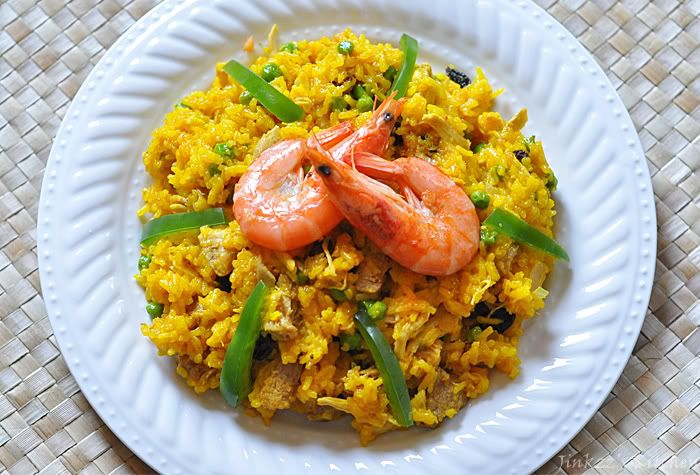
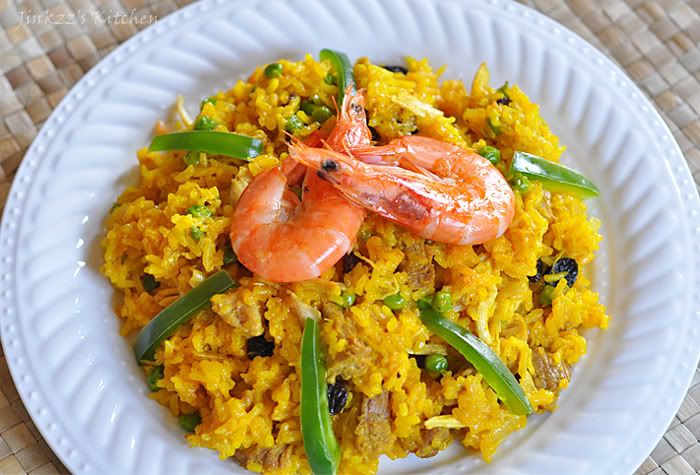
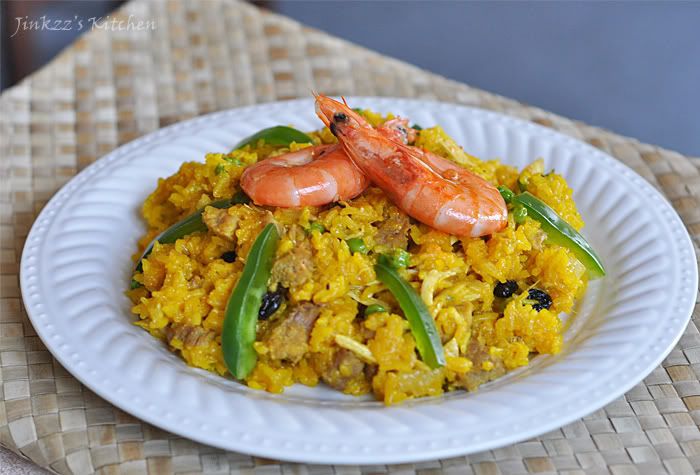
Easy Arroz Valenciana


Arroz valenciana is one of the many dishes that is popular in the Philippines, particularly in Negros Occidental where my family is from. It is almost always present in gatherings. The dish uses glutinous or sweet rice, turmeric powder, pork, pork liver, chicken, peas, raisins, and bell pepper.


The process of cooking arroz valenciana can be intricate and laborious if you take the long way since you have to make sure that the rice is cooked well. This meant stirring it constantly to make sure that it is evenly cooked and to prevent the bottom from getting burned. That is just too much work for me so I used to stay away from making this dish. When I first came to the States (which was ages ago), I stayed with my aunt in New Jersey and that's where I learned how to make arroz valenciana the easy way. The first secret is cooking the rice in a rice cooker. The second is using chicken broth instead of water to cook the rice which eliminates having to season or making sure that the dish is evenly seasoned. The third is to boil the meat separate then slicing it. The last one can be done ahead of time and can be kept in the refrigerator until needed.


Ingredients:

3-4 cups glutinous (sweet) rice
chicken broth (enough to cook the rice and then some for cooking the rest of the ingredients)
1/4 lb pork, sliced
1/2 chicken breast, boiled and hand shredded
1/4 lb pork liver, sliced
1/4 lb shrimp, deveined and shelled
1/2 cup frozen peas
1/4 cup raisins
1 small onion, chopped
3 cloves garlic, chopped
1 small bell pepper, sliced thinly
sea salt and pepper, to taste
1 - 2 Tbsp oil for sauteeing
2 tsp turmeric powder
2 hard bolied eggs, sliced into wedges (optional)


1. Place rice and turmeric powder in a rice cooker. Add enough chicken broth to cook the rice. Stir half way through the cooking process to make sure that turmeric is incorporated into the rice evenly.
2. Boil chicken breast, pork, pork liver in a pan until tender. Let it cool and then slice/ shred.
3. Heat oil in a large pan. Addonion and garlic and cook until fragrant and translucent.
4. Add shrimp and saute until it turns orange. Add sliced/shredded meat and saute until heated through.
5. Add about 1 cup of chicken broth, peas, and raisin. Simmer until raisins has plumped up and peas is heated through. Don't worry if there is a little too much liquid because the rice will soak it up.
6. Add bell pepper and cooked rice mixture. Mix well.
7. Adjust seasoning as needed and according to taste.
8. Transfer to a serving platter and decorate with shrimps and/or hard boiled egg wedges. Serve warm.

NOTE: You can leave the shrimp shells on if you like. If you leave out the liver if you want.

Wednesday, September 28, 2011

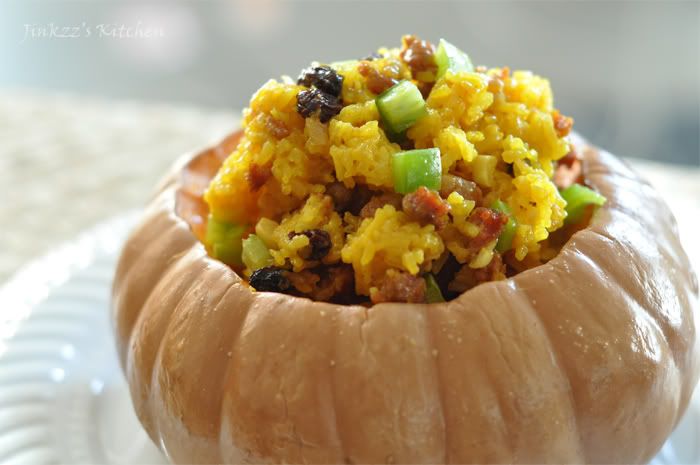
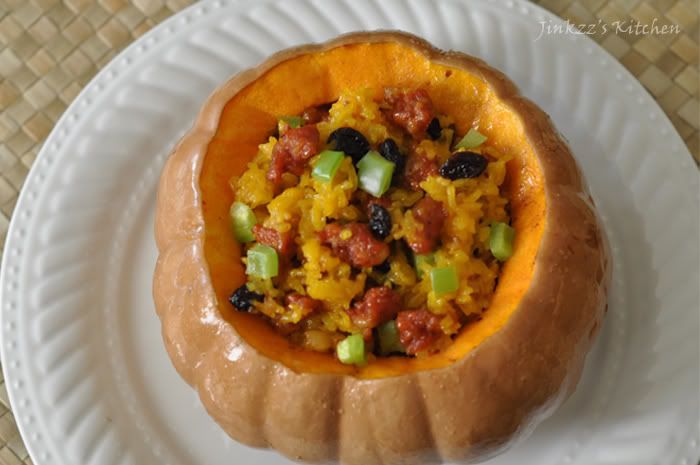
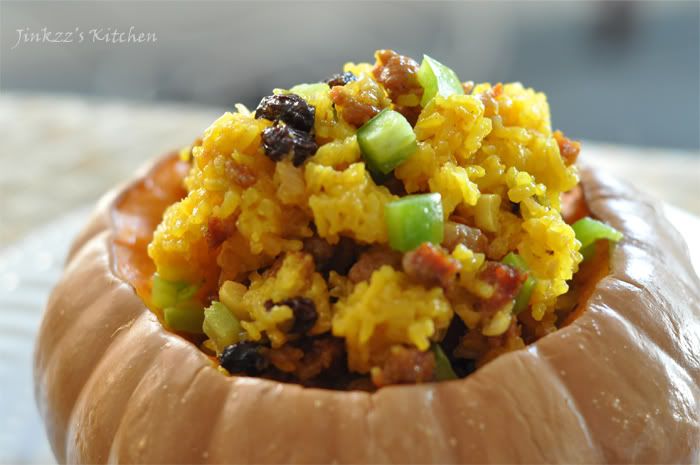
Baked Stuffed Pumpkin

=
Autumn, where art thou? I really wish autumn would come soon because like i've said in my earlier post, I am so sick and tired of this almost year-round warm weather. Makes me think sometimes whether I should move somewhere cooler. Nah! won't happen because that would mean giving up the convenience that LA has to offer - easy access to ethnic resto and stores...hehehe.

Since I was really hoping for autumn to come, I made something that reminds me of the season - stuffed pumpkin! Pumpkin is just so autumn, isn't it? It also reminds me that the holidays are coming up - Halloween, thanksgiving, and yes, christmas. Oh, no! Soon it will be the end of the year but I am not going to think about that just yet and just wish for autumn to come :)


I made baked stuffed pumpkin for lunch today. I saw two small pumpkins when I went to the Korean store last time so I snagged both of them and had planned on making this dish sometime this week. It is quite easy to make actually since the stuffing is cooked separately from the pumpkin and they just come together towards the end. The reason I cooked the stuffing all the way through s because I always get scared that the rice won't be cooked correctly if I just use raw. Otherwise, If I use a different stuffing, I will just cook both the pumpkin and the stuffing together. The whole process took me about an hour which already includes cooking and preparation.

To carve the top out, you need to use a sharp knife with pointed end so you need to be very careful. I used a steak knife when I did it and angled it downward. While cutting the top, you need to cut all the way through so it comes off easily. I used a teaspoon to scrape all of the seeds and fibers inside the pumpkin then discard them. When cooking the stuffing, I cooked the rice in the rice cooker first before Imixed it with the rest of the ingredients. A long time ago, I learned a simple trick to ensure that the rice is well seasoned by using chicken stock instead of plain water. This eliminates the hassle of having to mix the rice well to make sure that it is evenly seasoned with salt. Read on for the entire recipe and direction.


Ingredients:

2 small pumpkins (approxinately 2-3 lbs each)
1 tsp salt

Stuffing:

1 1/2 cups sweet rice (also known as sticky or glutinous rice)
1 tsp turmeric powder
1/2 lb. spicy longganisa (philippine sausage) or any of your sausage preference- casing removed and broken into small pieces.
2 cloves garlic, finely chopped
2 small shallots, finely chopped
1 small green bell pepper, cut into small cubes
1/2 cup raisins
sea salt and freshly ground black pepper, to taste
2-3 Tbsp oil


1. Preheat oven to 350 degrees.
2. Remove tops of the pumpkins then scrape seeds and fiber.
3. Sprinkle 1 tsp salt all over both pumpkins.
4. Take about 1 Tbsp oil and paint pumpkin with it. Place tops back on the pumpkins.
5. Transfer to aluminum foil lined baking pan.
6. Bake for 40 minutes or until fork tender.


Stuffing:

1. While pumpkin is baking in the oven, prepare stuffing.
2. Place sweet rice in rice cooker. Add turmeric and water. Cook according to direction.
3. Once the water boils, mix once or twice to ensure that turmeric is dissolved. NOTE: Turmetic will give the rice a yellow color.
4. while rice is cooking, heat pan tomedium.
5. when pan is hot, add the remaining oil then saute garlic and shallots. Cook until fragrant.
6. Add longganisa or sausage of choice and saute until almost done. NOTE: preferably skinless but if it has casings, just remove it before sauteeing.
7. Add raisinsand about 1/4 of cup of water. Let it simmer to rehydrate raisins.
8. When water has been absorbed, add green bell pepper and cooked rice with turmeric.
9. Mix well until all ingredients is incorporated. You may add another 1/4 to 1/2 cup water if the mixture is too dry. Let cook until almost all of the fluids has been absorbed.
10. One the pumpkin is done cooking, remove it from the oven.
11. Scoop stuffing into the pumpkin cavity then return to the oven uncovered.
12. Turn the oven temperature up to 400F and cook for another 8-10 minutes then remove .
13. Transfer to a serving dish and serve warm.
Thursday, September 15, 2011

Squid and Shrimp Mini Lumpia (Spring Roll)

Inspired by the squid and shrimp balls that I made yesterday, I ventured into making mini lumpi today. Ha! I woke up really early for this one too because I just woke up with visions of these crispy, fried (translation: fattening and greasy...hehehe)but oh-so-yummy babies. Lumpia, as we call them in the Philippines, is otherwise known as spring roll. It is similar to chinese spring rolls. The filling is wrapped in spring roll wrapper and then fried until golden in color. There is an endless possibility for what you can use as filling...you are only limited to your imagination. Traditionally, we use ground pork with spices, veggies, and some fillers such as bean sprouts, chesnuts, and even mashed tofu. This one though is slightly different partly because the ingredients are pureed in the blender before they are wrapped in wonton (not spring roll) wrappers. Wonton and spring roll wrappers are basically the same except that wonton wrappers are smaller compared to spring roll wrappers. To round up this dish, I used sweet and sour mango sauce instead of the catsup-based sweet and sour sauce.

Ingredients:
1 lb squid, cleaned and sliced
1 lb shrimp, shelled and deveined
3 cloves garlic, chopped
1 shallot, chopped
2/3 cup carrots, cpopped
1 egg yolk
1-2 Tbsp oil
sea salt and freshly ground black pepper, to taste
oil for frying


I. Bring a pan of water to a boil.
2. Blanch squid for about 30 seconds to 1 minute in hot water then drain.
3. Add shrimp, squid,garlic, shallot, carrots, sea salt, egg, and pepperto a food processor. Pulse until pureed and well incorporated. Drizzle oil (1-2 Tbsp) and continue to process until it starts to form a ball.
4. Take a piece of wonton wrapper and lay it on a plate. (NOTE: Keep the rest of the wonton wrappers covered with damp towel to prevent it from drying out.)
5. Add about a tsp of the mixture and wrap. NOTE: See pictures on how to wrap.


NOTE: Wet the tip of the wonton wrapper to make it stick when you roll
6. Continue wrapping until all of the fillings have been used. NOTE: You may dredge lumpia in flour before frying fo a crispier lumpia that stays crispy for a while. Be sure to remove excess flour though before frying.
7. Heat oil in a pan over medium heat.
8. When oil is hot, add lumpia a few at a time and fry until golden in color. Do not overcrowd you pan as it will lower the oil's temperature resulting in a soggy lumpia. NOTE: Be careful as this may cause oil to splatter all over your stove and on yourself.
9. Transfer to a paper towel lined plate to drain excess oil. When frying is done, transfer to a serving dish and serve warm with sweet and sour mango sauce.