Showing posts with label rice. Show all posts

Tuesday, October 25, 2011

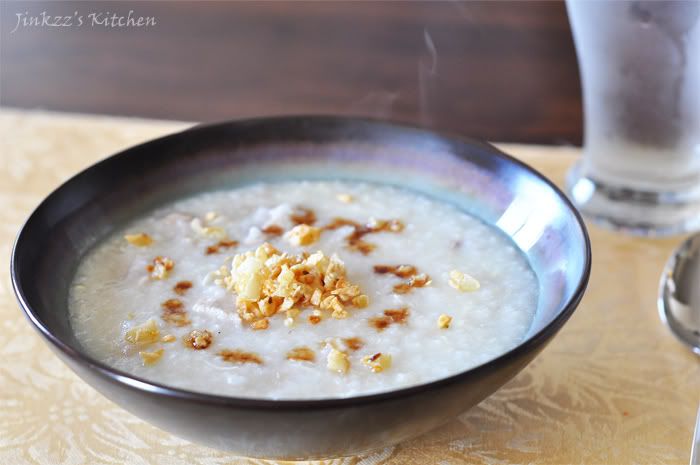
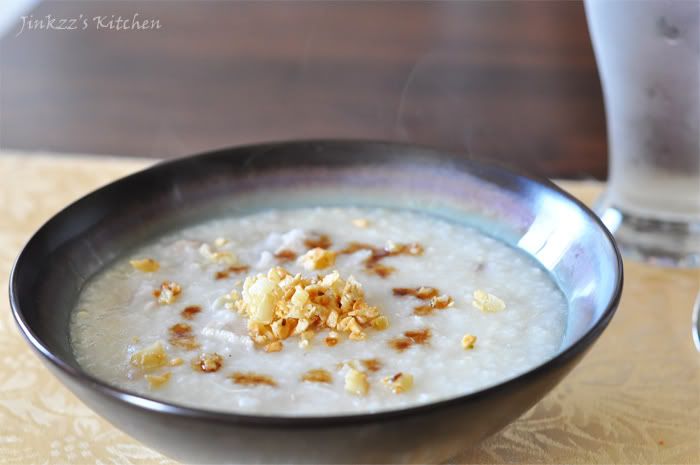
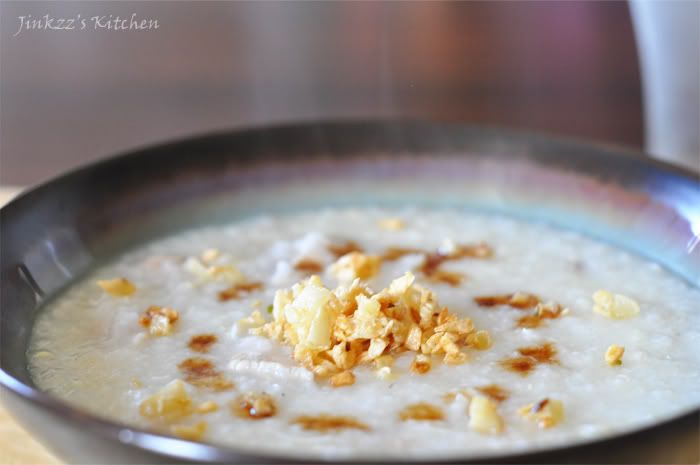
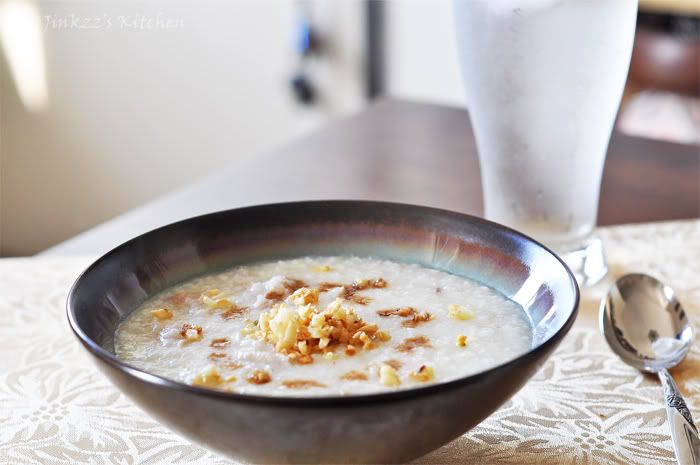
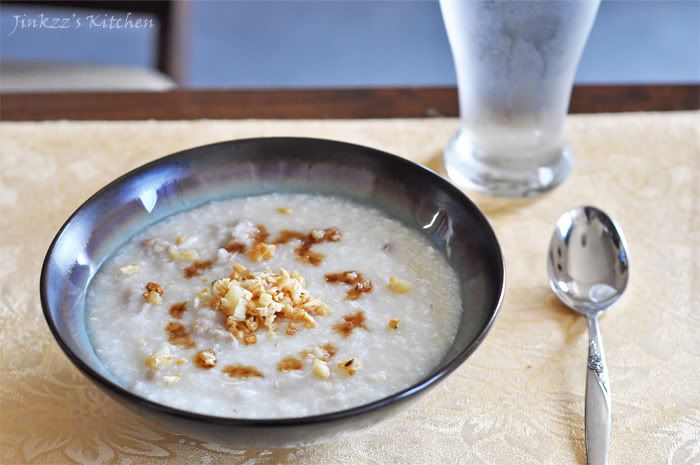
Arroz Caldo (Rice Porridge)


I am feeling a little down today so I made some arroz caldo to help lift my mood up a little bit. Arroz caldo (rice porridge) is the Filipino equivalent to chicken noodle soup. This dish is usually served to someone who is sick but also makes for a light meal or snack. This is the quintessential Filipino comfort food. Eating this dish just reminds me of home, family, of rainy days...

Arroz caldo is made by boiling rice until it becomes soft and thick. Addition includes eggs, chicken, garlic, onion, and ginger. It is seasoned with salt, pepper, and a little soy sauce. This dish is served warm with toppings such as fragrant fried garlic, a few drops of knorr liquid seasoning, and chopped green onions.

Arroz caldo is perfect for rainy days and fall because it is served warm. Aside from that, it also invokes warm memories of the not-so-distant past for me. It also gives me warmth and comfort when things are not going the way I want them to go...

Ingredients:

1 cup uncooked jasmine rice
1/2 lb chicken, cut into 1/2 inch cubes
2 inches ginger, peeled and sliced thinly
1 small onion, chopped
3 cloves garlic, chopped finely
1 Tbsp soy sauce
sea salt and freshly ground pepper
1 egg, beaten slightly
6 cups water
oil for sauteeing

Topping (optional)

sliced hard-boiled egg
crispy fried garlic
a few drops of knorr liquid seasoning or soy sauce
chopped green onions


1. Heat pan over medium heat then add oil.
2. Add ginger garlic, and onions and saute until fragrant and translucent.
3. Add chicken and saute until brownish in color.
4. Add rice and continue to saute for about 3-4 minutes
5. Add water and bring to a boil then simmer until rice is soft and chicken is cooked. If needed, add more water. Stir occasionally to prevent bottom from burning.
6. Season with soy sauce, salt, and pepper according to taste.
7. Add beaten eggs while stirring mixture to distribute eggs evenlly and cook for another minute or two more.
8. Remove from heat and transfer to serving dish.
9. Top with toppings, if desired.

Sunday, October 23, 2011

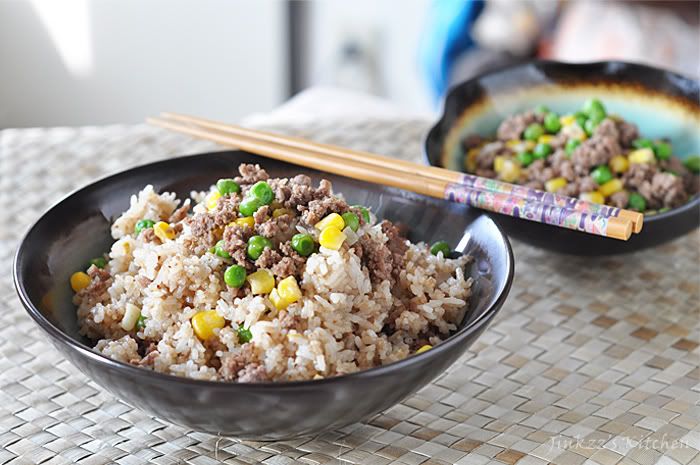
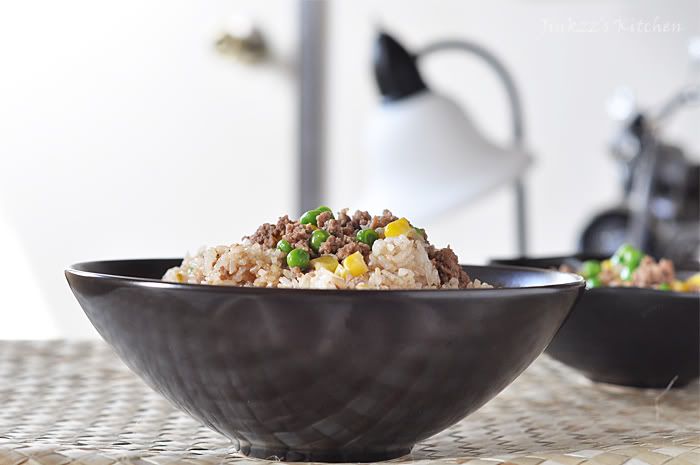
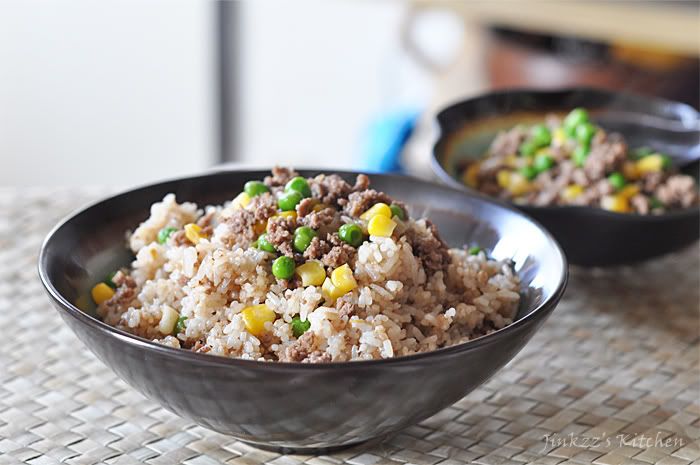
Ground Beef Fried Rice


The past two days has been an emotional roller coaster...it is that time of the year so it should be understandable...

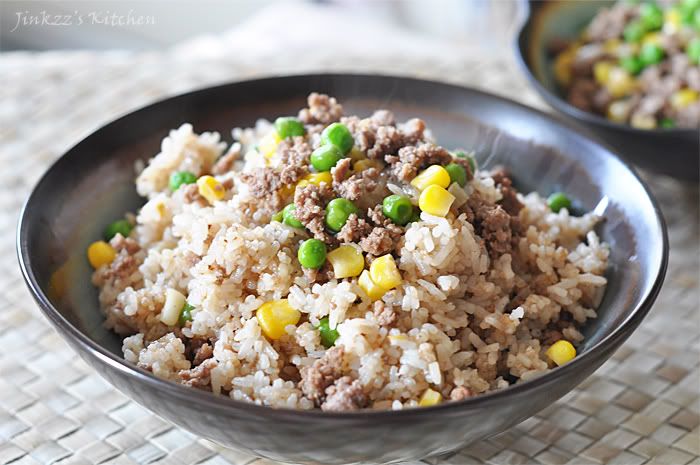
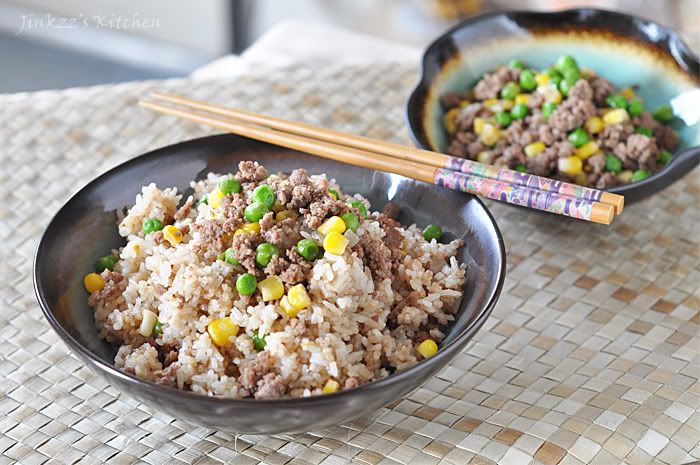
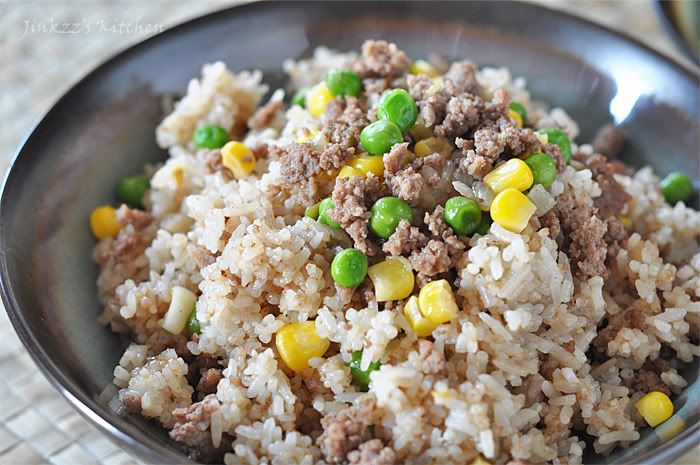
I cooked some fried rice with ground beef, corn, and peas. It is a simple recipe which was even made simpler because I used ingredients that are already cooked. I cooked the ground beef, corn, and peas the night before. It is actually a complete dish which I just added to the fried rice. The result is a complete, easy to make, one-bowl dish that taste really good.

Fried rice is actually an easy dish to make because there is no limit to what one can add to the dish. It can be served as a side dish or a main course depending on the ingredients that has been added into the dish. The seasoning can vary as well. It can just be seasoned with salt or whatever seasoning that you prefer. I prefer to add soy sauce on mine because that is what I have been accustomed to :) The most important thing with fried rice, in my opinion, is using day old steamed rice or rice that was cooked the day before. It is a little drier than freshly steamed rice which makes it perfect for the recipe.


Ingredients

1 cup Sauteed Beef with Corn and Peas (recipe here; just substitute ground beef for ground pork)
3 cups (day old) steamed rice
2 tsp soy sauce
1 shallot, finely chopped
3 cloves garlic, finely chopped
salt and pepper, to taste
1 Tbsp oil

1. Heat pan over medium heat. Add oil then saute shallot and garlic until translucent and fragrant.
2. Add rice and stir fry until warmed through.
3. Add prepared sauteed beef with corn and peas. Mix well and continue to cook. Make sure you stir the rice frequently to prevent burning the bottom.
4. Add soy sauce and mix well. Season with salt and pepper according to taste.
5. Cook for another 4-5 minutes then remove from heat and serve warm.

Friday, October 14, 2011

Garlic Fried Rice (Sinangag sa Bawang)


Ingredients:
Rice is a staple in the Filipino diet so it is no surprise that we have a lot of rice dishes which range from plain old steamed rice to sweet as well as savory dishes. In the Philippines, most people eat rice three times a day (breakfast, lunch, and dinner). If you go to any household around meal time, the possibility of seeing rice at the dinner table is very high. To a Filipino, a meal without rice isn't really a meal but rather a snack...that is how much we love rice :) There is a running joke about spotting a Filipino in a dimsum place. Just look for someone who eats dimsum with steamed rice...hehehe.


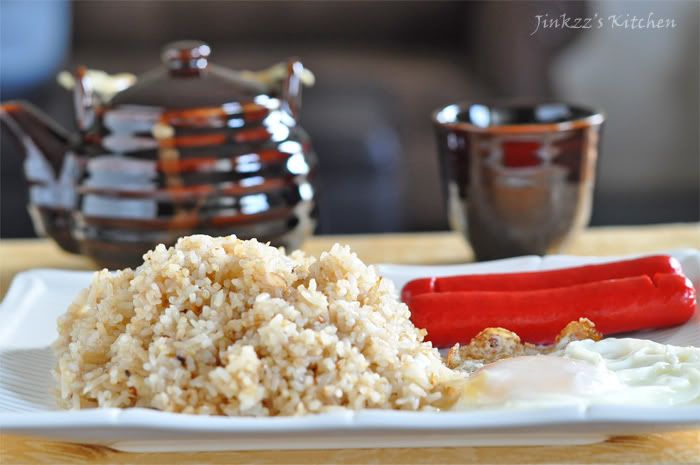
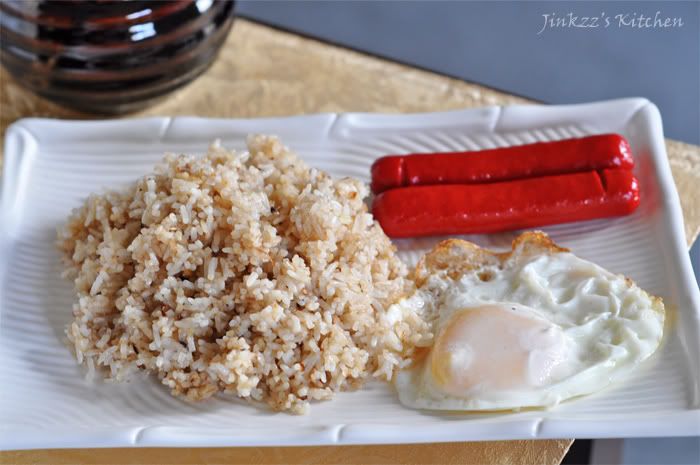
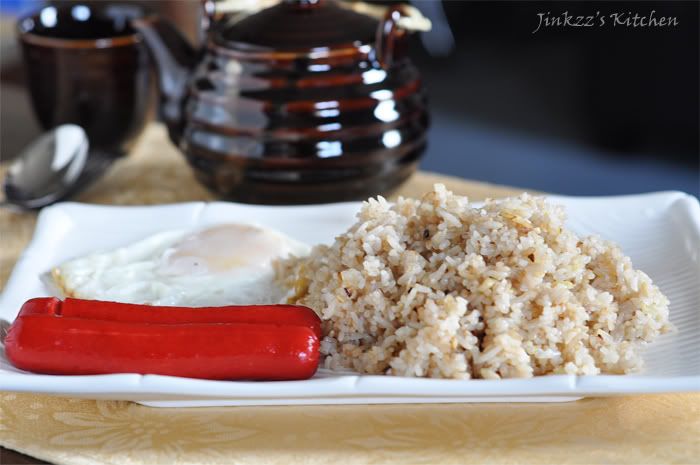
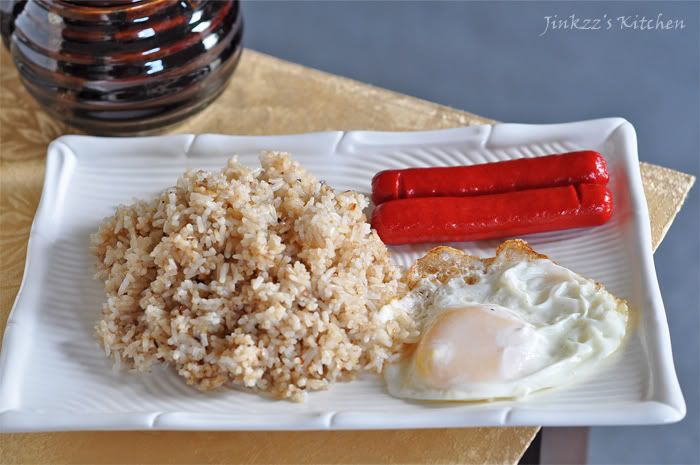
Aside from steamed rice, another favorite rice dish is fried rice. This is a staple in almost all of the restaurants - from the neighborhood turo-turo (hole in the wall resto) to the fanciest digs - in the Philippines. There are so many variation to this simple dish but the most common is garlic fried rice. The reason is probably because it is cheap as it only involves a few ingredients but taste so good. Although it is served on all three main meals, it is famously associated with breakfast as part of several traditional breakfast combination such as longsilog (long for longganisa = Philippine sausage; si for sinangag= fried rice; log for itlog = eggs), tapsilog (tap for tapa = cured beef slices), and tuyosilog (tuyo = dried fish)to name a few. The garlic rice that I made was served as a breakfast combo hotsilog which uses Philippine style hotdog, garlic fried rice, and sunny side up egg. Hotdog is cooked according to direction and eggs are lightly fried. Together they taste really yummy and delicious. For a more authentic Filipino breakfast, you can serve this combo with a combination of sliced onions, tomatoes, and salted eggs splashed with a little vinegar.


1 tbsp cooking oil for sauteeing
3-4 cups of day old cooked rice
1 - 2 shallot, finely minced
4 cloves garlic, finely minced
1 tsp soy sauce
sea salt, to taste

1. Heat pan over medium heat. Add oil and let it heat up a little bit
2. Add garlic and shallot. Cook until fragrant and translucent.
3. Add rice and mix with garlic/shallot mixture. Saute for about 2 minutes.
4. Add soy sauce and mix well.
5. Season with salt according to taste
7. Continue to cook for another 4-5 minutes then remove from heat and transfer to a serving dish. Serve warm.

Friday, October 7, 2011

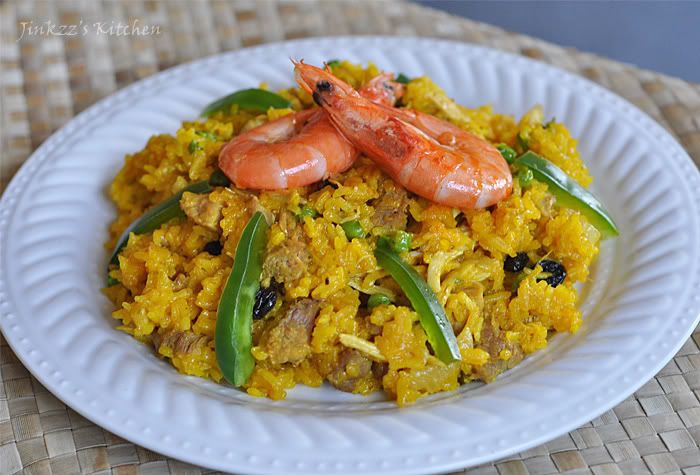
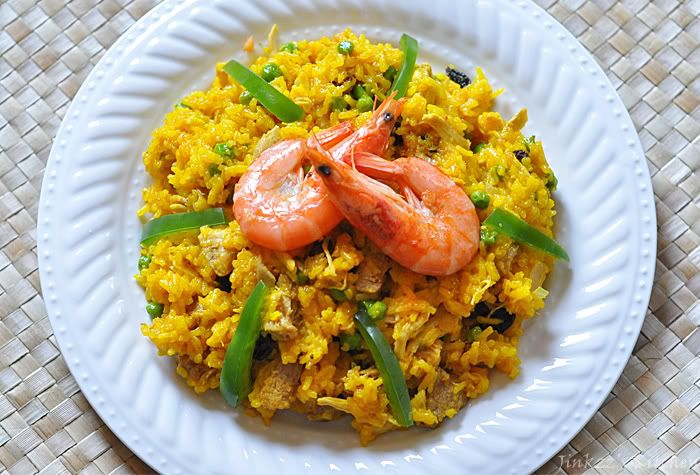
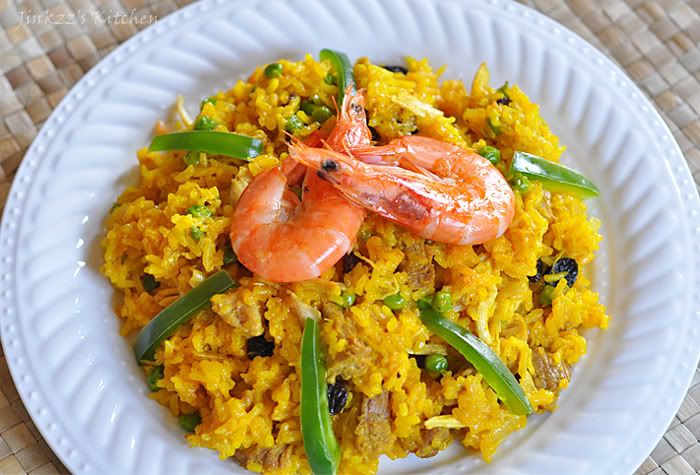
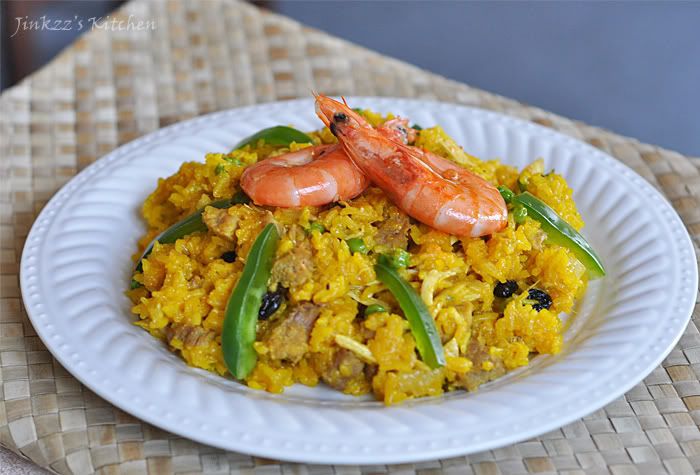
Easy Arroz Valenciana


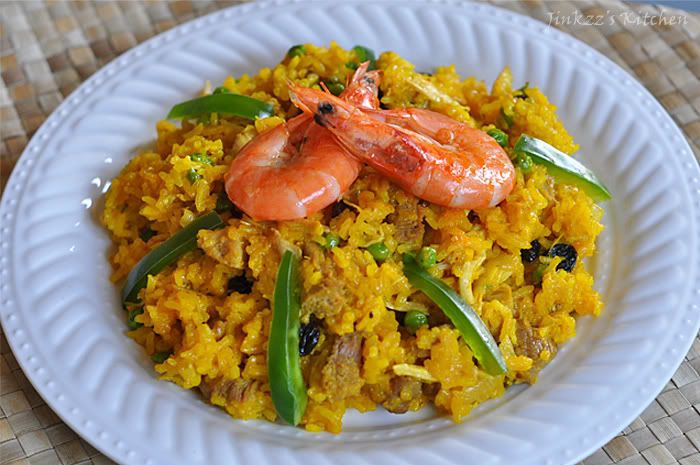
Arroz valenciana is one of the many dishes that is popular in the Philippines, particularly in Negros Occidental where my family is from. It is almost always present in gatherings. The dish uses glutinous or sweet rice, turmeric powder, pork, pork liver, chicken, peas, raisins, and bell pepper.


The process of cooking arroz valenciana can be intricate and laborious if you take the long way since you have to make sure that the rice is cooked well. This meant stirring it constantly to make sure that it is evenly cooked and to prevent the bottom from getting burned. That is just too much work for me so I used to stay away from making this dish. When I first came to the States (which was ages ago), I stayed with my aunt in New Jersey and that's where I learned how to make arroz valenciana the easy way. The first secret is cooking the rice in a rice cooker. The second is using chicken broth instead of water to cook the rice which eliminates having to season or making sure that the dish is evenly seasoned. The third is to boil the meat separate then slicing it. The last one can be done ahead of time and can be kept in the refrigerator until needed.


Ingredients:

3-4 cups glutinous (sweet) rice
chicken broth (enough to cook the rice and then some for cooking the rest of the ingredients)
1/4 lb pork, sliced
1/2 chicken breast, boiled and hand shredded
1/4 lb pork liver, sliced
1/4 lb shrimp, deveined and shelled
1/2 cup frozen peas
1/4 cup raisins
1 small onion, chopped
3 cloves garlic, chopped
1 small bell pepper, sliced thinly
sea salt and pepper, to taste
1 - 2 Tbsp oil for sauteeing
2 tsp turmeric powder
2 hard bolied eggs, sliced into wedges (optional)


1. Place rice and turmeric powder in a rice cooker. Add enough chicken broth to cook the rice. Stir half way through the cooking process to make sure that turmeric is incorporated into the rice evenly.
2. Boil chicken breast, pork, pork liver in a pan until tender. Let it cool and then slice/ shred.
3. Heat oil in a large pan. Addonion and garlic and cook until fragrant and translucent.
4. Add shrimp and saute until it turns orange. Add sliced/shredded meat and saute until heated through.
5. Add about 1 cup of chicken broth, peas, and raisin. Simmer until raisins has plumped up and peas is heated through. Don't worry if there is a little too much liquid because the rice will soak it up.
6. Add bell pepper and cooked rice mixture. Mix well.
7. Adjust seasoning as needed and according to taste.
8. Transfer to a serving platter and decorate with shrimps and/or hard boiled egg wedges. Serve warm.

NOTE: You can leave the shrimp shells on if you like. If you leave out the liver if you want.

Wednesday, September 28, 2011

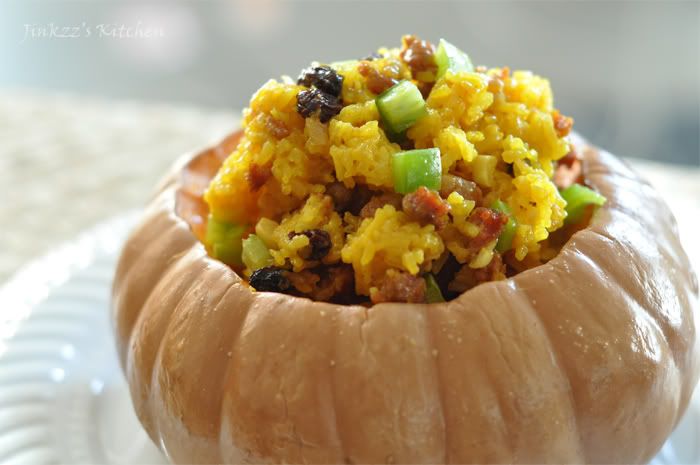
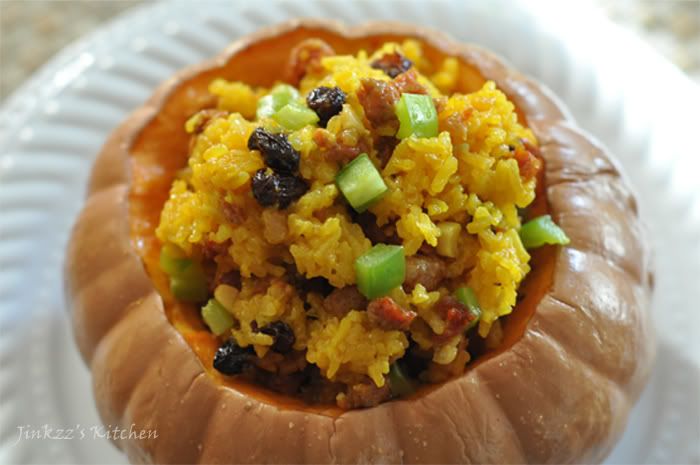
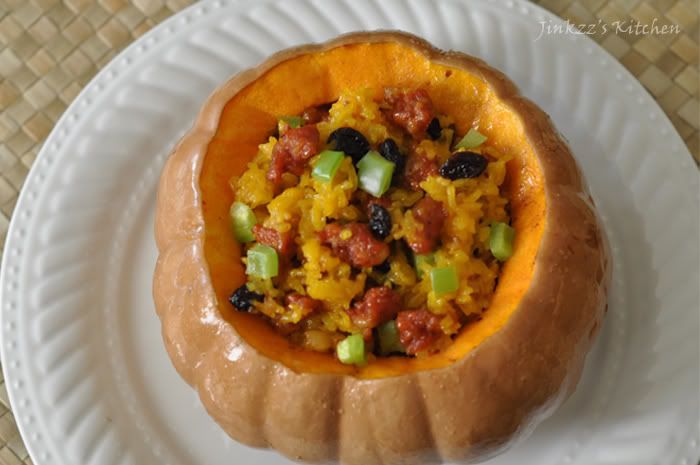
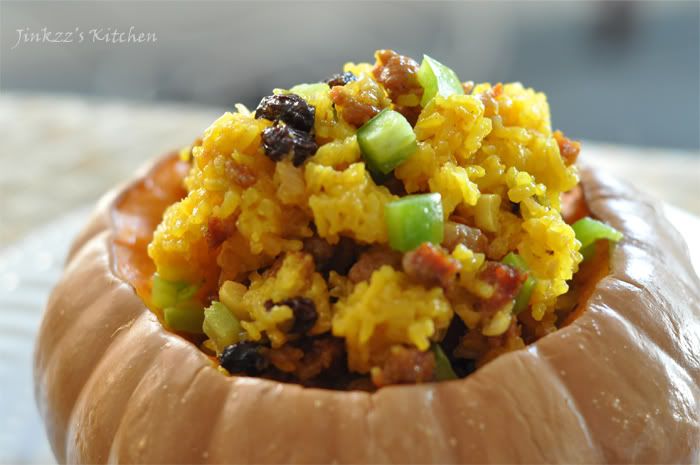
Baked Stuffed Pumpkin

=
Autumn, where art thou? I really wish autumn would come soon because like i've said in my earlier post, I am so sick and tired of this almost year-round warm weather. Makes me think sometimes whether I should move somewhere cooler. Nah! won't happen because that would mean giving up the convenience that LA has to offer - easy access to ethnic resto and stores...hehehe.

Since I was really hoping for autumn to come, I made something that reminds me of the season - stuffed pumpkin! Pumpkin is just so autumn, isn't it? It also reminds me that the holidays are coming up - Halloween, thanksgiving, and yes, christmas. Oh, no! Soon it will be the end of the year but I am not going to think about that just yet and just wish for autumn to come :)


I made baked stuffed pumpkin for lunch today. I saw two small pumpkins when I went to the Korean store last time so I snagged both of them and had planned on making this dish sometime this week. It is quite easy to make actually since the stuffing is cooked separately from the pumpkin and they just come together towards the end. The reason I cooked the stuffing all the way through s because I always get scared that the rice won't be cooked correctly if I just use raw. Otherwise, If I use a different stuffing, I will just cook both the pumpkin and the stuffing together. The whole process took me about an hour which already includes cooking and preparation.

To carve the top out, you need to use a sharp knife with pointed end so you need to be very careful. I used a steak knife when I did it and angled it downward. While cutting the top, you need to cut all the way through so it comes off easily. I used a teaspoon to scrape all of the seeds and fibers inside the pumpkin then discard them. When cooking the stuffing, I cooked the rice in the rice cooker first before Imixed it with the rest of the ingredients. A long time ago, I learned a simple trick to ensure that the rice is well seasoned by using chicken stock instead of plain water. This eliminates the hassle of having to mix the rice well to make sure that it is evenly seasoned with salt. Read on for the entire recipe and direction.


Ingredients:

2 small pumpkins (approxinately 2-3 lbs each)
1 tsp salt

Stuffing:

1 1/2 cups sweet rice (also known as sticky or glutinous rice)
1 tsp turmeric powder
1/2 lb. spicy longganisa (philippine sausage) or any of your sausage preference- casing removed and broken into small pieces.
2 cloves garlic, finely chopped
2 small shallots, finely chopped
1 small green bell pepper, cut into small cubes
1/2 cup raisins
sea salt and freshly ground black pepper, to taste
2-3 Tbsp oil


1. Preheat oven to 350 degrees.
2. Remove tops of the pumpkins then scrape seeds and fiber.
3. Sprinkle 1 tsp salt all over both pumpkins.
4. Take about 1 Tbsp oil and paint pumpkin with it. Place tops back on the pumpkins.
5. Transfer to aluminum foil lined baking pan.
6. Bake for 40 minutes or until fork tender.


Stuffing:

1. While pumpkin is baking in the oven, prepare stuffing.
2. Place sweet rice in rice cooker. Add turmeric and water. Cook according to direction.
3. Once the water boils, mix once or twice to ensure that turmeric is dissolved. NOTE: Turmetic will give the rice a yellow color.
4. while rice is cooking, heat pan tomedium.
5. when pan is hot, add the remaining oil then saute garlic and shallots. Cook until fragrant.
6. Add longganisa or sausage of choice and saute until almost done. NOTE: preferably skinless but if it has casings, just remove it before sauteeing.
7. Add raisinsand about 1/4 of cup of water. Let it simmer to rehydrate raisins.
8. When water has been absorbed, add green bell pepper and cooked rice with turmeric.
9. Mix well until all ingredients is incorporated. You may add another 1/4 to 1/2 cup water if the mixture is too dry. Let cook until almost all of the fluids has been absorbed.
10. One the pumpkin is done cooking, remove it from the oven.
11. Scoop stuffing into the pumpkin cavity then return to the oven uncovered.
12. Turn the oven temperature up to 400F and cook for another 8-10 minutes then remove .
13. Transfer to a serving dish and serve warm.

Thursday, March 25, 2010

Spicy Tuna Kimbab ( Korean Sushi)


Ingr:

2 cups cooked rice
1 tsp rice vinegar
1 tsp sesame oil
3-4 yellow pickle radish sticks (danmu ji)
3-4 imitation crab stick
1/4 cup julienned carrots
1 can tuna, drained
1 tsp kochukaru ( korean red pepper flakes)
1 tsp korean soy sauce
3-4 laver/ seaweed ( kim)

1. In a bowl, mix rice , rice vinegar and sesame oil. Mix well and set aside

2. heat sesame oil in a pan then saute tuna. Add kochukaru and soy sauce. Mix well . remove from fire.

3. to assemble:

-lay sushi mat in a flat surface. Place laver on top.

- spread rice on the laver, leaving about 1 1/2 inches space on each end.

- place pickle radish, carrots, tuna, and imitation crab

- to roll tightly then slice into 1 inch pieces.

*** make sure to wipe knife with wet paper towel in between slicing the kimbab , makes slicing much easier.

*** you can actually substitute tuna with any meat or filling of your choice.

Thursday, March 18, 2010

Kimchi Bokumbap ( Kimchi Fried Rice)


Ingr:

2 cups cooked rice
1/2 cup thinly sliced pork
1/2 cup kimchi with kimchi juice, chopped
1/2 cup prepared Kong Namul ( Marinated bean sprout)
2 scallions, minced
1 small onion, sliced
1 clove garlic, chopped
sesame oil
a pinch of salt (sprinkle on the pork)
1 egg, fried


1. Heat oil in a wok, saute garlic and onions then add pork; cook until pork is done.

2. add rice and cook for about 3 minutes.

3. add kong namul, kimchi and kimchi juice, mix well. Cook until all the kimchi juice has evaporated.

4. put in a bowl. Top with fried egg and minced scallions.

Saturday, March 13, 2010

Dolsot Bibimbap


Ingr:

1/4 lb thinly sliced pork ( cut into thin strips) *i buy mine from the Korean market
1/2 cup bellflower roots ( doraji)
1 cup spinach
1/2 cup cucumber, julienned
1/2 cup carrots, julienned
2-3 small shitake mushroon, cut into strips
1/2 cup bean sprouts
2 cups of cooked rice ( depending on how much you want)
1 egg
1 Tbsp kochujang or korean chili pepper paste
sesame seeds
sesame oil


1. season pork with a little salt and stir fry until cooked, set aside

2. in a hot pan, add sesame oil and stir fry bellflower roots, remove from heat and set aside... do the same with cucumber, carrots and mushroom, stir frying them separately.

3. for bean sprout: put it in a pot and cover with water, let it boil for about 5 minutes, drain well. then season with a little sesame oil, finely chopped garlic and a little salt.

4. for spinach: put in a pot and cover with water, bring to a boil until color turns dark green then cool by adding cold water, drain and squeeze with your hand to remove water . season with sesame oil and finely chopped garlic.

5. put some sesame oil in the dolsot (stone pot) and heat . put rice at the bottom of the pot and cook- you will hear a sizzling sound. cook rice until the bottom is slightly crispy. Add egg to the side so it can slightly cook ( but since I don't like a runny yolk, i fry mine separately)

6. arrange the meat and veggies on top and cook for about 5-10 minutes

7. remove from heat and add kochujang.

8. mix and enjoy

*** You can add as much or as little kochujang as you want depending on how much spiciness you can tolerate

*** the same holds true for veggies, rice and sesame oil... you can add as much or as little ingridients as you want. They are all dependent on each person's preference

*** dolsot refers to the stone pot used in cooking

*** bibimbap literary means mixed rice

bibimbap after mixing the ingredients