Showing posts with label fruits. Show all posts

Friday, September 30, 2011

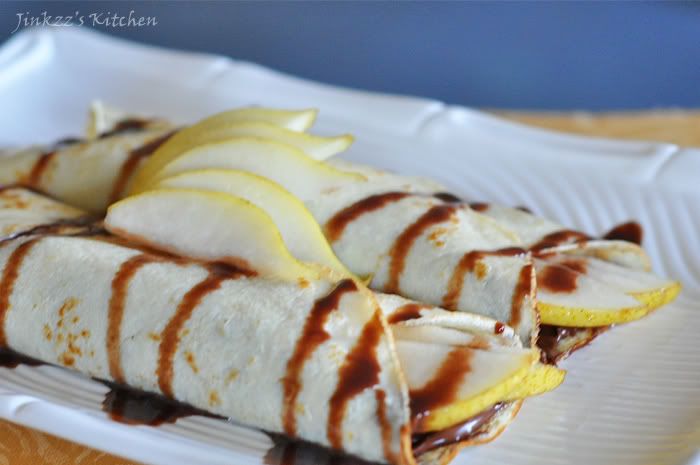
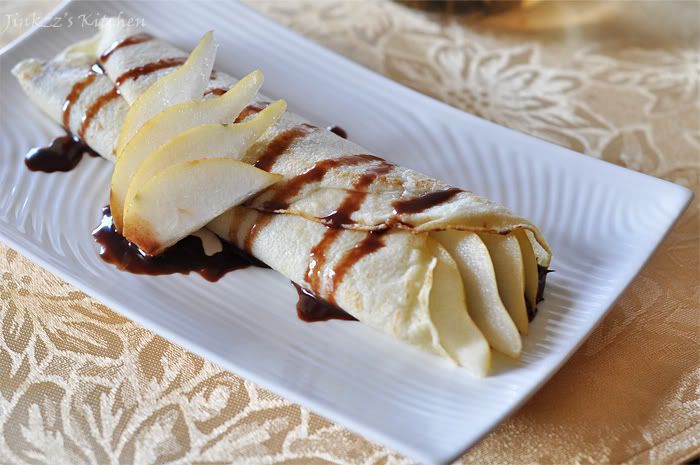
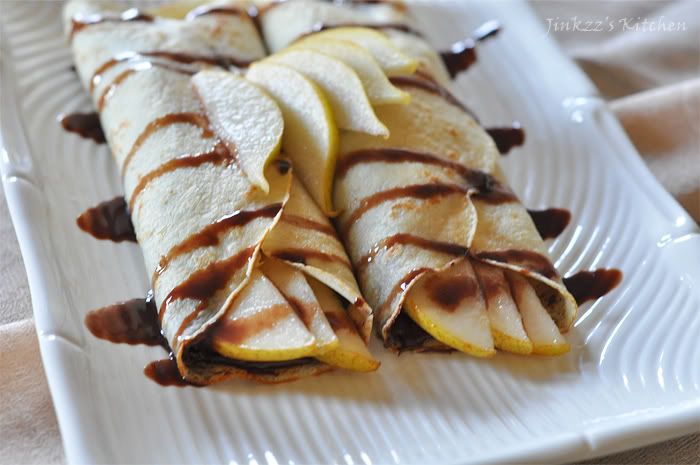
Crepes with Nutella and Pears


Woke up really early (730 am) this morning though it isn't much of a surprise since I went to bed rather eraly last night. NOw, that is shocking considering I don't normally go to bed until the wee hours of the morning..hahaha! Anyways, I woke this morning craving for some crepes so I whipped up a batch. I filled it with both sweet and savory (will post recipe next time)fillings. I swear, I am weird sometimes.

Basic crepes are actually easy to make and just requires a few ingredients which are found in most household's pantry. To make, all you need is flour, egg, water, salt, and butter. There is really no special equipment needed although having a crepe pan certainly helps but if you don't have any (most household don't own one, I am sure), you can just use the small frying pan. Preferably lightweight and non-stick so it is easier to lift and swirl the batter around as well as prevent it from sticking to the pan. Since I do not normally use a non-stick frying pan since I use my trusty calphalon cast iron pan for frying, I had to search for the blasted frying pan amidst all the kitchen gadgets, pots, and pans in the cupboard. I was actually mildly surprised to find a crepe pan hidden underneath the mountain of kitchen gadgetry. Ha! that is so like me to forget that I have these things. Gosh I do not even remember when the last time I used this thing...hahaha. Well, that was much better than the frying pan I was thinking of using.
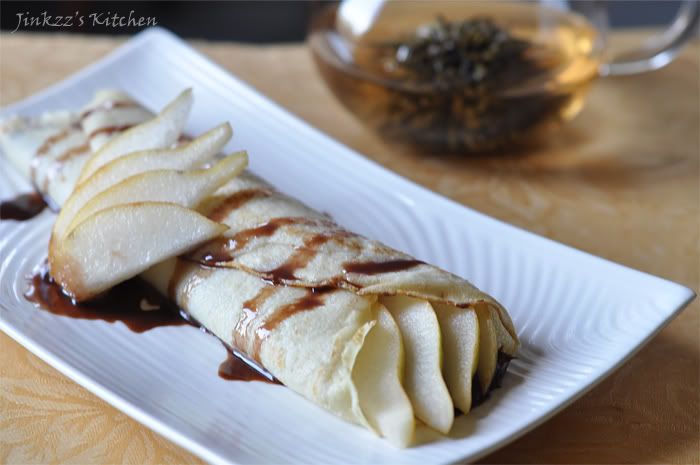

When cooking the crepe, make sure that the pan is hot and lightly oiled. Do not placetoo much oil because it will make the crepes soggy or oily and not light. I use a little bit of Pam spray instead of oil as it works for me better. I also use about quarter of a cup of the batter and spread (swirl) it as thin as possible. It does not take a long time to make crepes, about 1-2 minutes. You will know that it is ready because the edges starts to come off the pan. Read on for the complete recipe.

Ingredients:

Chocolate sauce:

1 cup chocolate chips, semi-sweet
3/4 cup heavy cream

1. Using a double boiler or heat proof bowl over a pan with water, place the crean on the bowl and heat gently until warm.
2. Add chocolate chips and stir until mixture is smooth and glossy.
3. Remove from heat and cool while you cook your crepes.

Filling:

Nutella spread
1 ripe pear- cored and sliced thinly
1 tsp sugar

1. Mix sliced pear and sugar making sure that all the pieces is coated with sugar.
2. Let is stand for 15-20 minutes while you make your crepes.

Basic crepes

1 cup all purpose flour, sifted
2 eggs, slightly beaten
2/3 cup milk
1/3 cup water
2 Tbsp butter, melted
a pinch of salt
Pam spray

1. Place slightly beaten eggs in a large bowl. Add flour and mix until slightly incorporated (Batter, at this point will be very thick)
2. Mix milk and water in a separate container.
3. Drizzle milk mixture slowly into the flour mixture while whisking it. Mix until incorporated. (notice that the batter will be thin at this point)
4. Add salt and butter and mix well.
5. Using a fine mesh strainer, strain mixture to remove solid or undissolved ingredients. (This step is important so the batter will be smooth and free from lumps)
6. Heat crepe or frying pan over medium heat.
7. Lightly spray pan with Pam spray or lightly oil it.
8. Take 1/4 cup of the batter and place it on the pan. Spread it around using a swirling motion. Make sure to spread it as thin as possible.
8. Cook for about 1-2 minutes or until the edges starts to come off the pan and slightly golden in color.
9. Repeat until all of the batter has been used up.

To assemble:

1. Take one crepe, spread nutella in the middle area.
2. Assemble pear slices on top of nutella spread.
3. Take one side and fold over the nutella-pear mixture. Do the same with the other side.
4. Top with chocolate sauce and serve.
Thursday, September 22, 2011

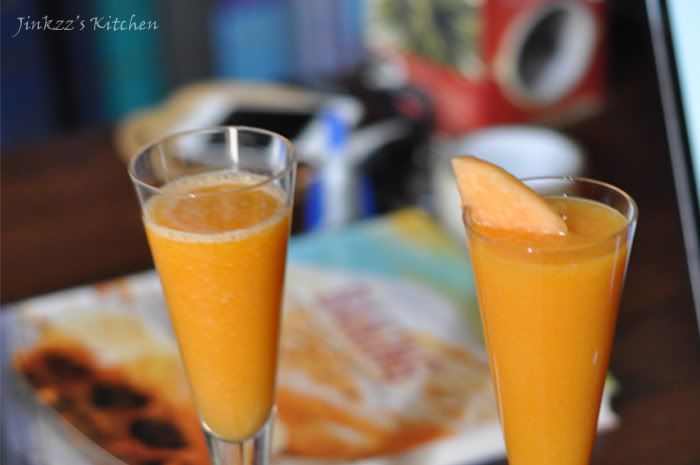
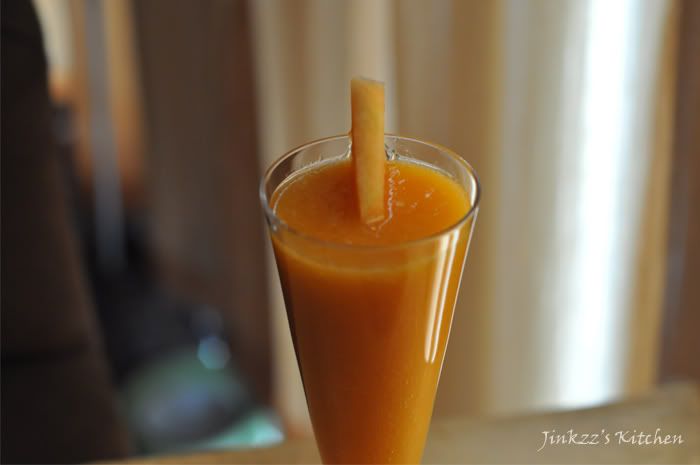
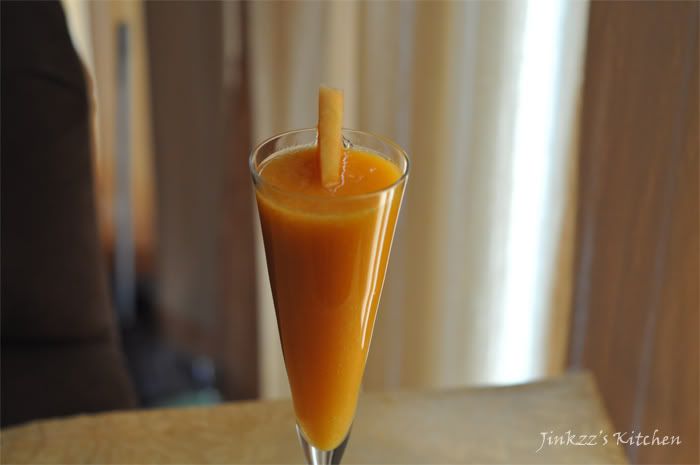
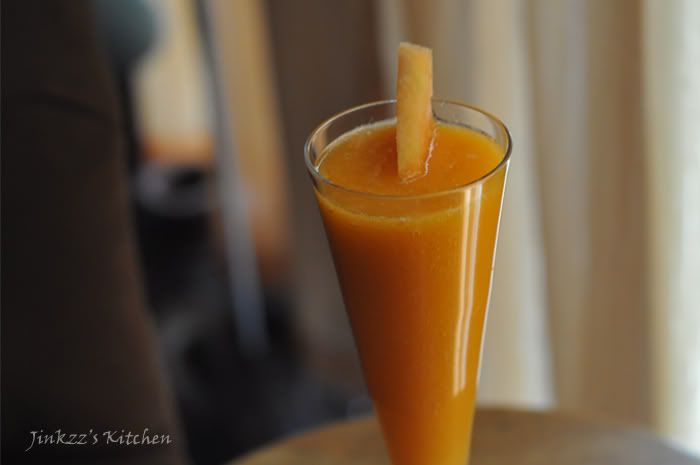
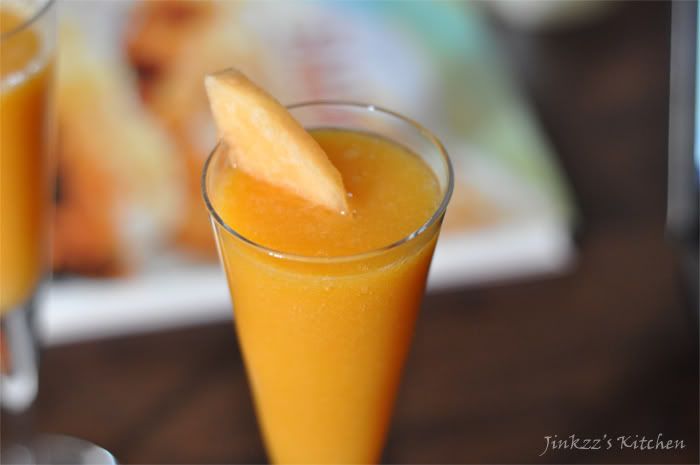
Mango-Cantaloupe Cooler


Last day of summer 2011! Whoa, time flew by so fast. It seems like it was only yesterday when 2011 started and now we are entering the fourth quarter of the year. I am so not ready to bid goodbye to this year because it would mean I will be turning a year older. Ah, I was just coming to terms with the fact that I entered a milestone,make that two milestones, this year and now what? I am turning another year older? Does that even make sense? I guess that's life. Although we cannot make it slow down, the least we can do is make the journey as enjoyable as possible right? Enjoy each passing moment because once it is gone, it is gone for good...no second chances,no undoing, and yes, it it becomes part of a memory. Some memories are good for reminiscing, others are best left where they are... the best memories though are those that makes us feel happy and contented...


I made this refreshing drink as a way to send off summer and welcome autumn. Hopefully the weather cools down considerably so I can turn off the air conditioner and open the windows. I am getting tired of using the exhaust vent instead of opening the windows to get rid of the smell from the cooking that I have been doing these days. The weather outside though has been too warm, at least to me, to allow me to open the windows :( Actually, living in LA makes me long for cool autumn nights in Tennessee where the weather dips down slightly but not too low like other parts of the country. Funny how man is never really satisfied with what he has. I remember complaining about the cold weather when I lived in Tn but now longing for them since I live in LA where it is practically summer all year long...ha ha ha.


Ingredients:

2 cups roughly chopped cantaloupe
1 cup chopped mango flesh
1/2 tsp orange blossom water
sugar, according to desired sweetness
30 ml water


1. Place cantaloupe, water, and mango in a blender and blend until smooth.
2. Add orange blossom water and sugar and blend some more until sugar is dissolved.
3. Refrigerate for at least 1 hour or until well chilled then serve.

Friday, September 9, 2011

Blackened Salmon Topped with Orange-Tomato Salsa and a side of Buttered Corn and Peas

I cannot believe that this dish is my very first real meal of the day and it isalready 1145 pm. I have been very busy doing my research on a project for my current class that I have only been snacking on raosted almond roll (leftover from two days ago) in between research. Whew and I am not even done yet. I still have one more topic to go but couldn't seem to find the right information and organize my thoughts. Oh well, that will have to wait until tomorrow. Anyway, it is not due until Monday at 1159 pm so I have plenty of time.

This is such a nice and easy dish. And the best part? it only took me less than 30 minutes to prepapre from start to finish. That is including the salsa and side of corn and peas. The blackened salmon looked and tasted really good as well as the rest of the food. The salmon though came out really well because it blackened to perfection. The only thing's that is missing is desser. I totally forgot to make any...Oh well... I think I ate too much anyway because now I am feeling lazy. Ughhh... I cannot even rest and enjoy my favorite Korean show because I have to do the dishes after this...hehehe...the good news is I think I only washed 2 loads of dishes because I have not had time to do my usual recipe experiments :)


Orange-Tomato Salsa:

Ingredients:

1 orange, peeled and pith removed; sliced and segmented
1 vine-riped tomato, cubed
1 shallot, thinly sliced
3 Thai chili pepper
1 - 2 Tbsp freshly squeezed lemon juice
sea salt and pepper, to taste
small bunch of parsley, de-stemmed then roughly chopped
small bunch of cilantro, de-stemmed and roughly chopped

Coombine all ingredients then set aside.


Blackened Salmon

Ingredients:
Salmon fillets
1 Tbsp (or more) jerk seasoning
extra virgin olive oil

1. Preheat oven to 325F
2. Wash salmon fillet and then dry using a paper towel
3. Apply extra virgin olive oil all over the salmon.
4. Coat Salmon with jerk seasoning
5. Heat a heavy cast iron pan over medium heat.
6. Pour a little olive oil then fry salmon skin side down for about 4-5 minutes
7. Turn salmon over and cook for another 3 minutes.
8. Transfer pan with salmon to the oven and bake for about 5 minutes.
9. Remove from oven, transfer to a platter, top with orange-mango salsa then serve.


Buttered Corn and Peas

Ingredients:

1 cup frozen corn
1 cup frozen peas
2 Tbsp butter
salt and pepper, to taste

1. Melt butter over low medium heat.
2. Add corn and peas and sautee until warm and water has evaporated.

Thursday, September 8, 2011

Easy Mango Salsa

I have a lot of mango again because they were on sale at thisgrocery store that I went to. At 2 for 99 cents, they are a bargain compared to $1.60 +++ a piece at Pavilion's. I made this as an accompaniment to my baked porkchop with sinigang mix rub. The two was perfect together. This can also be used as topping for fish or chicken as well as a dip for chips. The only thing that i would change is to diced the mangoes finely if intended to use as a dip.

Salsa, not to be confused with the dance bearing the same name (whhahaha), means sauce and is Latin American in origin. In America, we are used to the salsa that has the Mexican and Central American influence and is usually made of tomatoes,onions, cilantro, jalapeno, and lime or lemon juice. Salsa though refers to a huge variety of sauce such as pico de gallo, salsa taquera, salsa verde, salsa negra, and guacamole to name a few. Salsa is traditionally blended using mortar and pestle producind a chunky sauce-like appearance. Blender has taken the place of mortar and pestle which has really taken a lot of the hard work.

This salsa is a variation which uses mango, tomato, shallots, cilantro, philippine chili pepper (I did not have any jalapeno), and a combination of lemon and lime juices. I used mangoes that are a little underripe so it is a little sweeter than the green ones with flesh that are firm compared to the soft texture of the ripe mangoes.The result is a slightly sweet and slightly tart flavor with a hint of spiciness.


Ingredients:

1 mango, diced coarsely
1 tomato, diced
1 shallot, diced
a small bunch of cilantro, coarsely chopped
1 jalapeno pepper or 3 philippine pepper, chopped
1 Tsp freshly squeezed lime juice.
1 Tbsp freshly squeezed lemon juice
salt and freshly ground pepper, to taste


Mix all ingredients in a bowl. Let is stand in the refrigerator for an hour before serving.

Tuesday, September 6, 2011

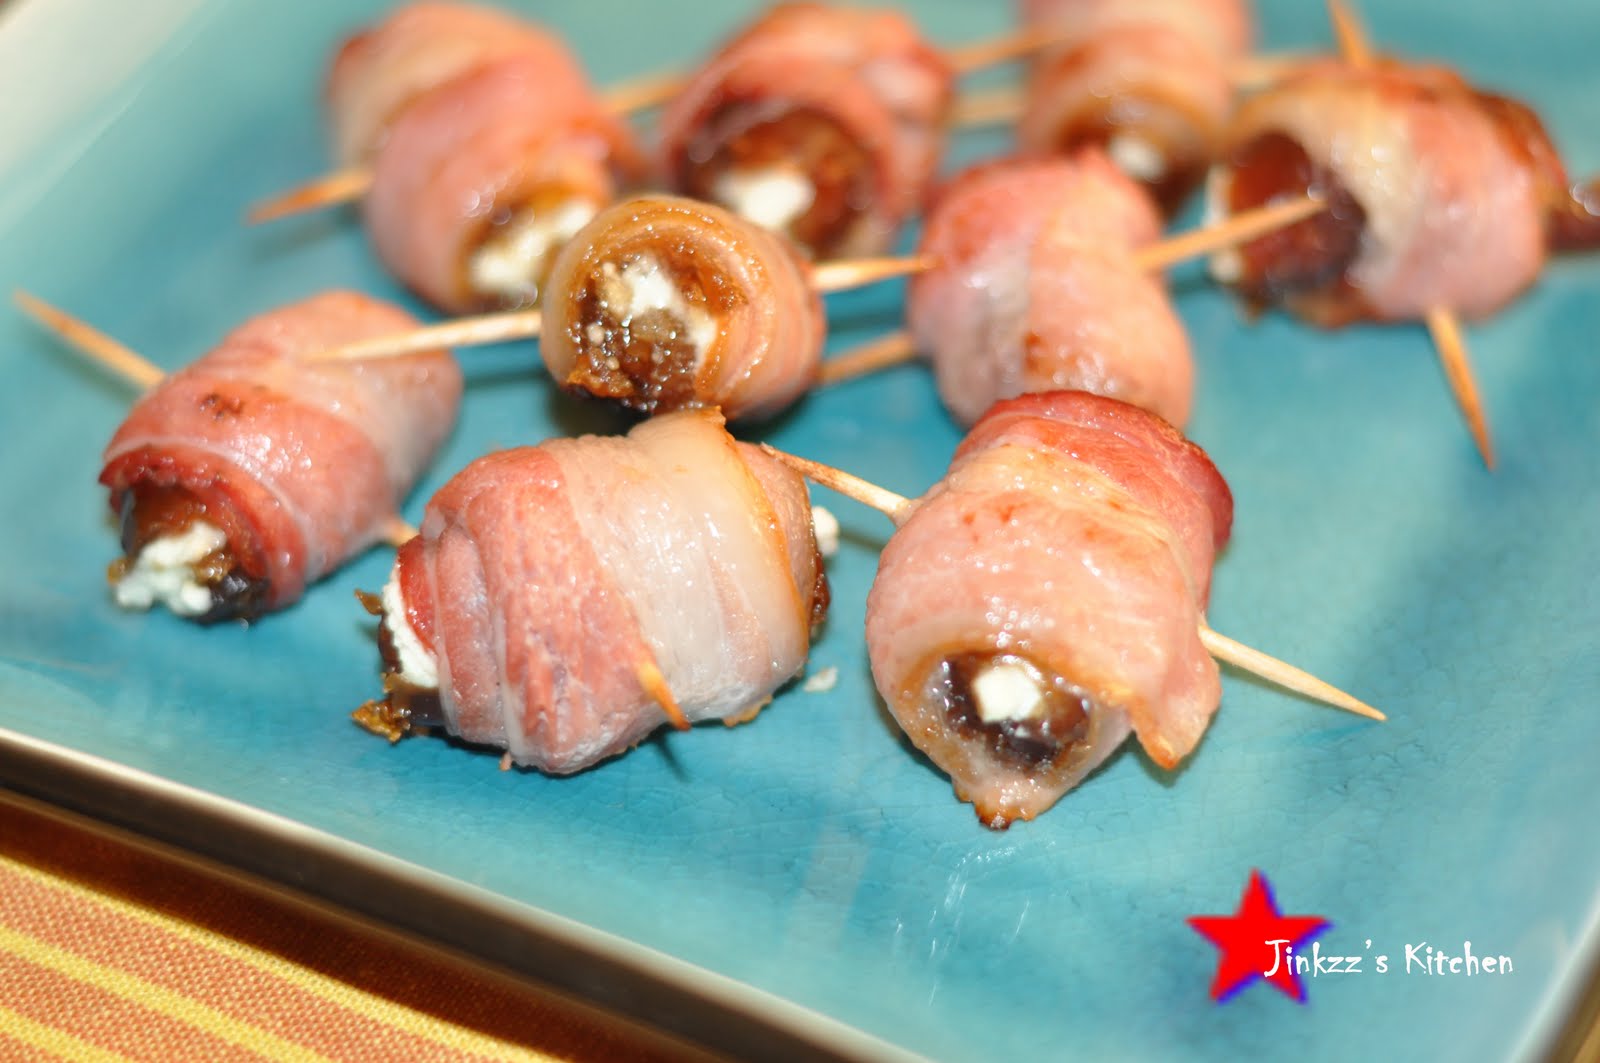
Bacon Wrapped Dates with Goat Cheese Stuffing

I bought some dried dates the other day when I went grocery shopping. I also bought bacon since prosciutto wasn't available (or maybe I did not look hard enough...lol). They are both perfect for the dish I was thinking. I had these a while back but haven't made it since because I was having a hard time finding date. Funny that I found some when I wasn't even looking for them.

This dish is really good. so good, in fact, that you won't be able to stop at your first piece and will keep reaching for them over and over. The taste is a combination between sweet (dates) and salty (bacon). when you bite into them, the taste explodes in your mouth...really yummy

Dates came from date palm which is cultivated for the sweet fruit that it produces. They grow mostly in the middle eastern countries such as United Arab Emirates, Saudi Arabia, Algeria, Pakistan, Sudan, Oman and Libya.


Ingredients:

20 dried dates
goat cheese
10 bacons, cut in half


1. Preheat oven to 350 degrees.
2. Take a date and make a long slit on one side to make it easier to stuff.
3. Stuff date with goat cheese then wrap in bacon and secure with toothpick. Do the same with the rest until you're done.


4. Bake for about 10 minutes or until golden brown then turn over and bake the other side for another 7-10 miutes or until golden brown. Make sure you keep an eye on it and check frequently to prevent burning.
5. Remove form the oven and place in paper towel-lined platter to drain excess fat.
6. Transfer to a serving platter and serve. NOTE: Be careful when you handle and eat them as they may be too hot.

Friday, September 2, 2011

Ginisang Ampalaya (Sauteed Bitter Melon)

Ampalaya or Bitter melon is a vien that is widely cultivated in Africa, Asia, and the Caribbeans for its edible fruit. There are several different varieties that differ in shape, size, and degree of bitterness.It is usually consumed when it is unripe and green in color. As the fruit ripen, its bitterness intesifies which renders it inedible. The ripe fruit also becomes tougher and yellow in color. Unripened fruit has white pith shich neds to be removed before cooking In the Philippines, ampalaya is often sauteed with pork and eggs or as an ingredient in another Filipino dish, Pinakbet.

Ampalaya is often valued for its medicinal uses and have been widely used as an herbal medicine in the Philippines, China, and Japan. It is thought to be good remedy for conditions such as intestinal parasites, malaria, viral infection, diabetes,fever, burns, scabies, and colic. It has been endorsed by the Philippine department of health as an herbal alternative to cure the aforementioned illnesses. As part of the movement to promote its use, several products that uses ampalaya as a base have come out including tea, bread, and pill supplements. Don't ask me how effective they are because I honestly have no clue nor have I tried them :)

Ampalaya is not a fruit for everyone as it an acquired taste. If you wantto cut down on its bitterness, you can sprinkle about 1/2 to 1 tsp of salt on ampalaya after it has been sliced thinly. Let it stand for a few minutesor until you begin to see it sweat (becomes watery). You can squeeze the fluid out before sauteeing. As for e, I love the bitter and distict taste that ampalaya has so I skip this method. I used to hate eating this when I was grouwing up but once I lived on my own, I began to crave for this dish every once in a while. I guess I do miss home and my mom's home cooking more that I care to admit sometimes...hehehe.


Ingreddient:

2 bitter melon, pith and seeds removed then sliced thinly
1 onion, sliced thinly
1 tomato, cut into small cubes
2 cloved garlic, chopped finely
1/2 lb pork, cubed
2 eggs, beaten slightly
salt and pepper to taste
oil


1. Heat pan over medium. Add garlic and onions and saute until translucent.
2. Add tomato and continue cooking until soft.
3. Add pork and saute until all the liquid has evaporated and pork has turned brown.
4. Add Add about 1 cup of water and let it boil until pork is tender. Add water as needed until pork is cooked.
5. Continue to simmer until almost all of the fluids has evaporated
6. Add bitter melon. You can add about 1/4 cup of water but I generally dont since the bitter melon will sweat out some liquid. Cook until alost all of the fluid has evaporated.
7. Add beaten egg and cook until it is done. Remove from heat and transfer into serving platter.


Mango Jelly Panna Cotta


Oh, darn I am in trouble now. This is my third panna cotta recipe since the other day...hehehe...my brain just keeps churning more and more ideas on what other flavors I can come up. The idea to this recipe came from Technicolor Kitchen blog. She had this passion fruit jelly panna cotta with the jelly in the bottom and panna cotta on top which looked really nice. Since passion fruit is not readily available here in the US (The last time I saw a passion fruit was eons ago), I used my favorite mango for the jelly instead.

I run out of regular whipping cream so I used a canned table cream which I got from the Filipino market. This cream is a lot thicker in consistency and taste creamier than regular whipping cream which taste much better, in my opinion. The color of the mango jelly really turned out nicely and provided a really nice contrast to the white color of panna cotta.

Note: this takes a little bit more work and wait time compared to the regular panna cotta since the jelly has to solidify first before you can prepare and pour the panna cotta over it. The taste though more than makes up for the wait and double work.


Ingredients:

Mango Jelly
1 large ripe mango (about 1/2 cup mango pulp)
1/3 to 1/2 cup sugar (depending on how sweet your mango is)
1 Tbsp unflavored gelatin
2 Tbsp + 1 1/4 cups water


.

1. Place 2 Tbsp of water in a bowl and sprinkle gelatin to soften. Let it stand for about 5-10 minutes
2. Peel mango then slice flesh into chunks.
3. Place mango in a blender and puree.
4. Add 1 1/4 cups water and sugar. Blend until smooth and sugar is dissolved.
5. Strain mango mixture and get rid of fibers.
6. Place mango mixture in a pan over medium low heat and simmer for about 5 minutes or until slightly thick.
7. Scoop some some of the warm mango mixture into the gelatin bowl and dissolve gelatin.

8. Add gelatin mixture into the mango mixture and simmer for a minute or two longer.
9. Remove from heat and let ti cool down a little bit before pouring into ramekins or servng dish.
10. Refrigerate for about 4 hours or more.

Panna Cotta

Ingredients:

1 cup cream
1 cup milk
1/4 cup sugar
2 tsp unflavored gelatin
2 tsp water

1. In a small bowl, sprinkle unflavored gelatin over water to soften it. Let it stand for 5-10 minutes.
2. Mix cream, milk, and sugar in a bowl until sugar is dissolved and cream has been mixed well with milk.
3. Transfer mixture to a pan and simmer over medium low for about 3-4 minutes
4.Scoop some of the cream mixture into the bowl containing gelatin and stir to dissolve gelatin.
5. Add gelatin mixture into the cream mixture and simmer for 2 minutes.
6. Strain cream-gelatin mixture and discard any particles.
7. Let it cool down before pouring over the mango jelly base.
8. After pouring the panna cotta into the jelly base, refrigerate for 4 hours or more.
9. You can serve as is or lossen from the cup and transfer into a serving dish. top with mango slices, if you want


Thursday, September 1, 2011

Crumbled Gorgonzola and Pear Salad

I put this salad together with ingredients that was readily available in my pantry and refrigerator. This salad really turned out well. The pungent aroma, creamy texture, and stong flavor of gorgonzola goes so well with the mild and sweet flavor of Bosc pear. The balsamic vinaigrette dressing ties the dish together.

Gorgonzola cheese is a variety of blue cheese that originates from Italy. It is produced mainly in the Italian regions of Piedmont and Lombardi. Gorgonzola, like all the other blue cheese varieties such as stilton, roquefort, and bleu d'auvergne, has the characteristic blue vein which is caused by starter bacteria that was added to the cow's or sheep's milk. The aging process for gorgonzola cheese is usually 3-4 months. Gorgonzola become firmer as it ripens.


Ingredients:

1 Bosc pear
gorgonzola cheese, crumbled
1/2 Tbsp balsamic vinegar
1 1/2 Tbsp extra virgin olive oil
salt and freshly ground black pepper, to taste


1. In a small bowl, mix balsamic vinegar and olive oil. Whisk to combine.

2.Cut, core and slice pear thinly.

3. Assemble gorgonzola and pear in a plate.

4. Drizzle with balsamic vinaigrette dressing.

5. Season with salt and pepper according to your taste.


Wednesday, August 31, 2011

Panna Cotta with Macerated Strawberries


I love panna cotta. They're rich, creamy and oh-so-yummy. I have forgotten about this dessert until yesterday when I opened my refrigerator and found a box of whipping cream. Hmmm, what to make,I thought to myself. I was thinking of making cathedral windows but that's too much work because I had to make several batches of gelatin squares using different colors. Then I thought of panna cotta which is easy enough to make but really delish...

Panna cotta is Italian in origin. This dessert is made by mixing sugar, cream, milk, and unflavored gelatin which is allowed to cool until it is set. It can be topped with berries and different sauces (chocolate, wines, fruits) or flavored with different flavorings such as vanilla and cinnamon. In my opinion, the possibility for panna cotta flavors is endless and one is only limited by one's imagination.

Ingredients:

Panna Cottta:
2 tsp unflavored gelatin
1/2 cup milk
1 cup heavy cream
1/4 cup sugar
1 tsp vanilla extract

Topping:
1/2 cup thinly sliced strawberry
1 Tbssp sugar


1. Sprinkle gelatin over milk and let it soften for about 10 minutes
2. Heat a pan over medium low heat. Add cream and sugar. Simmer (do not boil) until sugar is dissolved, stirring occassionally.
3. Remove from heat and stir in vanilla and gelatin mixture. Mix until gelatin is dissolved completely.
4. Strain the panna cotta mixture and pour into ramekins. Let it cool before covering ramekins with plastic wrap.
5. Refrigerate for at least 4 hours, preferably overnight.
6. Topping: slice strawberries thinly and sprinkle sugar on top. Mix well and refrigerate for 30 minutes.
7. To umold: place ramekins in warm water bath for about 30 secons to 1 minute. Remove from water bath and wipe the outside of ramekins dry. Invert into a serving dish. Top with macerated strawberries and serve.
NOTE: If you are having a hard time unmolding after placing ramekins in warm bath, run a thin knife on the insides of the ramekins to loosen panna cotta. You can also shake the ramekins a little bit while unmolding.