Showing posts with label butter. Show all posts

Friday, June 22, 2012

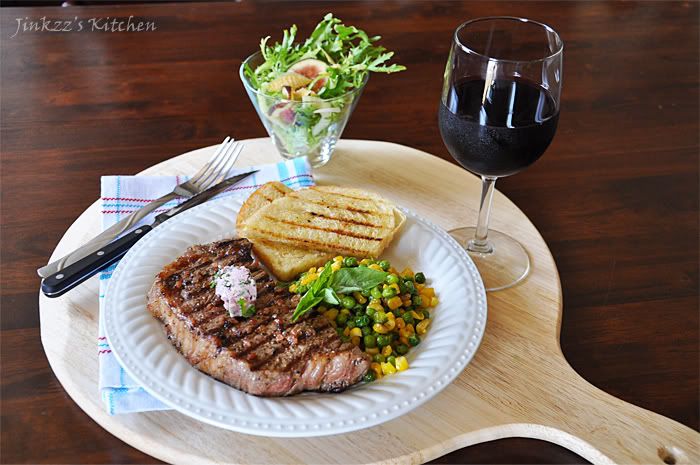
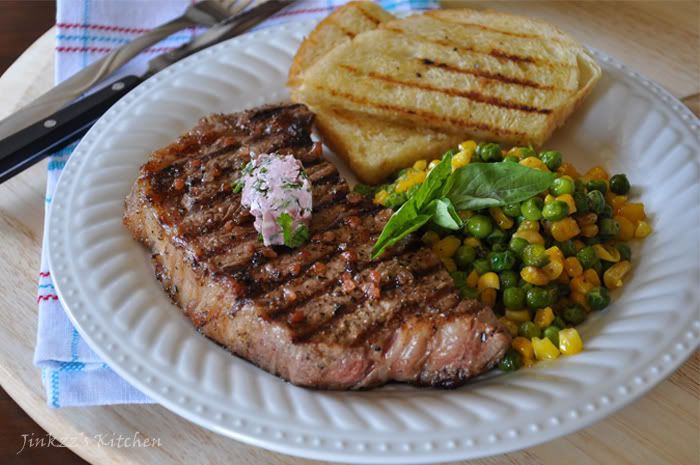
Grilled New York Steak with Red Wine Butter

New York steak was on sale at the regular supermarket so I bought a pack of three.  The good thing with buying then in larger packs is that there is the supermarket gives additional discount which really helps.  This NY steak pack was approximately 50% the regular price.  Yehey for me!  I used to get my steaks from Costco but the price comes up cheaper when I buy them at the regular store when they put them on sale.  I am usually on the lookout for their sale circulars to see what they have to offer.  Quality steaks can be a little bit pricey but as long as you have the basic information down pat then you are good to go.  Good steaks are those with a good amount of marbling, or fatty tissues interwoven into the meat, which makes them juicy as well as tasty.

Some people does too much to their steak that it sometimes loses its taste. Marinades are okay for cheaper and lower quality ones as they help to enhance the flavor of the meat.  For good quality steaks though I do think it does not need any marination but instead let its natural flavor shine through.  I am not saying you cannot add any seasoning but just add enough to enhance its flavor without changing the flavor profile.
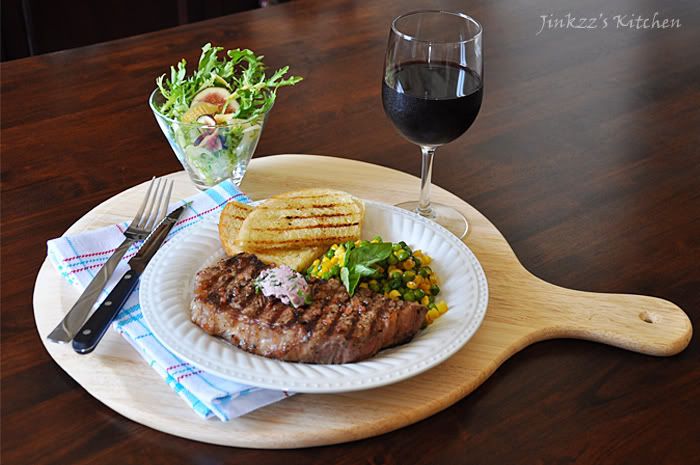


The steaks that I got was good quality although there is not that much marbling but still good and fresh.  I do not normally go for boneless steaks but that's all they have on sale so I picked up a pack of boneless NY steak.  Since I had not planned on cooking steak today, I wasn't prepared ingredients to cook with it.  A quick search on the net yielded a good recipe from WholeFoods which used ingredients that I already have in my pantry and refrigerator.  The recipe calls for grilling the steak seasoned with pepper and salt and topped with red wine butter.... it is simple and easy enough to make. I did substitute some ingredients but other than that I pretty much stayed true to the recipe :)

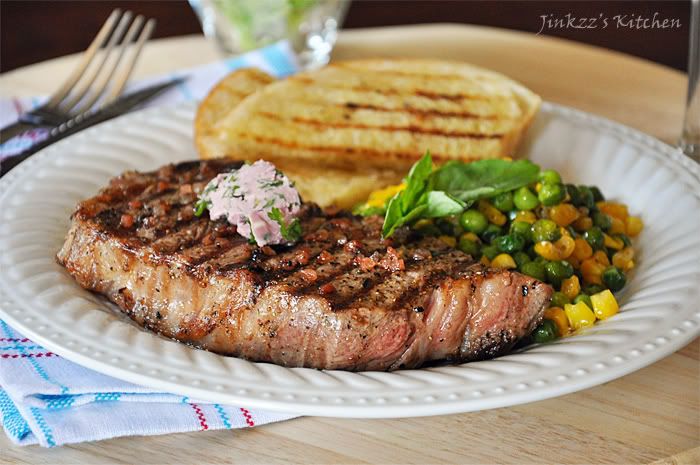
I grilled the steak using the stovetop grill pan instead of the outdoor gas grill since the weather's a little too warm to be staying outside.  Besides, the stovetop grill pan is more convenient when you are only cooking one steak. No need to fire up the grill when it is much more convenient to use the alternative, right? hehehe.  I prefer my steak in the rare to medium rare range.  To do achieve this, I usually cook one side for a couple of minuted before turning it over to cook the other side for another two minutes.  The result is a juicy,moist, and tender steak.


The red wine butter is divine because it enhances the flavor of the steak without changing it.  The rule on using wine for cooking is to use the same wine that you drink.  This means that if the wine is not good enough to drink then it isn't good enough to cook food with either :) I am not much of a red wine drinker but I did taste this one before I used it for cooking. It was pretty good with a slight peppery kick at the end.  Some people are hesitant in cooking with wine especially those who has a low tolerance to alcohol but rest assured that the alcohol usually dissipates during the cooking process and just leaves a nice flavor to the dish.   


For this dish, I substituted regular salt with coarse Himalayan pink salt. Himalayan pink salt.  They are hand-mined in ancient sea salt deposits which formed as as early as the Jurassic era some 250 million years ago. The are believed to be the purest form of salt available today.  They are rich in a lot of elements and trace minerals.  Their color range from pinkish white to pinkish and are very pretty to look at especially the coarse crystals.  To me, they look like little gems :)


Ingredients:

New York steaks

1/2 tsp Himalyan pink salt, less if you prefer

Freshly ground tricolored pepper

olive oil

1. Brush steaks with olive oil.  Season with freshly ground pepper and Himalayan pink salt

2. Grill to desired doneness then remove from heat.

3. Let it rest for 10 to 15 minutes before slicing or serving to let the juice redistribute.

4. Top with red wine butter before serving.

Red Wine Butter


1 cup red wine

8-10 whole peppercorns

1 bay leaf

1/2 cup butter, room temperature

2-3 Tbsp finely chopped Italian parsley

1. In a pan, combine red wine, peppercorns, and bay leave.  Heat over medium heat.

2. Continue cooking until it has reduced to about 2 Tbsp in volume the strain and set aside to cool.

3. Beat butter using a mixer until soft and fluffy

4. Add wine reduction and beat until incorporated.

5. Stir in parley and mix using a spatula.

6. Place in container with lid.  Leftover can be stored in refrigerator.

Sunday, June 10, 2012

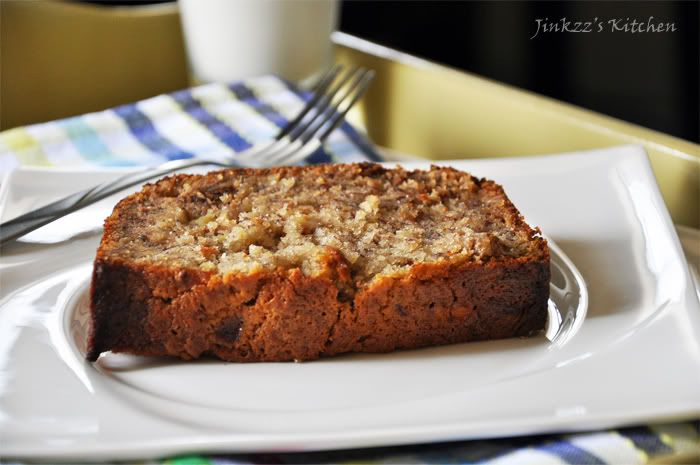
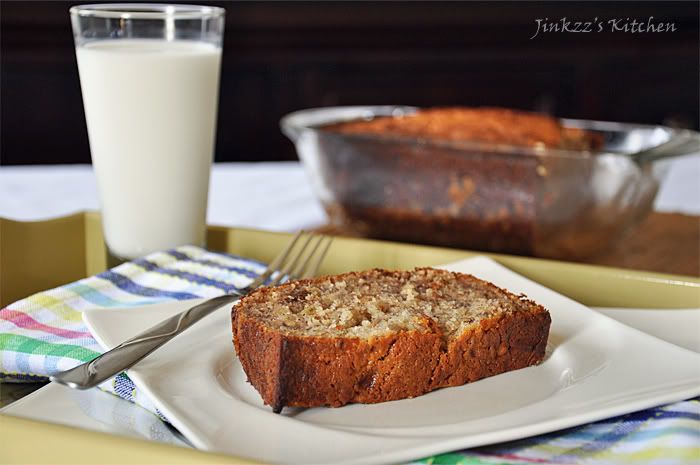
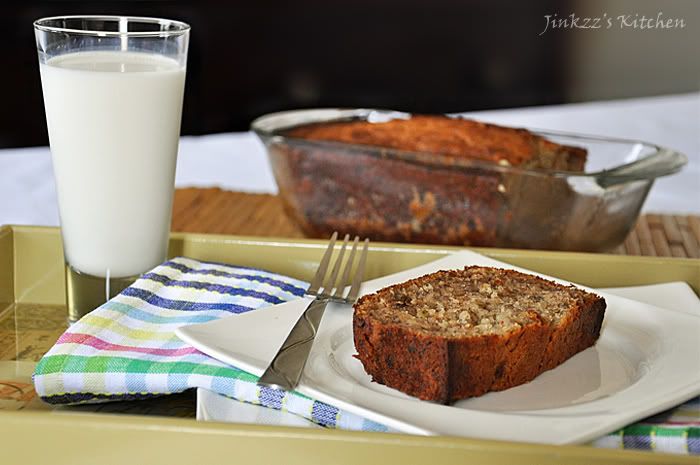
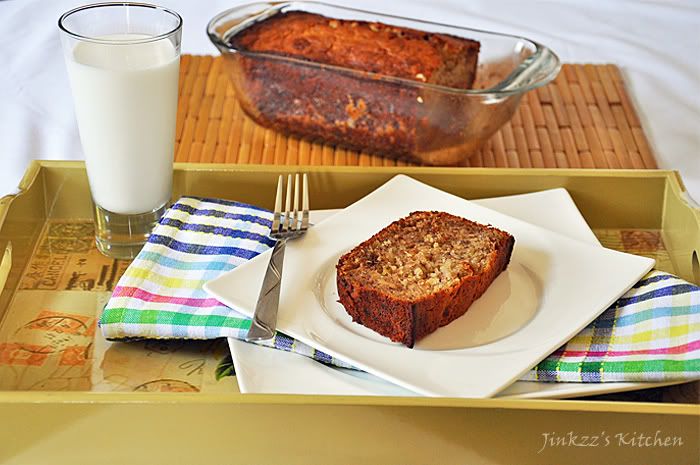
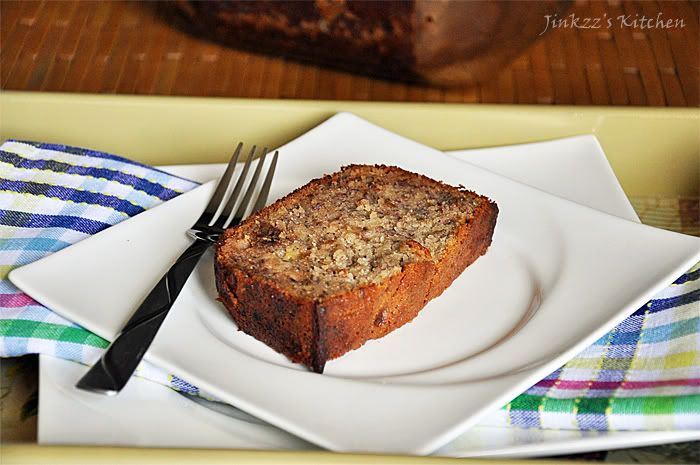
Banana-Walnut Loaf


Aside from the fried/baked pork dish that I cooked, I also baked banana-walnut loaf.  There wasn't any special reason other than the fact that I had bananas that were getting too ripe for my liking.  I do not even know why I bought bananas in the first place since I am not much of banana eater.  Maybe I was thinking of making a shake or something but for some reason I got sidetracked and ended up with overripe ones...hehehe...no problem though as this dish save them.


Bananas. by the way, are great ingredients in making your smoothie a lot creamier without adding too much milk or dairy products.  It can even be used instead of the dairy products.  I slice them about an inch to a couple of inches in size and then wrap them in parchment paper and freezer bags.  Pop them in the freezer until they are frozen and use them instead of ice to make a smoother and creamier smoothie.  I believe I posted about this tip somewhere in the blog about a year ago.


Anyways, I had some overripe bananas and free time so I baked these babies.  I used a little bit of olive oil along with the butter when I made these.  The result is a very moist and slightly dense banana cake that taste really good.  They taste even better the following day...even after they have been in the fridge overnight.  To make them soft and moist after being the fridge, I usually pop a slice in the microwave and heat for about 10-15 seconds but the time will be dependent on your microwave.


This morning I had a cup of coffee with a slice of banana walnut loaf  and a very hilarious episode of a Korean drama that is currently airing entitled "A Gentleman's Dignity"  It stars Jang Dong Gun and Kim Haneul along with a bunch of other korean actors/actresses.  Jang starred in an American movie entitled "A Warrio's Way" with Kate Bosworth in 2010.  I only watched the first part of that movie but it didn't pique my interest so I didn't finish the entire movie.  A Gentleman's Dignity though is different-it is hilarious, witty, sexy, crazy, heart-warming, and heart-wretching all at the same time.  The dialogue exchanges between Haneul and Dong-gun are really good. Right now, they have about six episodes out and I cannot wait for the next installment.  I didn't think I would say this but the writer (who is also the writer for Secret Garden which I did not like)  is doing a good job and hope she will continue to do so until the end....


Ingredients:

1/4 cup butter, softened

2 Tbsp olive oil

1/2 cup sugar

1/2 cup honey

2 eggs

4 large ripe bananas, mashed

1/2 tsp pure vanilla extract

1 1/2 cups all-purpose flour

a pinch of salt

1/2 tsp baking soda

1/3 cup walnuts, chopped

1. Preheat oven to 350F


2. Spray loaf baking pan with non-stick spray or coat evenly with oil.


3. In a bowl, sift together flour, baking soda, and salt.  Mix well and set aside


4. In another mixing bowl, add butter, olive oil, honey,and sugar.  Beat until light and fluffy.


5. Add eggs one at a time, beating well after each addition.


6. Stir in mashed banana and vanilla.  Mix well.


7. Add flour-baking soda mixture and mix into the batter.  Do not overmix .  


8. Stir in walnuts and transfer to a loaf baking pan and bake for 1 hour or until a knife inserted in the middle comes out clean.


9. Remove from the oven and let it cool slightly before slicing and serving.


Monday, May 21, 2012

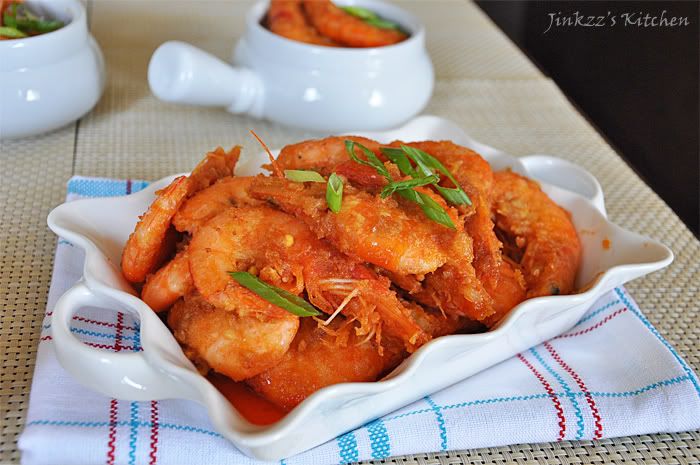
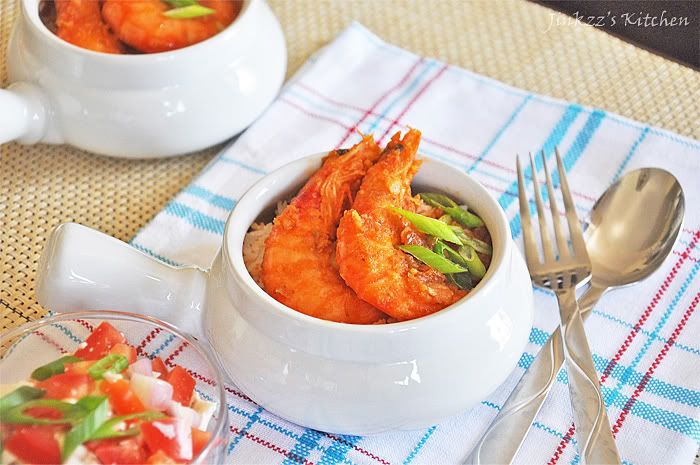
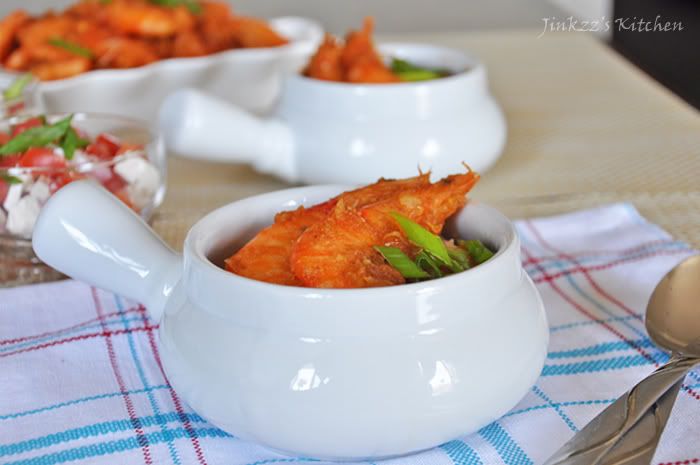
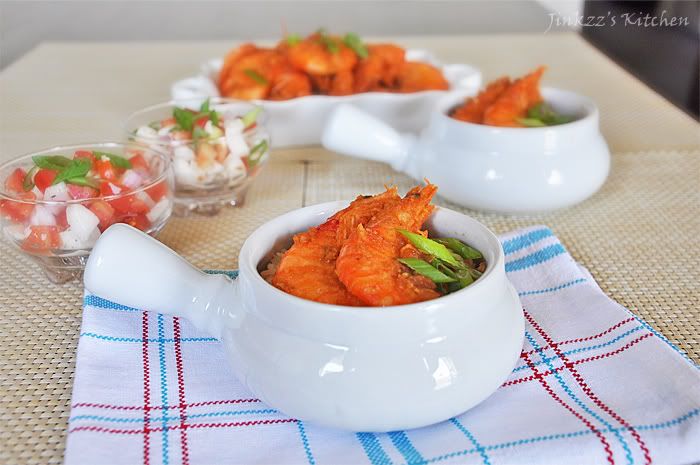
Fried Shrimp in Salted Egg Yolk

I hope everyone's weekend was way better than mine.  I was in pain all weekend long as a result of yet another steroid shot to my injured elbow ...Ughhh, being the fourth shot within the last six months, I think they have outlived their usefulness.  As a result, there has been no significant effect on the pain anymore.  It is still at the same intensity as it was before the last one...they need to find a better treatment regimen for me... 


On the bright side, I cooked an excellent dish today.  Cooking is like my oasis in the desert that helps to keep me going when things are not going as they should.  It helped keep me sane when I went through a rough patch and still does help keep my brain occupied now since I do not use it as much as I did when I worked... another added advantage is that it helps exercise my elbow and hand to keep it moving....hehehe... okay, enough about my problem and moving on to the good part...


This dish is Chinese in origin but uses ingredients that are commonly used in Asian cooking.  One of the main ingredients which, in my opinion, takes this dish to an entirely different level is the addition of salted egg yolks into the sauce.  The salted egg yolks just makes the sauce creamy and tasty.  Although salted egg yolks were used in the dish, surprisingly, it is not salty at all so do not be afraid of seasoning your shrimp or adding salt to the cornstarch or all-purpose flour used in dredging the shrimp prior to frying.  


Serve this with a piping hot bowl of steamed rice and use your hands to dig in.  While that may sound barbaric or crude to a lot of people, I do think this is the best way to eat this dish...hehehe....that's just the Filipino way of enjoying a meal.  Of course, I have never been too good with using my hand to eat rice with but I definitely use my hands to peel the shells off the shrimps and dunk it in its sauce.  The shrimps are good but the sauce is divine... As the Kentucky Fried Chicken slogan goes, these babies are finger lickin' good

BTW, do not throw away the salted egg whites since that can be used in another dish which, in my opinion, is a great accompaniment to this dish.  Recipe will follow.


Ingredients:

1 1/2 lbs large shrimps

1/2 cup cornstarch

salt and pepper, to taste

1/4 cup oil

1/2 block butter

1 head garlic, peeled and finely chopped

6 hard-boiled egg yolks, mashed


1,  In a bowl, mix cornstarch, salt and pepper.

2. Lightly dredge the shrimp in cornstarch mixture, shake off excess.

3. Heat a non-stick wok over medium heat.  Add oil.

4, When oil is hot, add shrimp and lightly saute.  Cook until shrimp turns orange in color then immediately remove from heat.  Transfer shrimp to a paper towel lined plate to drain excess fat.

5. Add garlic to the oil and saute until fragrant and soft.

6. Add salted egg yolks and stir to dissolve.

7. Add shrimp back to the wok and stir to mix.

8. Remove from heat and serve.


Monday, September 5, 2011

Roasted Almond Roll with Whipped Honey Butter

I made some roasted almond butter sometime last week and I think I made too much of it so I thought of some idea on how to use it besides using it as a spread. I kinda toss the idea around of making a bread using it but wasn't really sure if it would work. Darn, I woke up early morning today dreaming of making these rolls...hahaha...Aigoo, talk about obssession, huh? Or, is it compulsion? The same thing happened when I was thinking of making mango panna cotta...I actually dreamed of making it the night before...

My plan was derailed since my sister called early this morning and asked if I could babysit my niece while my she and my brother in law take the other two kids to the ER for colds and sore throat. Babysitting was fun...my niece and I went to The Grove and walked around a little bit. We were going to eat at Cheesecake Factory but my sister called just before we stepped into the resto and said they are finished with the ER visit and ready to leave. she said we'll eat at Chinatown instead. I'd take dimsum over Amrican food anytime so off we went for lunch at Ocean Seafood Resto... Man the place was packed since today is labor day which is a holiday.

Anyways, back to my roasted almond roll...I finally got around to thawing the dough around threeish in the afternoon. I let it sit out on the counter covered with plastic wrap while I went to purchase some grocery from the store. By the time I came back, which was about an hour later, my dough was soft and ready...


Homemade Roasted Almond Butter
*** I forgot to take pictures but I promise to do it next time I make it again.

Ingredients:

1 cup almond
2 Tbsp olive oil

1. Preheat oven to 350F.
2. Spread almond evenly on the pan.
3. Bake for about 12 minutes. Stir once or twice to prevent it from burning.
4. Remove form the oven and let it cool completely before grinding.
5. Place cooled almond in a food processor and grind. Scrape sides of the bowl
as needed and continue to process uts. Stream olive oil a little at a time until the desired creaminess is reached. Remove from bowl and place in a container.


Roasted Almond Roll with Whipped Honey Butter:

Ingredients:

Roasted Almond Roll

1 cantaloupe size No-Knead Dough (recipe here)
1/4 cup Homemade roasted almond butter
extra flour for dusting

Egg wash:
1 egg yolk, slightly beaten
1 tsp water

Honey wash:
1 tsp honey
1/2 tsp water

1. Pinch a cantaloupe sized dough and set on a lightly floured surface.
2. Fold it twice then cover with lightly floured plastic wrap. Let it come to room temp (aorund 30 minutes)
3. Take the dough out of the plastic wrap, flatten then spread a litlle.
4. Place the almond butter in the middle then fold over twice or three time to make sure that almond butter is covered by the dough completely.
5. Either knead by hand or like me, use the dough hook attachment of my KitchenAid mixer to let it do the work. Knead until the almond butter is completely incorporated into the dough. By now, the dough will be soft and pliable.
6. Cover the dough with saran wrap again and leave it until it doubles in size.
7. Once the size has doubled, unwrap, flatten then divide into 8 equal parts. shape into a ball and place on the baking sheet with the seam down.
8. Let it rest for an hour.
9. 15 minutes before the resting period is up, preheat oven to 350F.
10. Brush top of the rolls with egg wash and bake for about 17-20 minutes or until the top turns golden brown.
11. Remove from heat and brush honey wask over the cooked rolls.

Roasted Almond Roll with Whipped Honey Butter:

Ingredients:

1/2 cup slightly softened butter (not melted)
1 Tbsp honey

1. Place butter and heney in a bowl and whip using a mixer.
2. Scrape some of the butter from the beaters and continue whipping until you have reached the desired consistency.
3. transfer to container and serve with the rolls.