Showing posts with label tomato. Show all posts

Tuesday, May 22, 2012

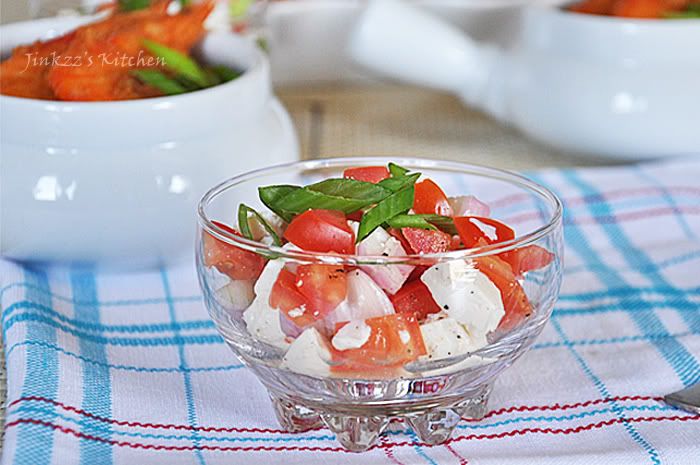
Salted Egg Salad

When I cooked shrimp in salted egg yolks, I ended up with tons of salted egg whites.  It was such a waste to discard them so I used them in a dish that can be served as an accompaniment to any meal. This dish is categorically not a "salad" but more of a side dish. For lack of a better term, I am using the word salad loosely for its name...hehehe

Salted eggs are either duck or chicken eggs that has been kept in a brine solution for about a month.  After a month, the eggs are removed from the solution then hard-boiled.  The hard-boiled salted eggs can be kept in the refrigerator until they are ready to be used.  As the name denotes, the eggs are salty when eaten by itself.  Filipino cuisine have a few dishes that makes use of these but they are commonly served as an appetizer by dicing them then adding diced tomatoes, shallots, and vinegar.  
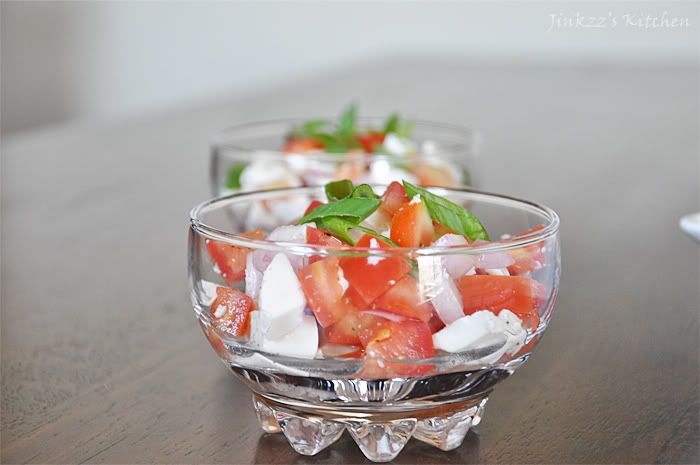

Making this dish is very simple as it does not require exact measurement.  You can just go by feel and preference but I will, however, post the proportion that I used when I prepared this one.  Although I only used salted egg whites (since that was what I had on hand), you are supposed to use both the salted egg whites and egg yolks.  

This dish is great when served with grilled or fried pork, dried fish, seafood.  


Ingredients:

7 salted egg whites (whole salted eggs preferable), diced
2 large Roma tomatoes, diced
4 small shallots, diced
2 cloves garlic, chopped finely
2 stalks green onion, sliced thinly and diagonally
1/4 cup vinegar (adjust to your own preference)
sea salt and freshly ground pepper, to taste

1. Assemble all ingredients in a non-reactive bowl.
2. Season with salt and pepper according to taste
3. Mix well and let it stand for about 15 to 30 minutes before serving.
Saturday, October 29, 2011

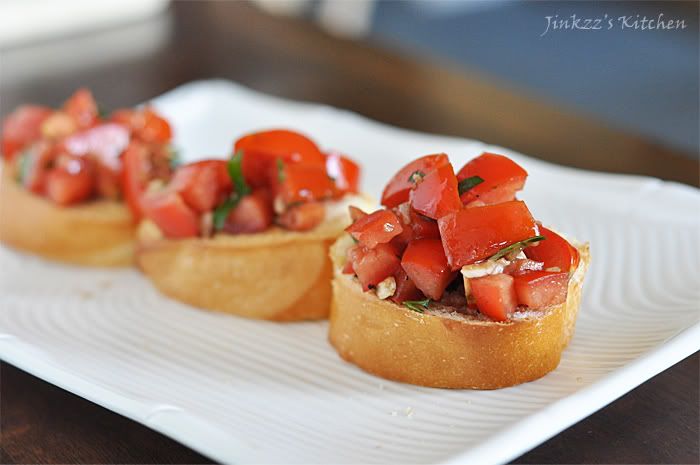
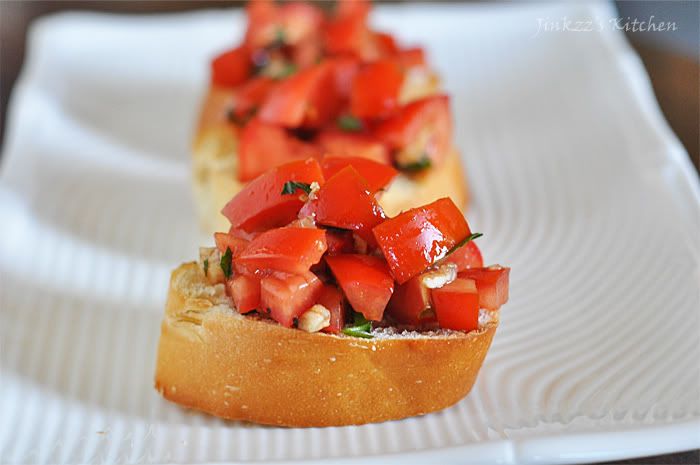
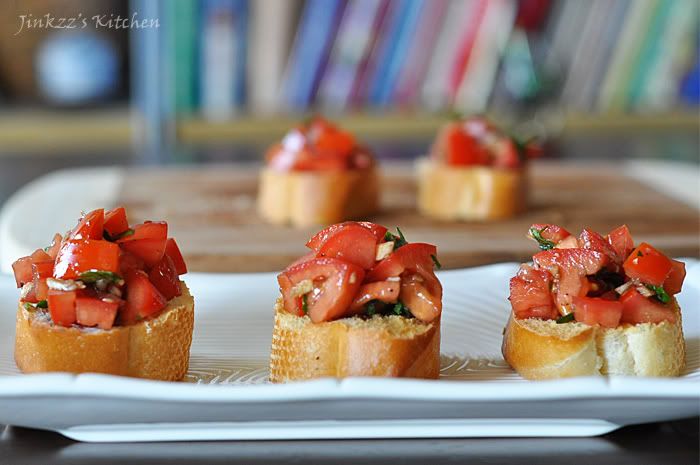
Balsamic Vinegar and White Truffle Oil Bruschetta


This is a nice starter to any meal because it is easy to make and packs great flavors. I think it only took me 15 minutes to chop, season, and assemble the entire dish. The secret to this bruschetta is the use of white truffle oil and balsamic vinegar combination which gives it an unusual earthy flavor.

Making bruschetta is very easy and takes just a few fresh ingredients such as tomatoes, basil, balsamic vinegar, olive oil, garlic, salt, and pepper. The bread is lightly toasted so that it is able to soak the liquid from the topping a little better plus it makes it taste better too. I use french baguette but you can use any bread of choice just make sure you slice it at an angle for a bigger surface area to hold the topping.

Ingredients:

1 loaf of french baguette, sliced into 1 1/2 inch thickness and then lightly toasted
5-6 Roma tomatoes, diced
2 cloves garlic, finely chopped
a small bunch of basil, roughly chopped
1 1/2 Tbsp balsamic vinegar
1 tsp white truffle oil
salt and pepper to taste

1. Lightly toast your bread in a toaster or oven.
2. In a bowl combine the rest of the ingredients and mix thoroughly.
3. Scoop the tomato mixture using a spoon and top it on you toasted bread.
4. Place on platter and serve.

Monday, September 19, 2011

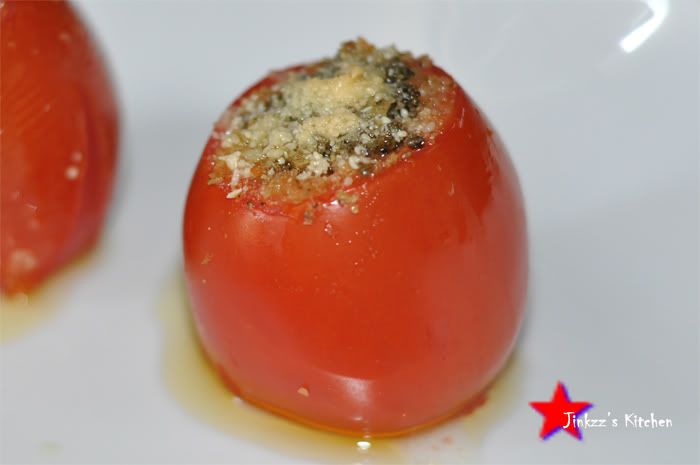
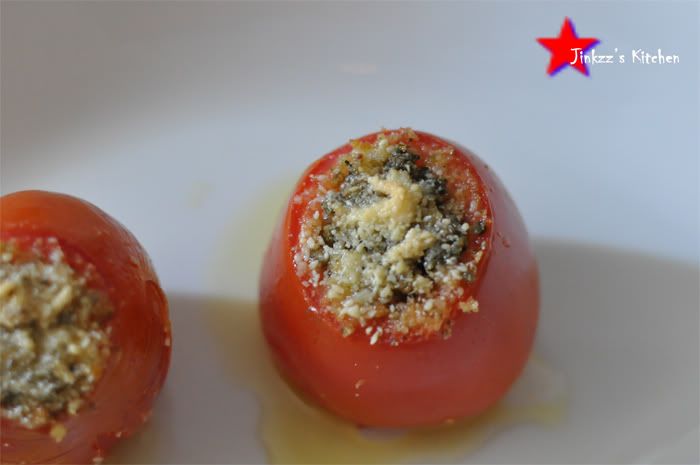
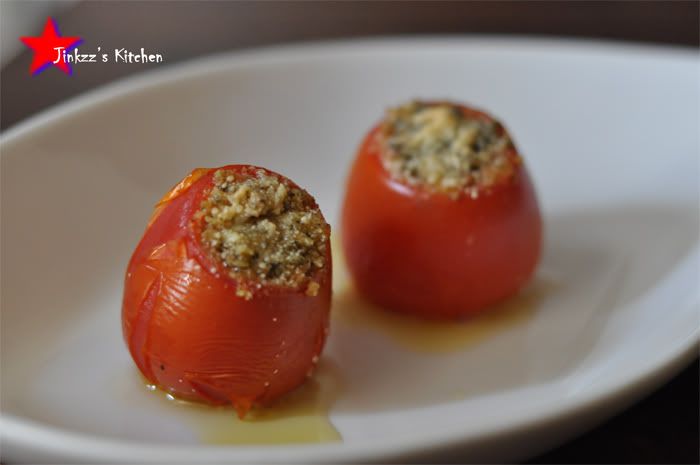
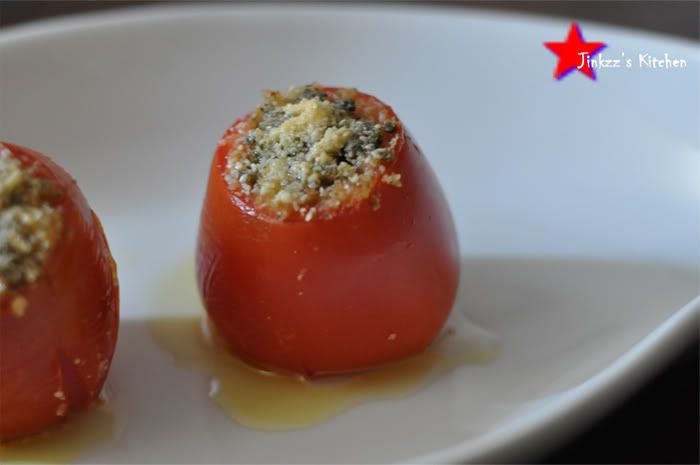
Pesto-stuffed Baked Tomatoes


I have come to love tomatoes. My love affair with tomato was slow to developed though. I really hated the taste when I was younger but have come to love and enjoy its taste over the years. I can even eat it raw with just a slight sprinkling of salt. How's that for a huge change?

This dish is simple enough to make as I have some leftover homemade pesto. It just takes a little time and cooking is a breeze. I think the only hard part in the process is trying to hollow out the tomato cavities without cause much damage. Thankfully,I have these tiniest of spoons (they like 1/4 of a teaspoon in size) which I do not know what they are called nor do I know what their usage is. I think I have twelve of them which came from a set of silverwares that my husband inherited when their old house was demolized. Anyways, the flatware has been sitting in the silverware chest awaiting its use but I am afraid to use them as I have the tendency to lose silverwares. Don't ask me how but I have gone through several sets in the past and always end up losing most of them that I finally gave up buying expensive brands and just go with the cheapest that I could find...hehehe.

Anyways, I hallowed out the tomato cavities then stuffed it with pesto,breadcrumbs, and garlic mixture then topped with grated parmigiano reggiano. Popped it in the oven for 15-20 minute or until the top brown a bit then serve. The result is a really tasty appetizer which I could probably turn into a meal by eating several...hehehe.


adapted from here

Ingredients:

4 roma tomatoes, washed and dried them tops sliced
1/4 cup breadcrumbs
1/4 cup homemade pesto (recipe here)
1 clove garlic, chopped finely
2 tsp extra virgin olive oil
salt and pepper, to taste
1 Tbsp freshly grated parmigiano reggiano

1. Preheat oven to 350 degrees.
2. In a bowl, mix bread crumbs, pesto sauce, and garlic. Season with salt and pepper to taste then set aside.
3. Stuff hollowed out tomatoes with the filling mixture.
4. Top with grated parmesan cheese then drizzle olive oil on top
5. Place on oven safe pan and bake for 15-20 minutes or until top turns light golden brown.
6. Remove from oven and serve warm.NOTE: be careful when removing from the oven as it will be very hot.

Thursday, September 15, 2011

Fried Aubergine Topped with Hummus and Tomatoes

I had my sights set on some fried chicken livers for dinner but when I opened my refrigerator, I saw an eggplant which I originally bought with the intention of making baba ghanouj so I changed my plan butthen I remembered that I still have some hummus from the other day. It did not make any sense for me to make another middle eastern dip when I still have some albeit different. BY then, fried chicken livers has long been forgotten and my attention shift to using the eggplant instead. I wanted Sicilian fried eggplant but it takes took much work and longer wait time. what with the salting, waiting for about 30 minutes, then rinsing the eggplant piece by piece, then frying...Ahh too much work. Hmmm, some breaded fried eggplant perhaps? Ha! that's what I end up doing...breaded the eggplants, then fry and topped...the taste was delish. The hummus added a nice flavor to the fried eggplant and tomato topping plus the added bonus of keeping the moisture from the tomato away from the eggplant which kept it crispy.


Ingredients:

1 large eggplant (use the oblong ones like epic or rosa bianca instead of the elongated variety), sliced into 1/2 inch thick rounds
1 cup all purpose flour
1tsp garlic powder
1 tsp italian seasoning blend
sea salt and freshly ground pepper to taste
3/4 cup bread crumbs
3/4 cup panko or corn meal
2 eggs, slightly beaten
oil for frying

1. Place flour, italian seasoning blend, garlic powder, salt and pepper (to taste) in a plate or bowl. Mix well
2. In another bowl/ plate, mix corn meal and bread crumbs. Mix well.
3. In a third bowl, place eggs andbeat lightly
4. Take 1 slice of eggplant and dredge in flour, remove excess. Dunk this in the beaten egg and then coat with bread crumb mixture.
5. Do this until all of the sliced eggplants has been coated.
6. Heat pan over medium heat and add oil.
7. When oil is hot, fry breaded eggplant. Fry only 2-3 eggplants at a time to prevent overcrowding your pan. NOTE:Be careful not to burn yourself. Use splatter guard to prevent oil from splattering all over you and your stove.
8. Cook until all sides has turned golden brown in color.
9. When cooked, remove gried eggplant from pan and transfer to a paper-towel lined plate to absorb excess oil.


Topping:

1 cup hummus ( recipe here)
2-3 roma tomatoes, seeds removed and discarded then diced finely
handful of Italian parsley, hand-torn
1/4 pine nuts
2 Tbsp extra virgin olive oil

1. While you are waiting for your eggplant to finish cook, prepare the tomato topping.
2. Mix tomatoes, pine nuts, and parsley.
3. Season with sea salt and freshly ground pepper according to taste.
4. Mix well and set aside until you finish frying the eggplant.

To Assemble:

Take a piece fo fried eggplant, apply a layer of hummus then spoon tomato topping over it. Transfer to a serving platter and enjoy.


Saturday, September 10, 2011

Kinilaw na Pusit (Marinated Squid)

This dish is traditionally eaten as a "pulutan" or accompaniments for alcoholic beverages but I like to eat it with rice. It can also be considered as an appetizer. This is a simple and straightforwar dish which needs fresh ingredients in order for it totaste yummy. I love spicy food so I added Thai chili pepper. The only cooking that is involved in this dish is blanching the squid then the rest just involve slicing, dicing, and mixing. I used jumbo squid for this recipe but it can easily be substituted with regular ones. I was originally thinking of grilling this jumbo squid but changed my mind at the last minute because it was too darn hot outside...grilled squid will have to wait another day, I guess.

NOTE: To prepare the squid in this recipe, you need to remove all the insides out then clean the squid well, take out the outer skin surface and the backbone. To clean the tentacles, cut and discard everything from the eyes down, You also need to cut one side of the tube so you are able to lay it flat on the cutting board then score it lightly and diagonally.


Ingredients:

1 jumbo squid or 1 lb regular squid, cleaned (see note above)
2 medium vine-ripened tomato, diced
1 shallot, thinly sliced
2-3 inch sized ginger, peeled and sliced thinly
3-4 Thai chili pepper, sliced diagonally
NOTE: If you don't want it too spicy, remove and discard seed from chili pepper
2 Tbsp freshly squeezed lemon juice
1 Tbsp freshly squeezed lime juice
1 key lime, sliced thinly
1/3 cup vinegar
2-3 cloves garlic, chopped finely
sea salt and freshly ground black pepper, to taste

1. Prepare a bowl with cold water and ice cubes, set aside.
2. Boil water in a pan. Once it starts boiling, drop the squid and cook for about 1 minute then turn heat off, drain water and submerge the squid in cold water with ice for 2 -3 minutes. Drain and slice thinly (about 1/2 x 2 inches).
3. Place sliced squid in a bowl.
4. Add sliced tomato, onions, ginger, garlic, and Thai pepper.
5. Add lime juice, lemon juice, and vinegar. Mix well.
6. Season with sea salt and freshly ground black pepper according to taste.
7. Marinate in the refrigerator for about 20-30 minutes or until ready to eat.

Friday, September 9, 2011

Blackened Salmon Topped with Orange-Tomato Salsa and a side of Buttered Corn and Peas

I cannot believe that this dish is my very first real meal of the day and it isalready 1145 pm. I have been very busy doing my research on a project for my current class that I have only been snacking on raosted almond roll (leftover from two days ago) in between research. Whew and I am not even done yet. I still have one more topic to go but couldn't seem to find the right information and organize my thoughts. Oh well, that will have to wait until tomorrow. Anyway, it is not due until Monday at 1159 pm so I have plenty of time.

This is such a nice and easy dish. And the best part? it only took me less than 30 minutes to prepapre from start to finish. That is including the salsa and side of corn and peas. The blackened salmon looked and tasted really good as well as the rest of the food. The salmon though came out really well because it blackened to perfection. The only thing's that is missing is desser. I totally forgot to make any...Oh well... I think I ate too much anyway because now I am feeling lazy. Ughhh... I cannot even rest and enjoy my favorite Korean show because I have to do the dishes after this...hehehe...the good news is I think I only washed 2 loads of dishes because I have not had time to do my usual recipe experiments :)


Orange-Tomato Salsa:

Ingredients:

1 orange, peeled and pith removed; sliced and segmented
1 vine-riped tomato, cubed
1 shallot, thinly sliced
3 Thai chili pepper
1 - 2 Tbsp freshly squeezed lemon juice
sea salt and pepper, to taste
small bunch of parsley, de-stemmed then roughly chopped
small bunch of cilantro, de-stemmed and roughly chopped

Coombine all ingredients then set aside.


Blackened Salmon

Ingredients:
Salmon fillets
1 Tbsp (or more) jerk seasoning
extra virgin olive oil

1. Preheat oven to 325F
2. Wash salmon fillet and then dry using a paper towel
3. Apply extra virgin olive oil all over the salmon.
4. Coat Salmon with jerk seasoning
5. Heat a heavy cast iron pan over medium heat.
6. Pour a little olive oil then fry salmon skin side down for about 4-5 minutes
7. Turn salmon over and cook for another 3 minutes.
8. Transfer pan with salmon to the oven and bake for about 5 minutes.
9. Remove from oven, transfer to a platter, top with orange-mango salsa then serve.


Buttered Corn and Peas

Ingredients:

1 cup frozen corn
1 cup frozen peas
2 Tbsp butter
salt and pepper, to taste

1. Melt butter over low medium heat.
2. Add corn and peas and sautee until warm and water has evaporated.

Friday, September 2, 2011

Insalata Caprese (Caprese Salad)

This is such an easy, no-frill, no-brainer, and most of all no-work salad. All it takes is to cut the mozzarella cheese and tomatoes. after that all that's left to do is to assemble and season. I think the key to this salad is to get the freshest ingredients that you could find and getting a really good quality extra virgin oilve oil. All that quality and freshness really comes through when you take a bite of the salad and makes all the difference. This is coming from someone who, just a few short years ago (okay, two years ago), could not even tolerate eating raw tomatoes. This salad converted me from a non-raw tomato eater to someone who really likes them.

Insalata caprese originated from the Italian region of Campania. It is a simple salad composed of tomatoes, mozzarella di bufala, basil and seasoned with salt, freshly ground black pepper, and olive oil. It iss served as an antipasto or starter. I deviated a little from the traditional caprese salad because I added a little bit of capers.


Ingredients:

1 large ripe tomatoes
1/4 pound fresh mozzarella cheese
a handful of fresh basil leaves, washed and well-dried
sea salt and freshly ground pepper, to taste
1 Tbsp. extra virgin olive oil
1/2 Tbsp capers

1. Wash tomatoes and let it air dry. Slice into 1/4 inch thick.
2. Remove mozzarella from container then drain liquid and discard. Slice into 1/4 inch thick.
3. To assemble: take a piece each of tomato and mozzarella cheese them sandwich a basil leaf in between them place in a serving platter. Repeat until everything is assembled.
4. Top with capers, season with salt and pepper according to taste, and drizzle olive oil on top.


Friday, August 26, 2011

Tomato and Goat Cheese Calzone

Calzone is basically a pastry that is made out of pizza dough with the topping placed inside and shaped into half moons. They are really handy to take when you are eating on the go for convenience as well as they are filling and delicious. I got the idea of making this when I found the recipes for no knead pizza doung fron Steamy kitchen's blog. These babies are really easy to make and you can fill it with any of you favorite pizza topping and sauce.


Ingredients:

1 baseball size No-Knead Pizza Dough (recipe here)
8 oz. canned diced tomatoes, drained
a handful of Italian parsley
goat cheese
olive oil for brushing on top of calzone


1. Pinch a baseball sized No-Knead Pizza Dough. In a lightly floured surface, roll the dough into a ball and covere with plastic wrap. Let it come to room temperature for about 20-30 minutes.


2. 20 minutes before baking, preheat oven and baking pan to 400F.

3. After the dough has softened a little bit, divide it in half and roll out into approximately 8 inch circle.


3. On one side of the dough, arrange your filling: tomato, parsley, goat cheese.


4. fold the other half over and seal well. You may use water to moisten the edge and make it stick better. Or, you can use a fork to seal edges.

5. Place calzone on the hot baking pan. Paint top with olive oil and bake for about 20 minutes or until golden brown.
NOTE: Be careful when taking the hot baking pan from the oven.


6. After it has finished cooking, take it out of the oven, paint with more olive oil and serve immediately.
WARNING: be careful not to burn your mouth as the filling will be very hot.